


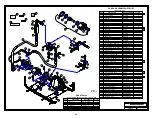

60
IMPELLER
SEAL PLATE
SPACER SLEEVE
SPRING
STATIONARY
WASHER
STATIONARY
WASHER
BRASS SEAL LINER
LARGE CHAMFER
PACKING RINGS
ENGINE
CRANKSHAFT
STATIONARY
ELEMENTS
ROTATING
ELEMENTS
IMPELLER
SHIM
WASHERS
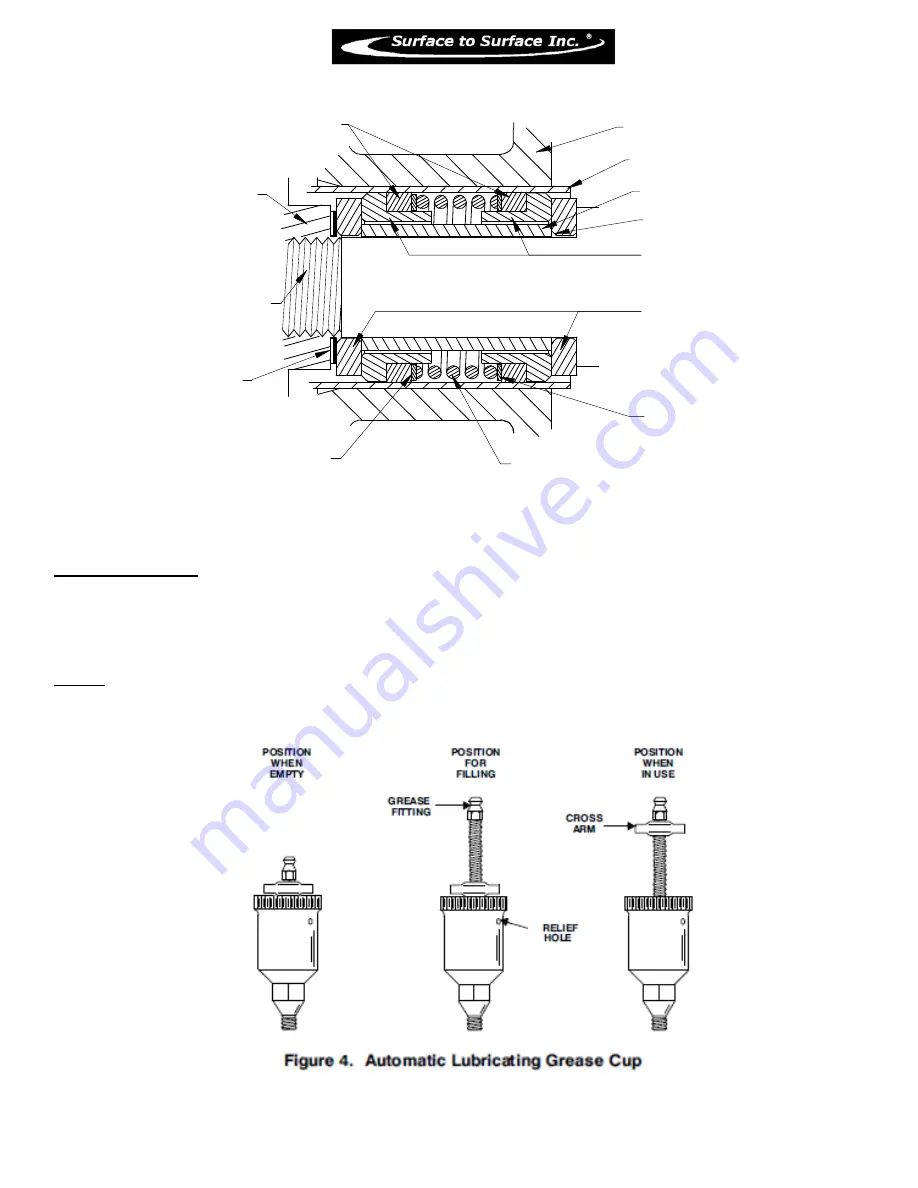
Figure 3. Grease Seal Assembly
LUBRICATION
Fill the grease cup (1) through the grease fitting with No. 2 lithium base grease until grease escapes from the relief
hole. Turn the grease cup arm counterclockwise until it is at the top of the stem; this will release the spring to
apply grease to the seal (see Figure 4).
NOTE:
Some smoking and leakage may occur after installing a new seal assembly. This should stop after the
pump has run a while and the lapped seal faces have seated in
Figure 4. Grease cup
Содержание M2-H
Страница 2: ...2 This page left blank intentionally ...
Страница 13: ...13 ...
Страница 18: ...18 M2 H Identifying Your Machine Components Location of Tags and PIN Plates ...
Страница 19: ...19 SECTION II Description Care and Maintenance ...
Страница 31: ...31 SECTION III Set up and Installation of Unit in Detail ...
Страница 33: ...33 SECTION IV Operating the M2 Unit ...
Страница 41: ...41 SECTION V Troubleshooting the M2 Unit ...
Страница 44: ...44 SECTION VI Periodic Maintenance Repair Information ...
Страница 49: ...49 SECTION VII OEM Repair Information ...
Страница 62: ...62 ...
Страница 63: ...63 ...
Страница 64: ...64 ...
Страница 68: ...68 SECTION VIII Parts Manual ...