STREAMIT INTERNET RADIO
User’s manual
May 2008
Version 1.0
13
E
N
G
L
IS
H
2.4.3 The MMC/SD/SDHC Card
Your SIR also can also play audio from a MMC, SD or SDHC card. Fill the card with your favorite
music and plug it in the MMC/SD/SDHC card connector. For more information about storing audio
on the card, see [2].
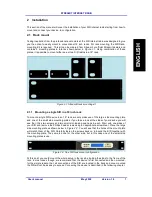
When playing from Internet, you can switch to card by using
the Alt button (the opposite is also possible); on the lower row
of the LCD, the text “Select playlist” is shown, while on the
upper row, the name of the playlist.
Use Menu-Up/Menu-Down to browse the available playlist and press OK to select the playlist you
would like to play (When you do not press OK, the SIR will automatically switch to the card after
10 seconds). The SIR will start to play the first entry of the chosen playlist.
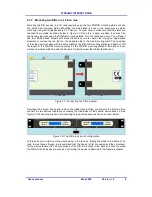
On the upper row of the LCD you will first see the status
“Buffering…” indicating that audio data is being read from the
card and sent to the audio buffer. No audio is sent to the
output yet.
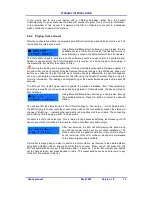
After a couple of seconds, the SIR will start playing and you will hear audio coming out of your
audio installation. In the lower row of the LCD, the playlist name with a speaker animation in front
will be shown. The upper row will first be cleared (was “Buffering…”) when the SIR starts playing,
then in a couple of seconds the title of the entry will be shown.
Another very important feature of your SIR that relates to the card is the fallback in case of
network or streaming failure. Just as the name indicates, should there be problems with your
Ethernet connection or with the stream that is being played, the SIR will automatically switch to
the card and starts playing from there.
Streamit is currently looking at the possibility to expand the card functionalities even further. For
more up-to-date information on this topic, please visit our website.
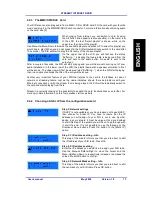
2.4.4 Choosing a Static IP from the configuration wizard
Step 2: Network settings
If DHCP is not available or you have reason not to use DHCP,
then choose for Static IP. You have to insure that the IP
address you will assign to your SIR is not in use by other
device in your network; it must be unique. Once you decided
to start this step of the wizard you will have to go through with
it, until the end. It is not possible to use the Escape or the
directional menu buttons. Press OK button to the [Static IP]
option.
Step 2.1: IP-address setting – Info
This step of the wizard informs you that you are about to edit
the IP-address of your SIR radio. Press OK.
Step 2.2: IP-address setting
Enter the IP address you would like to assign your SIR radio.
Use the Menu-Left/Menu-Right to move the cursor and the
Menu-Up/Menu-Down to respectively increase or decrease the
values. Press OK button to confirm.
Step 2.3: Network Mask setting – Info
This step of the wizard informs you that you are about to edit
the net-mask of your SIR radio. Press OK button.


