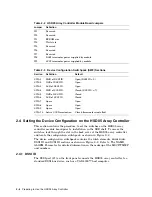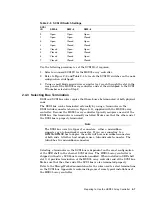
Table 2–4 DSSI ID Switch Settings
DSSI
ID
SW2–1
SW2–2
SW2–3
0
Open
Open
Open
1
Open
Open
Closed
2
Open
Closed
Open
3
Open
Closed
Closed
4
Closed
Open
Open
5
Closed
Open
Closed
6
Closed
Closed
Open
7
Closed
Closed
Closed
Use the following procedure to set the DSSI ID:
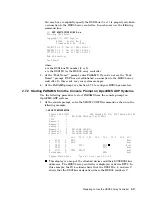
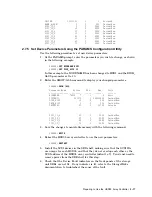
1. At the system console prompt, enter the console command SHOW DEVICE on
OpenVMS VAX systems, or SHOW CONFIG on OpenVMS AXP systems, to
determine the DSSI ID numbers currently active on the DSSI bus.
2. Select an unused DSSI ID number for the HSD05 array controller.
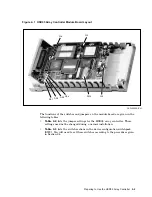
3. Refer to Figure 2–2 and Table 2–3 to locate the DSSI ID switches on the
device configuration switchpack.
4. Using a small blade screwdriver or similar tool, reach through the slot in the
rear panel of the HSD05 array controller, and set the switchpack to the DSSI
ID number selected in Step 2.
2.4.2 SCSI ID
The SCSI port (J2) plugs into the SBB shelf backplane when the HSD05 array
controller is installed in the shelf. This port must have a unique SCSI ID for that
SBB shelf.
Selecting the SCSI ID
The HSD05 array controller is factory set to SCSI ID = 7 to give it the highest
priority on the SCSI bus. The other devices in the configuration must have SCSI
ID numbers between 0 and 6. For normal operation, you should not need to reset
the SCSI ID.
Setting the SCSI ID
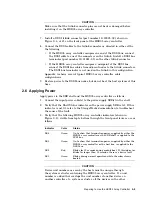
Table 2–5 lists the sections of SW2 and the corresponding sections used to set the
SCSI ID. On the switchpack, the closed position is with the switch in the down
position, and the open position is with the switch in the up position.
2–6 Preparing to Use the HSD05 Array Controller


