


Alarm Volume
1.
Press OK to enter.
2.
Press Left or Right to decrease or increase the alarm output volume.
3.
Press OK to confirm and exit.
Power Saving Mode
1.
Press OK to enter.
2.
Press Up or Down to select “Time Interval” or “Wake up on Motion”.
3.
Press OK to select.
4.
Press Up or Down to change the setting.
5.
Press OK to confirm and exit.
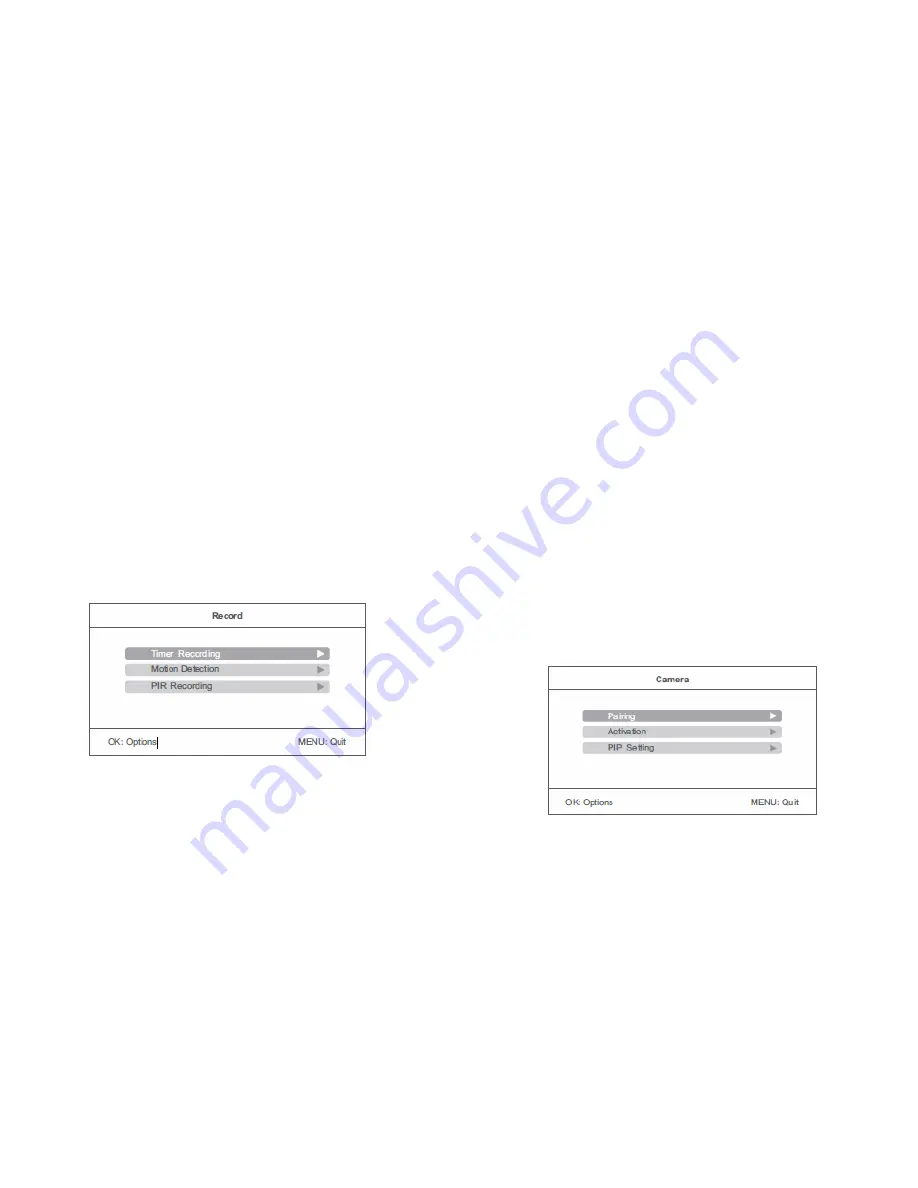
Record Settings
From the main menu, press Left or Right to select “Record” and press OK:
Timer Recording
Use this mode to set the start/stop times for automatic recording. Please note
that these settings should not be used at the same time as PIR or Motion
recording (which are both 24/7 modes). For more information, please refer to
pages 7 & 8.
Motion Detection
Enable this mode to trigger recording based on movement. Please note that this
mode should not be used at the same time as PIR or Timer based recordings. For
more information, please refer to page 8.
PIR Recording
Enable this mode to trigger recording based on human/animal movement within
5m of the camera. Please note this mode should not be used at the same time as
Motion or Timer based recording. For more information, please refer to page 8.
Playback
From the main menu, use the Left and Right arrow buttons to select Playback, and
press OK to enter. For more information on using this feature, please refer to page
9.
Camera
From the main menu, use the left and right arrow buttons to select Camera, and
press OK:


