Manual P/N 211.410K
Updated 11292018
17
Flame Pack Series 400 Operation and Service Manual
11.0: Calibration Test Instructions
If the Flame Pack passes visual inspection, proceed with the following calibration test.
1. Ensure fuel cylinder has at least 200 psi of fuel. This is the minimum to operate the
instrument.
2. Light Flame Pack and allow to warm up until the meter is stable and not drifting. Warm
up normally takes 5 minutes but may take as long as 15 minutes depending on ambient
temperature and moisture. Adjust the meter to “floating” zero in clean air. Often, the
ambient atmosphere inside garages and workshops contain high ppm levels of
hydrocarbons, making them unsuitable testing locations.
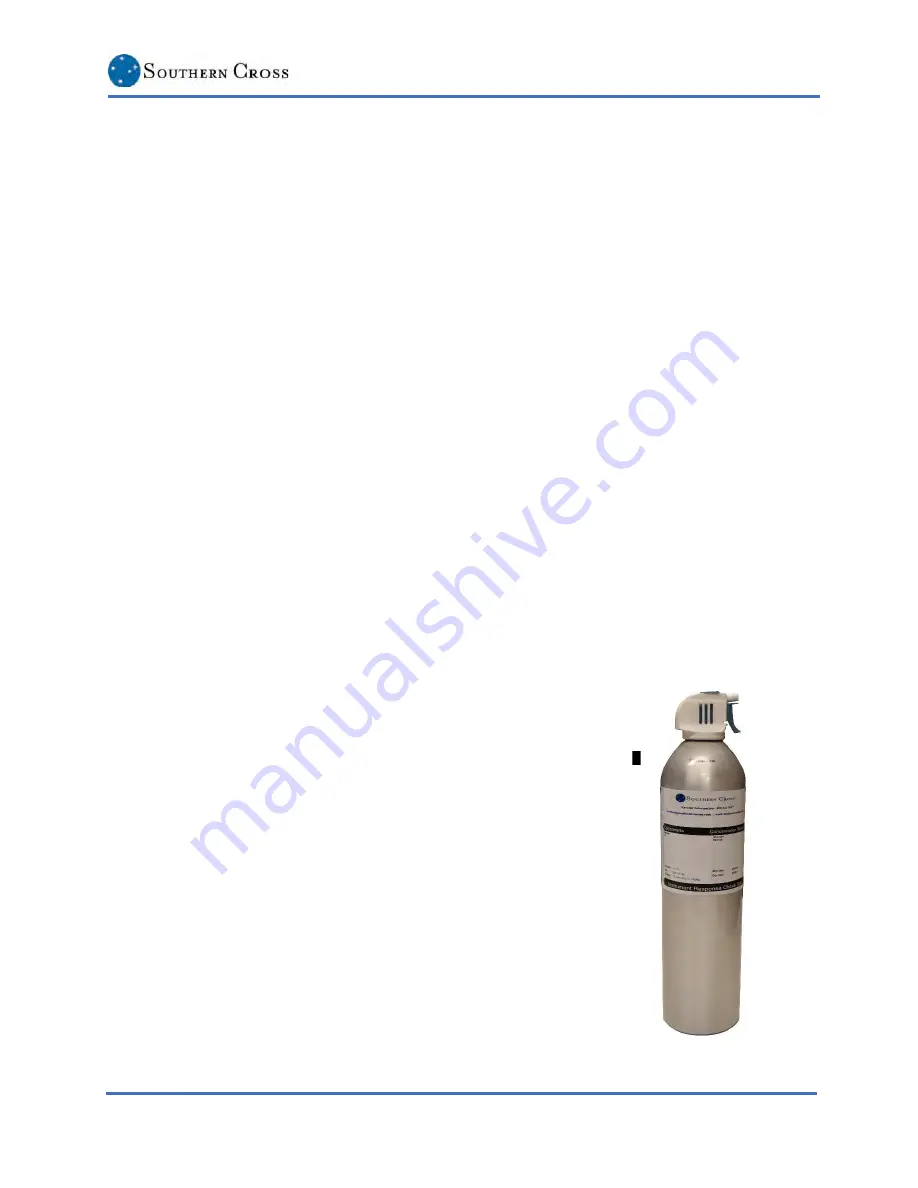
3. Place the intake cone over the nozzle of 50 ppm test can. Release a 1- or 2-second spray
of gas. The needle on the meter should respond by moving to a minimum of 90% of the
meter scale.
4. Allow meter to return to zero and repeat Step 3. If you get the same reading, the Flame
Pack is calibrated properly.
NOTE: Readings may vary due to background hydrocarbon level. Readings may also vary
due to the amount of 50 ppm gas in the can. A new can has a high velocity,
approximately 750ccm. A can that is almost empty has a velocity of about 100ccm. A
new can may need only a 1- or 2-second burst of gas, while a near empty can may need
a 3-second burst.
5. If the meter fails to go to a minimum of 90%, the Flame Pack needs to be repaired and
calibrated.
6. If the Flame Pack passes all pre-start and calibration tests, it is ready to survey.
Figure 9: Calibration Test


