O
per
a
tio
n
Printing
31
3
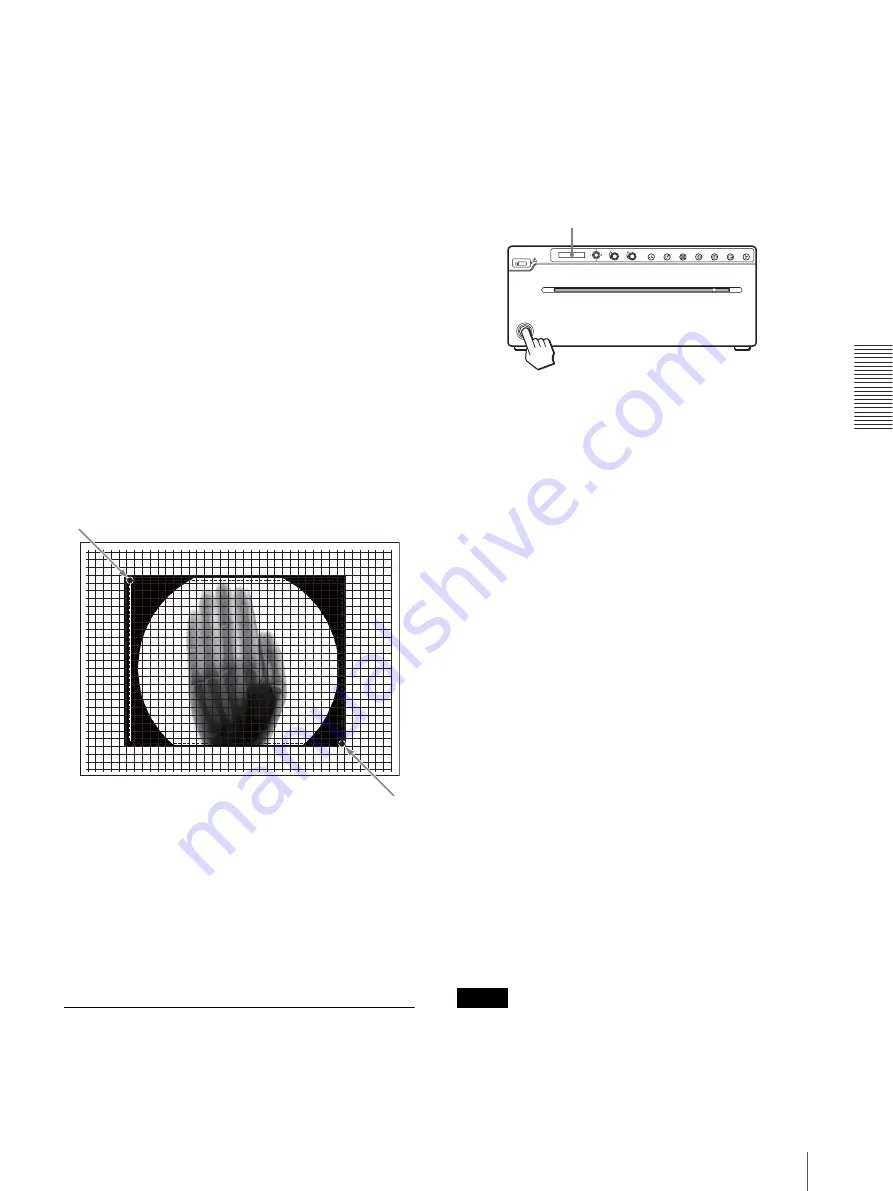
Display “S.H:” in “-START.H” by operating the
menu. Then enter the horizontal start point
coordinate by turning the menu lever up or down,
and press the menu lever.
4
Display “S.V:” in “-START.V” by operating the
menu. Then enter the vertical start point coordinate
by turning the menu lever up or down, and press the
menu lever.
5
Display ”E.H:” in “-END.H” by operating the
menu. Then enter the horizontal end point
coordinate by turning the menu lever up or down,
and press the menu lever.
6
Display “E.V:” in “END.V” by operating the menu.
Then enter the vertical end point coordinate by
turning the menu lever up or down, and press the
menu lever.
7
Display “READY” by turning the menu lever
several times to the left, and then press the PRINT
button. Confirm that the specified area of the
picture is printed.
Printing a captured image with
enlargement
You can set the “VIDEO” – “-SCALE” menu up to
double in size.
You can print the captured image enlarged up to the
printing paper size maximum. The enlargement range is
up to the printing paper size.
Printing digital images from a
computer
You can set the printing method using the menu.
This explanation is about the operation after finishing
these settings.
1
Press the power on/off switch to turn the unit on.
The back light on the LCD lights in orange, and
then changes to green. “READY” is displayed on
the LCD.
2
Operate the application software in the computer,
and start a print job.
When the unit stops printing during printing
When continuously printing images with high density
such as mostly dark images, the thermal head protection
circuit may shut down the unit to prevent the thermal
head from overheating. In such a case, the message
“COOLING” is displayed on the LCD.
Wait until the thermal head cools down and the message
disappears.
To cancel a print job in progress
To cancel a print job in progress, press the OPEN/
CLOSE button, FEED button or CUT button.
To feed paper
To feed paper, press the FEED button. The unit will
continue to feed paper as long as you hold down the
FEED button. Do not attempt to pull paper out of the
unit by hand.
Paper currently selected
You can confirm the paper currently selected on the
LCD. The type of printing paper used is displayed on the
right of the display when the paper door opens or closes.
Making Copies of the Last Printout
Press the COPY button. The unit makes a copy of the
last printout. In this case, with each press of the COPY
button, prints only one paper regardless of the paper
number set in the “QTY” menu.
Note
If you press the COPY button immediately after turning
the power on, the alarm buzzer will sound as nothing is
stored in memory. You cannot start a copy job.
200
100
300
400
500
600
700
100
200
300
400
500
200
100
300
400
500
600
700
100
200
300
400
500
Start point (START.H, START.V)
End point (END.H,END.V)
LCD
Содержание UP-971AD
Страница 46: ...Sony Corporation ...


