PRS-T1
9
8. Factory Initialize
This unit can be returned to the state of the factory shipment.
Procedure:
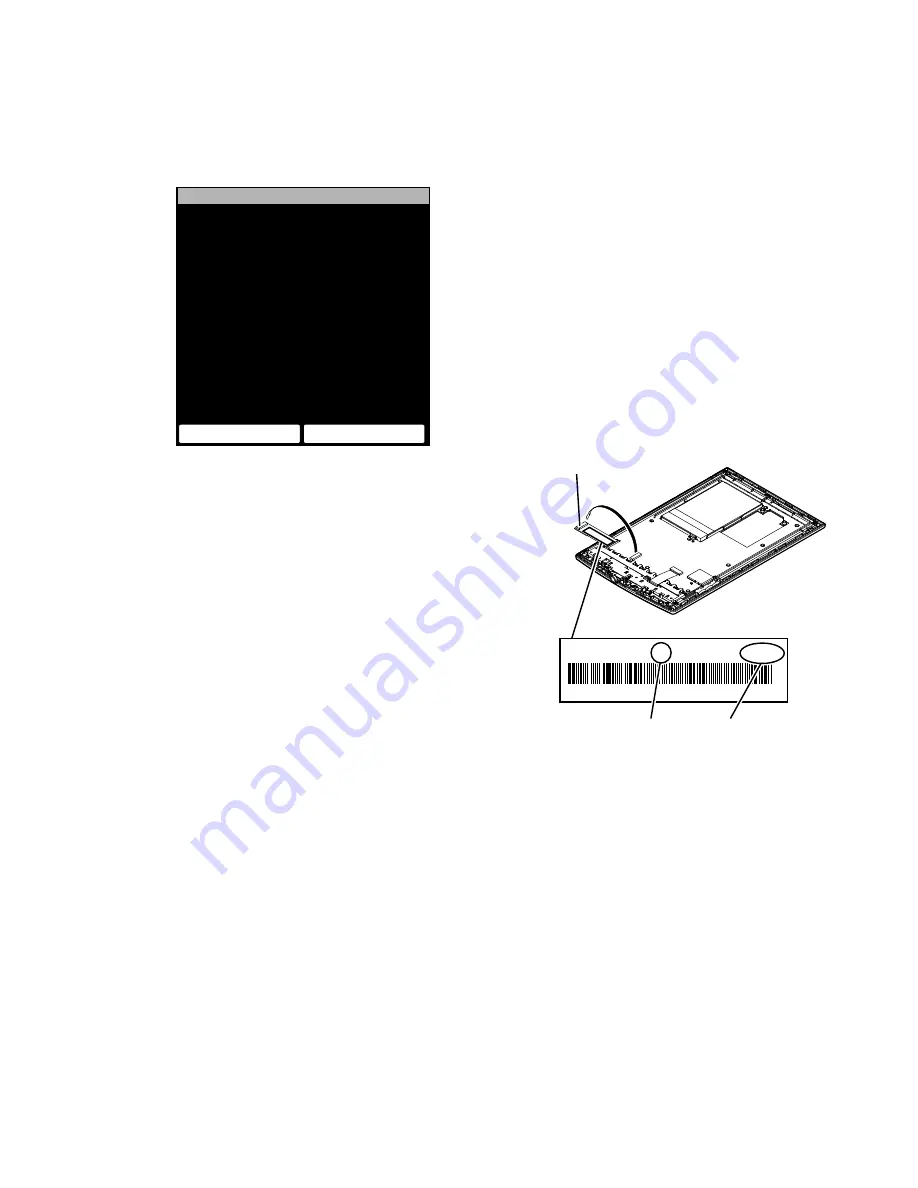
1. Touch the “Factory Initialize” in the test mode menu.
Factory Initialize
Would you like to execute
‘Factory Initialize’ ?
Yes
No
(Screen display)
2. When “Yes” is touched, the deletion of all histories and reset of
all settings are executed, then this unit turn the power off.
9. Update Waveform
LUT rewriting and the LUT update con
fi
rmation can be executed.
As for INK INDICATOR 6inch ELEMENT, the parameter that
rewrites the screen of each FPL lot number and TFT vender are
different. This parameter is called LUT (Look Up Table).
Therefor, you need to rewrite the LUT when replacing the com-
plete MAIN board or CHASSIS ASSY (including INK INDICA-
TOR 6inch ELEMENT).
However, rewriting is not required if the FPL lot number and TFT
vender are the same.
Note 1:
LUT is written in IC2001 on the MAIN board.
Procedure:
1. The LUT con
fi
rm method is different according to replaced
parts.
When the complete MAIN board is replaced:
Disassemble this unit until the FPL lot number and TFT vender
are seen (Refer to “2. DISASSEMBLY” (pages 3 to 7)), and
con
fi
rm the FPL lot number and TFT vender referring to the
fi
gure below. Record the con
fi
rmed the FPL lot number and
TFT vender by taking the memo etc..
FPL lot number
Flexible board of INK
INDICATOR 6inch ELEMENT
E4KR28C01L5V00111AT
ED060SCE(LF)C1 FME60B5060(E120)
TFT vender
When the CHASSIS ASSY (including INK INDICATOR
6inch ELEMENT) is replaced:
Con
fi
rm the FPL lot number and TFT vender described on the
label of new CHASSIS ASSY (including INK INDICATOR
6inch ELEMENT). Record the con
fi
rmed the FPL lot number
and TFT vender by taking the memo etc..
2. Replace complete MAIN board or CHASSIS ASSY (including
INK INDICATOR 6inch ELEMENT) for new parts, and as-
semble this unit.
3. Con
fi
rm the following data to the service headquarters.
•
WF
fi
le corresponding to the recorded FPL lot number and
TFT vender
•
WF
fi
le translation tool (wwv_parser.exe)
4. Copy the
fi
le and the tool obtained in step 3 to directly under
the C drive of PC (Windows XP or more is recommended).


