1-16
66
Settings and Adjustments
Using the Setup Display
By using the Setup Display, you can make
various adjustments to items such as picture
and sound. You can also set a language for
the subtitles and the Setup Display, among
other things. For details on each Setup
Display item see page 67 through 73. For an
overall list of Setup Display items, see page
82.
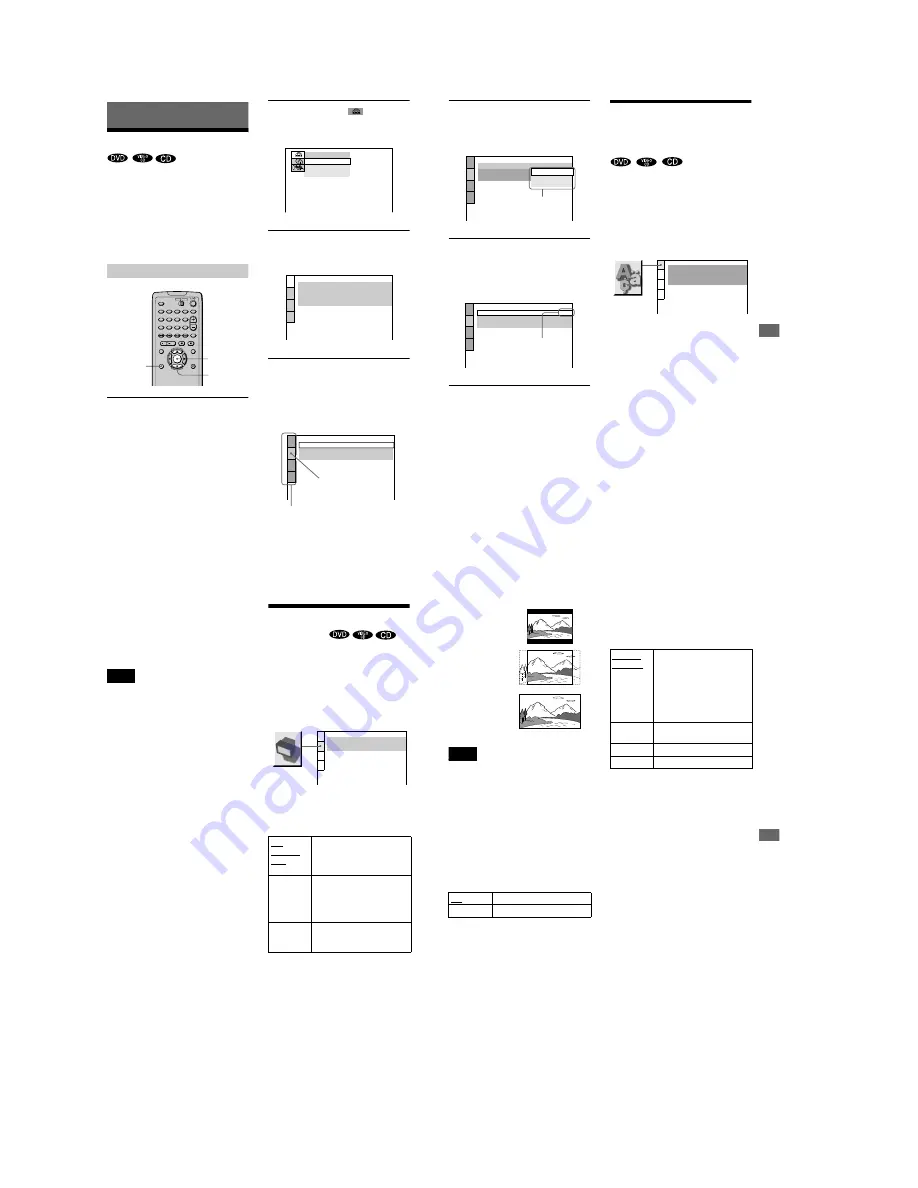
How to use the Setup Display
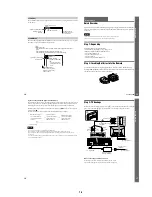
1
Press DISPLAY on the remote when the
player is in stop mode.
The Control Menu appears.
2
Press
X/x
to select
(SETUP) and
press ENTER.
The options for “SETUP” appear.
3
Press
X/x
to select “CUSTOM” and
press ENTER.
The Setup Display appears.
4
Press
X/x
to select the setup item from
the displayed list: “LANGUAGE SETUP,”
“SCREEN SETUP,” “CUSTOM SETUP,”
or “AUDIO SETUP.” Then press ENTER.
The selected setup item appears.
Example: “SCREEN SETUP”
DISPLAY
ENTER
X/x
QUICK
QUICK
CUSTOM
RESET
LANGUAGE SETUP
MENU:
AUDIO:
SUBTITLE:
ORIGINAL
ENGLISH
OSD:
ENGLISH
ENGLISH
SCREEN SETUP
TV TYPE:
SCREEN SAVER:
BACKGROUND:
4:3 LETTER BOX
ON
JACKET PICTURE
Selected item
Setup items
67
Se
ttings
a
nd Adj
u
s
tm
e
n
ts
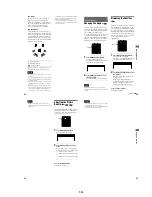
5
Select an item using
X/x
, then press
ENTER.
The options for the selected item appear.
Example: “TV TYPE”
6
Select a setting using
X/x
, then press
ENTER.
The setting is selected and setup is
complete.
Example: “16:9”
To turn off the Setup Display
Press DISPLAY repeatedly until the Setup
Display is turned off.
z
If you select “QUICK” in Step 3, you will enter the
Quick Setup mode (page 32).
Follow from Step 5 of the Quick Setup explanation to
make basic adjustments.
z
If you select “RESET” in Step 3, you can reset all
of the “SETUP” settings on pages 82 to 83 (except for
“PARENTAL CONTROL”) to the default settings.
After you select “RESET” and press ENTER, select
“YES” and press ENTER to reset the settings (it takes
a few seconds to complete), or select “NO” and press
ENTER to return to the Control Menu. Do not press
?/
1
when resetting the player.
Setting the Display or
Sound Track Language
(LANGUAGE SETUP)
“LANGUAGE SETUP” allows you to set
various languages for the on-screen display
or sound track.
Select “LANGUAGE SETUP” in the Setup
Display. For details on using the display, see
“Using the Setup Display” (page 66).
x
OSD (On-Screen Display)
Switches the display language on the screen.
Selects the language from the displayed list.
x
MENU (DVD only)
You can select the desired language for the
menu.
x
AUDIO (DVD only)
Switches the language of the sound track.
Selects the language from the displayed list.
When you select “ORIGINAL,” the language
given priority in the disc is selected.
x
SUBTITLE (DVD only)
Switches the language of the subtitles
recorded on the DVD.
Select the language from the displayed list.
When you select “AUDIO FOLLOW,” the
language for the subtitles changes according
to the language you selected for the sound
track.
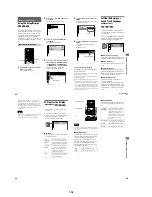
SCREEN SETUP
TV TYPE:
SCREEN SAVER:
BACKGROUND:
4:3 LETTER BOX
4:3 LETTER BOX
4:3 PAN SCAN
16:9
Options
SCREEN SETUP
TV TYPE:
SCREEN SAVER:
BACKGROUND:
16:9
ON
JACKET PICTURE
Selected setting
LANGUAGE SETUP
OSD:
MENU:
AUDIO:
SUBTITLE:
ENGLISH
ENGLISH
ORIGINAL
ENGLISH
continued
68
z
If you select “OTHERS
t
” in “MENU,”
“SUBTITLE,” and “AUDIO,” select and enter the
language code from the list using
X/x
to select the
digit, followed by
c
to move the cursor (page 81).
After you have made a selection, the language code (4
digits) is displayed the next time you select
“OTHERS
t
.”
Note
When you select a language that is not recorded on the
DVD, one of the recorded languages will be
automatically selected (except for the “OSD”).
Settings for the Display
(SCREEN SETUP)
Choose settings according to the TV to be
connected.
Select “SCREEN SETUP” in the Setup
Display. For details on using the display, see
“Using the Setup Display” (page 66).
The default settings are underlined.
x
TV TYPE
Selects the aspect ratio of the connected TV
(4:3 standard or wide).
4:3
LETTER
BOX
Select this when you connect a
4:3 screen TV. Displays a wide
picture with bands on the upper
and lower portions of the screen.
4:3 PAN
SCAN
Select this when you connect a
4:3 screen TV. Automatically
displays the wide picture on the
entire screen and cuts off the
portions that do not fit.
16:9
Select this when you connect a
wide-screen TV or a TV with a
wide mode function.
SCREEN SETUP
TV TYPE:
SCREEN SAVER:
BACKGROUND:
4:3 LETTER BOX
ON
JACKET PICTURE
69
Se
ttings
a
nd Adj
u
s
tm
e
n
ts
Note
Depending on the DVD, “4:3 LETTER BOX” may be
selected automatically instead of “4:3 PAN SCAN” or
vice versa.
x
SCREEN SAVER
Turns on and off the screen saver so that the
screen saver image appears when you leave
the player in pause or stop mode for 15
minutes, or when you play back a CD for
more than 15 minutes. The screen saver will
help prevent your display device from
becoming damaged (ghosting). Press
H
to
turn off the screen saver.
x
BACKGROUND
Selects the background color or picture on the
TV screen in stop mode or while playing a
CD.
ON
Turns on the screen saver.
OFF
Turns off the screen saver.
4:3 LETTER BOX
4:3 PAN SCAN
16:9
JACKET
PICTURE
The jacket picture (still picture)
appears in the background, but
only when the jacket picture is
already recorded on the disc
(CD-EXTRA, etc.). If the disc
does not contain a jacket picture,
the “GRAPHICS” picture
appears.
GRAPHICS
A preset picture stored in the
player appears in the background.
BLUE
The background color is blue.
BLACK
The background color is black.


