93
Remote Camera Connections and Settings
S
e
tti
n
g
s
Settings
Remote Camera
Connections and
Settings
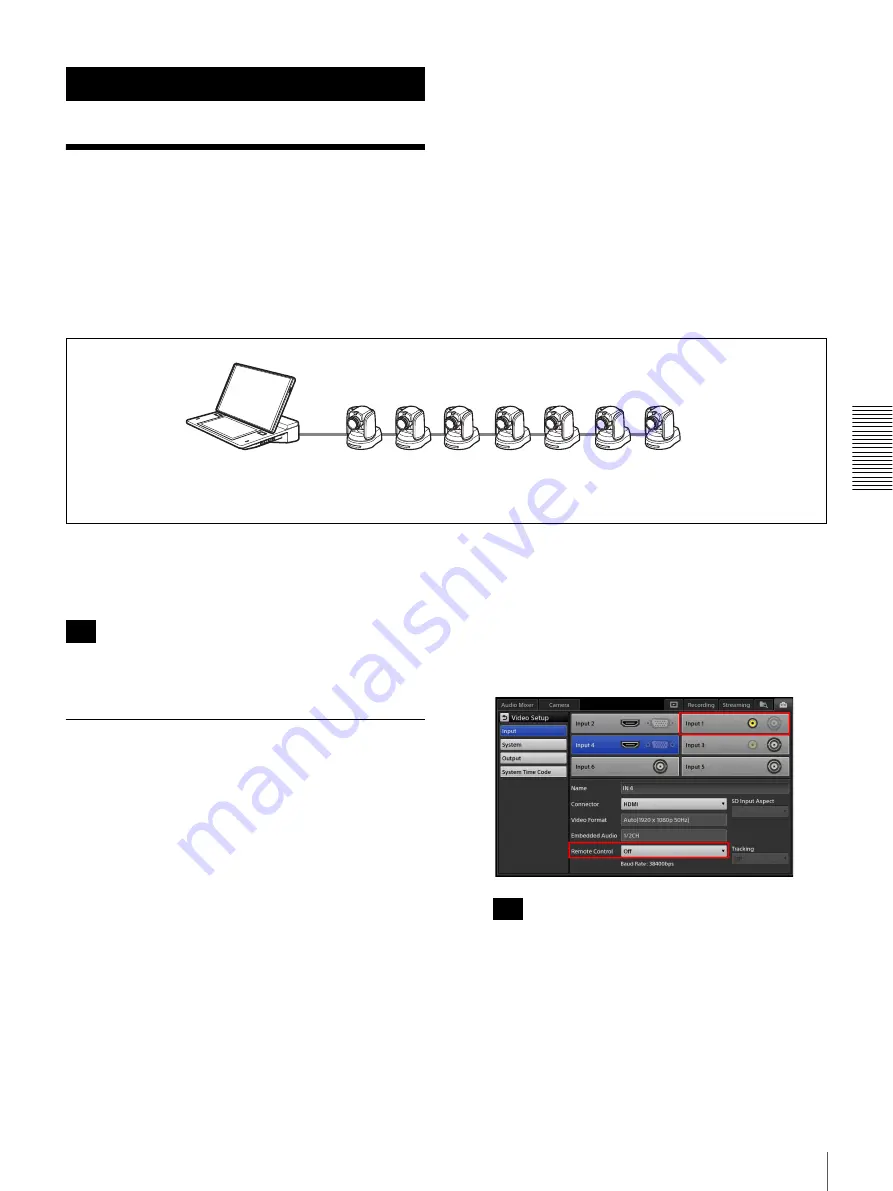
You can connect up to seven VISCA-compatible cameras
to the unit via a daisy chain connection and control them.
Configure the address number for each camera, and use
the address numbers to specify which cameras to control.
For details configuring address numbers, refer to the
instruction manual for the remote camera.
Supported models
Sony remote cameras
For details on pin assignments and connections for the
VISCA connector, see “VISCA connector” in “Connector
Pin Assignments” (page 113).
Images from up to six cameras can be input at the same
time.
Assigning Remote Cameras
After making each camera selectable in the [Input] list of
the main screen, configure settings to enable remote
control of the remote cameras.
Configure the settings while the remote cameras are
connected to the unit.
1
Connect the remote camera to the unit.
2
Select the input source of the camera in the [Input] list
of the main screen, and verify the video.
3
Display the [System Setup] screen in the sub screen,
and tap [Video].
The [Video Setup] screen appears.
4
Tap [Input] to display the [Input] screen.
5
Configure video input settings for the connected
remote camera.
For details on the video input signal settings, see
“[Input]” (page 97).
6
Select the connected remote camera’s address (1 to 7)
for each connector in [Remote Control].
If the camera model does not appear in the [Remote
Control] drop-down list for an input connector to
which a camera is assigned, reset the camera to its
default settings.
For details on operations, see “Resetting remote
cameras” (page 94).
• BRC-H700
• SRG-300H
• BRC-H900
• EVI-H100S
• BRC-Z330
• EVI-H100V
• BRC-Z700
1
2
3
4
5
6
7
The above is an example of when camera address configuration is set to [Auto].
Tip
Tip
Содержание AWS-750
Страница 121: ......


