DMS-1200 Release 6 Operations Manual
Section 2 – Hardware Installation
15
2.4 Connecting Multiple BIUs to the DMS-1200
For configurations with multiple BIUs, use a Gigabit Ethernet switch. The Gigabit Ethernet switch
should be used exclusively for this purpose and no other devices besides the DMS and BIUs
should be connected to it.
1. Plug a CAT5e Ethernet cable into the Ethernet Port located on the Main Central Processor
Unit (MCPU) at the front of each BIU. Plug the other end into the switch.
2. Connect the switch to the BIU port at the back of the DMS.
The DMS will automatically assign an IP address to each BIU.
TIP
: SOLiD recommends using a Gigabit Ethernet switch from manufacturers like NETGEAR –
model NETGEAR JGS524 24-port GB Ethernet Switch – or equivalent.
2.5 Connecting to the DMS-1200
You can set up the DMS-1200 for either local (onsite) or remote login.
1.
Local setup
: To connect your laptop directly to the DMS-1200 while onsite, connect one end
of an Ethernet cable into the Ethernet port on your laptop. Connect the other end to the
Console
port on the back of the DMS.
TIP
: If working onsite, turn off the PC’s WiFi feature. The PC should not be connected to the
public Internet while it’s also connected to the Console port on the DMS. Make sure your PC has
an available Ethernet port and Automatic DHCP is enabled in your PC’s network settings.
2.
Remote setup
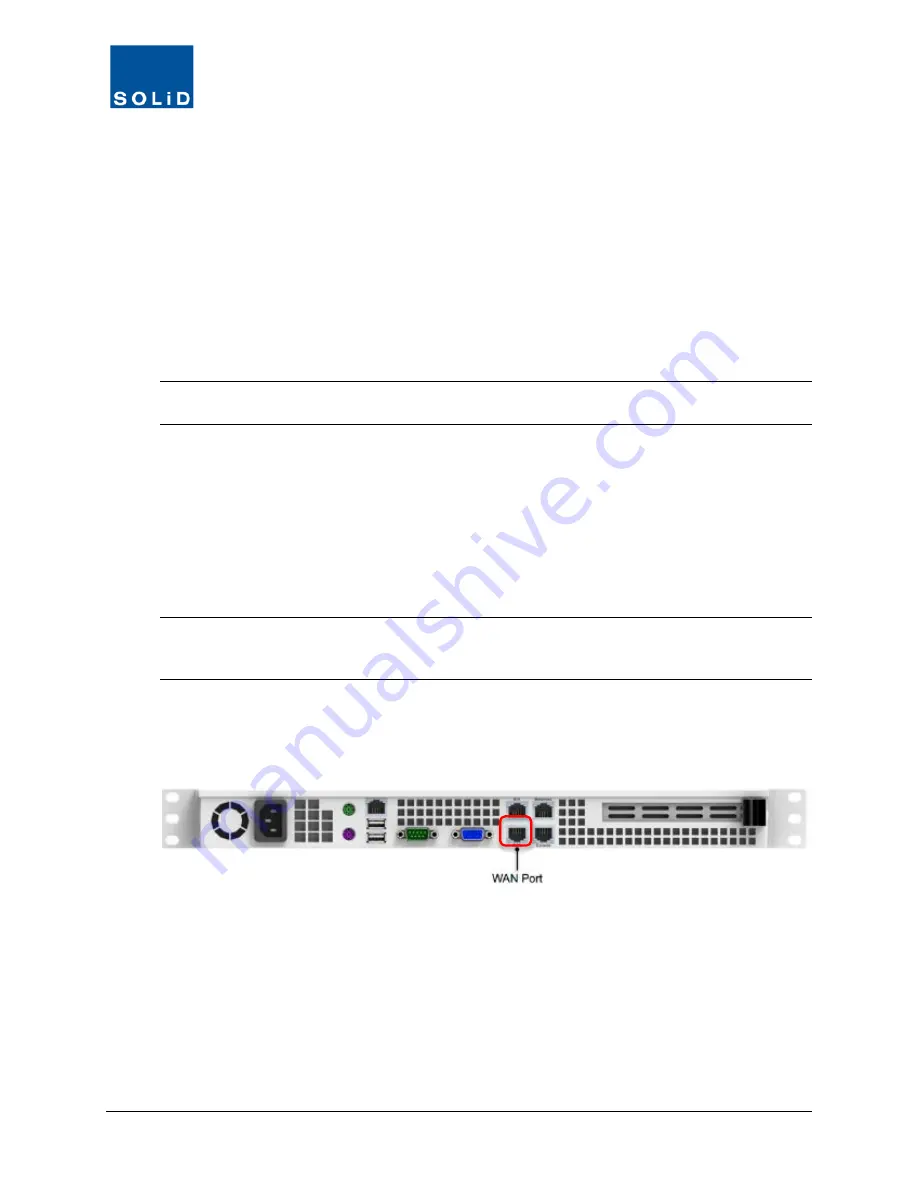
: To setup the DMS-1200 for remote login from an external NOC, connect one
end of an Ethernet cable into the
WAN
port on the back of the DMS-1200. Connect the other
end to your data network.
Figure 2.2 – WAN Port Connection for Remote Login


