SECTION 3 - INSTALLATION
Page S3-46
AUTOMATE THE PCS1
The PCS1 can have a manual on/off function if desired. Simply have a
manual bypass valve and a manual power on switch. The problem with this is that
the PCS1 is capable of cooling down a warm pool instead of heating it up. It will
accomplish this if the attic is cooler than the pool water. Using a manual setup will
always leave you guessing as to what is really happening.
Without an automatic method of controlling the PCS1,
o p t i m u m
heat
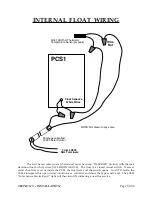
collection from solar radiation will not be possible. In addition, the leak protection
float inside the PCS1 only works in the automatic mode of the LX220 solar
controller.
Many types of solar controllers exist. SolarAttic, Inc. specifies the Compool
CorporationÕs LX220 Solar Controller because Compool has a proven history of
reliable products. SolarAttic, Inc. has had several years of experience with
CompoolÕs superior products. SolarAttic, Inc. does not support other solar
controllers.
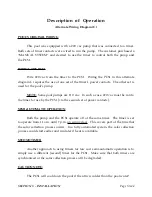
Full automation is accomplished by the LX220 operating in
AUTO
. Follow
Compool CorporationÕs installation instructions as shipped with the LX220.
LX220 INSTALLATION PROCESS
1. Physically mount the LX220 on a wall close to the support system. Note
that the valve operator cable must connect to the valve operator located on top of
the bypass valve. [The LX220 cable must reach the valve.]
2. Supply 220 vac power to the LX220 [or 110 vac].
3. Connect the LX220 internal leads for the correct voltage [220vac as shipped].
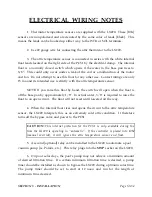
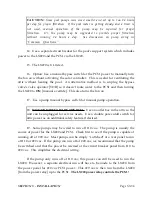
4. Wire the internal relay with 220 vac. This relay plugs into the
P M P
position on the printed circuit board.
Содержание PCS1
Страница 7: ...SECTION 1 SYSTEM ARRIVAL Page S1 1 SECTION ONE SYSTEM ARRIVAL...
Страница 22: ...SECTION 2 HEATING DATA Page S2 1 SECTION TWO HEATING DATA...
Страница 28: ...BTUS Vs GPM BTUS Vs T SECTION 2 HEATING DATA Page S2 7...
Страница 34: ...SECTION 3 INSTALLATION Page S3 1 SECTION THREE INSTALLATION...
Страница 65: ...Attic Installation Photos SECTION 3 INSTALLATION Page S3 31...
Страница 66: ...Attic Installation Photos SECTION 3 INSTALLATION Page S3 32...
Страница 79: ...SECTION 3 INSTALLATION Page S3 45 STEP THREE AUTOMATING The PCS1 With Compool s LX220 Solar Controller...
Страница 88: ...SECTION 4 SERVICE Page S4 1 SECTION FOUR SERVICE...
Страница 99: ...Common Questions Page 1 of 10 COMMON QUESTIONS...
Страница 109: ...Dictionary of Terms Page 1 of 4 DICTIONARY OF TERMS...
Страница 113: ...Site Survey Page 1 of 4 SITE SURVEY...
Страница 116: ...Site Survey Page 4 of 4 Sketch Form...


