Scanner
Features and Icons
28
5.
If Instant ID is not supported, after selecting vehicle make (and year if needed),
choose
Automatic ID
or
Manual ID
and enter the vehicle information at the
screen prompts to continue. See
If Automatic ID is selected, the identification process automatically completes
(if supported by the vehicle).
6.
Select a
Vehicle
System
(e.g. Engine, Transmission).
7.
Select a
Vehicle System Test/Function
(e.g. Codes Menu) to perform. See
6.2.4 Vehicle Identification
The vehicle must be correctly identified for the diagnostic tool to communicate, and
display data correctly. Menus and navigation will vary by vehicle.
Depending on the vehicle, the vehicle identification process may require manual
entry of the vehicle information, or it may be automated. The following three Scanner
functions are available to identify the vehicle:
Instant ID
- Automatically completes the identification process upon initial
communication between diagnostic tool and the vehicle using OBD-II VIN mode $09.
Instant ID requires specific vehicle support and procedures, see
for additional information.
Auto ID
- Automatically completes the identification process after the vehicle make
and year are manually entered.
Manual ID
- Allows for manual entry of all required vehicle identification criteria.
z
Use the following procedure to identify a vehicle.
NOTE
The following procedure applies to most OBD-II vehicles, and may vary
depending on the vehicle. Not all vehicles support the Instant ID and/or Auto ID
functions.
1.
Connect the data cable to the diagnostic tool. See
2.
Turn the vehicle ignition switch on.
3.
Connect the data cable to the vehicle data link connector (DLC). See
Cable Connection (OBD-II/EOBD Vehicles)
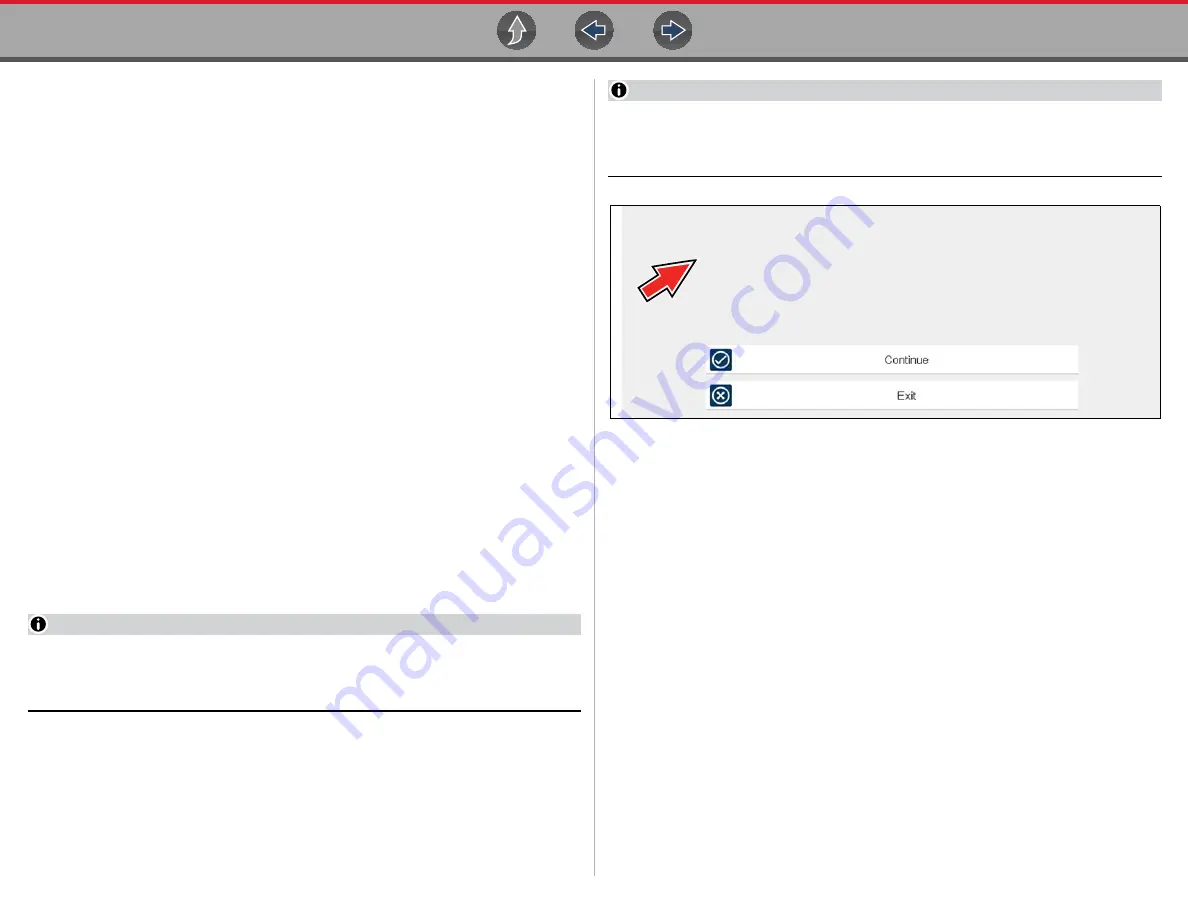
NOTE
On-screen cable and adapter connection instructions may be provided while
using the Scanner and OBD-II/EOBD functions. The instructions may also
include the location of the vehicle DLC (
Figure 6-2
Vehicle connection data cable message
4.
If the diagnostic tool is off, when the OBD-II data cable is connected to the
vehicle DLC, the diagnostic tool should automatically turn on. If the tool did not
turn on when the data cable was connected to the vehicle, check the vehicle
DLC for power. Most OBD-II vehicles supply power to the DLC, which in-turn
supplies power and turns on the diagnostic tool when the cable is connected.
5.
If required, turn the diagnostic tool on.
6.
Depending on the vehicle:
a. Instant ID may occur, as indicated by an audible "beep" approximately 6
seconds after boot-up. Select the
Scanner
icon, then wait for the vehicle
confirmation screen (
) and select
OK
to continue. Then proceed to
step 6
‚ for additional information about this
function.
Connect: DA-4 Cable.
Location: Under drivers side dash.


