background image

 SMCSD10-Z Smoke Detector Guide 


Copyright 

©

2013 SMC Networks


Page 4 

All Rights Reserved 

I/M SMCSD10-Z rev. 1.0 

6/18/13 


H.


When all the sensors are found and paired, 
tap 

Done

. Any located sensors that were not 

paired are released by the Touchscreen and 
can be added later. The Wireless Sensors 
Located screen shows the number of wireless 
sensors found and paired. 

I.


Tap 

Next

. The Configure Wireless Sensors 

screen shows icons of the sensors that were 
found and paired. 

J.


Tap 

Next

. The Add Sensor/Zone Modify 

screen appears. 

K.


To modify a field on the Touchscreen, tap 
the field. Use the onscreen keyboard to 
enter changes. Tap 

Next

 to save changes. 

L.


When all sensors are configured properly, tap 

Return to Menu

 in the Configure Wireless 

Sensors screen. 

M.


If all sensors have not been configured, the 
Modify screen appears for each sensor to let 

you review its details. Change the details as 
needed or tap 

Next

 to cycle through all the 

sensors. The sensors are marked as 
configured. 
 

7   

Mounting the Sensor 

The following procedure describes how to mount 
the SMCSD10-Z. Add the SMCSD10-Z to the 
Touchscreen before physically mounting it in the 
desired location. 

A.


Test communications between the 
Touchscreen and the SMCSD10-Z as follows 
before permanently mounting the SMCSD10-
Z: 

Hold the SMCSD10-Z where you plan to 
install it. 

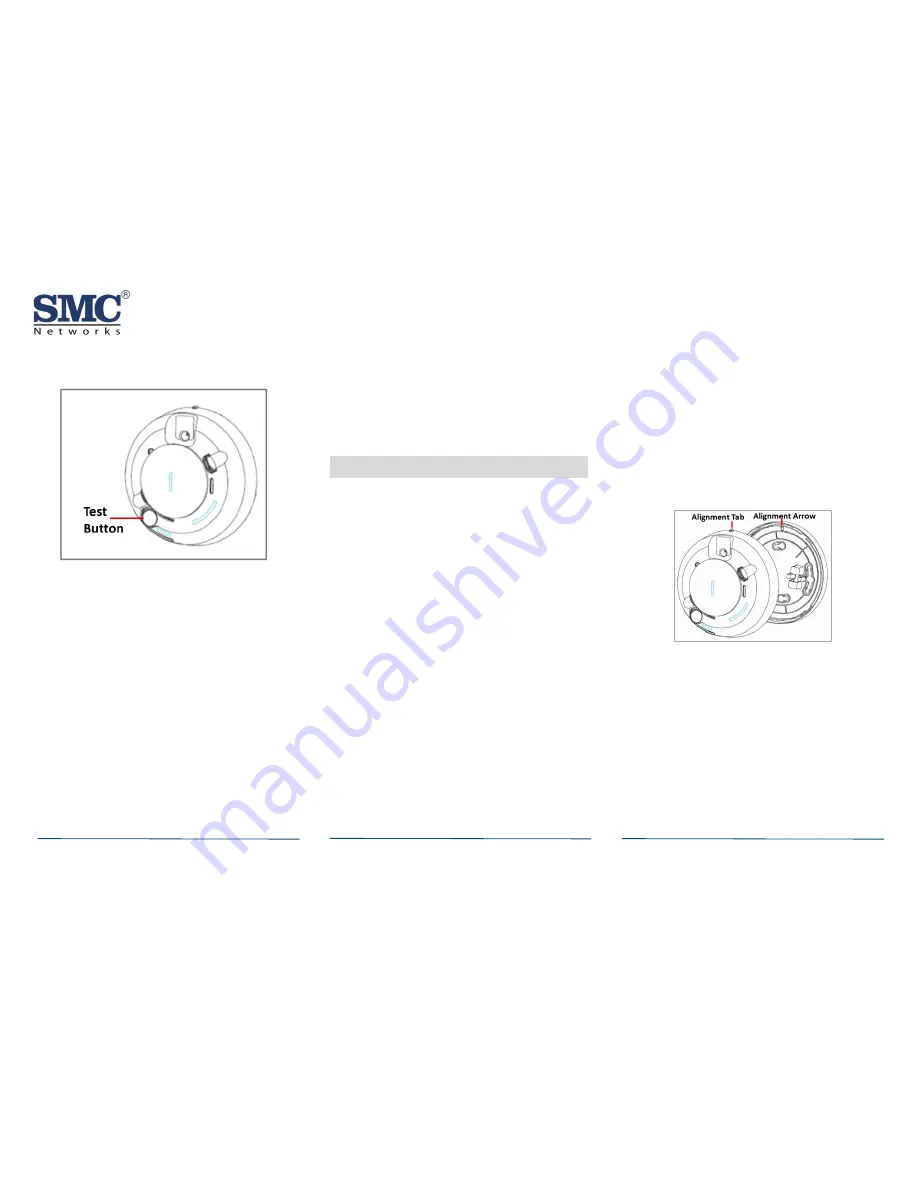
Press the SMCSD10-Z 

Test

 button for 10-to-

15 seconds. The SMCSD10-Z sends a signal 
to the Touchscreen. 

At the Touchscreen, verify the signal was 
received. A message will appear in the 
upper right corner of the Touchscreen for 
5 seconds. If no signal is received relocate 
the SMCSD10-Z and retest. 

B.


Using two supplied screws and anchors, 
mount the base. 

C.


Attach the SMCSD10-Z to the mounting base 
as follows: 

Line up the raised alignment tab on the lip 
of the SMCSD10-Z with the arrow on the 
mounting base. 

Insert the SMCSD10-Z into the base and 
turn clockwise about 15 degrees until it 
snaps into place. 

Note:


The SMCSD10-Z cannot be attached to the 

mounting base if no batteries are installed. 


D.


Test communications between the 
Touchscreen and SMCSD10-Z again: 

Press the 

Test

 button on the detector for 

10-to-15 seconds. The SMCSD10-Z sends a 
signal to the Touchscreen. 

Verify that the signal at the Touchscreen 
was received. 

E.


Test the SMCSD10-Z (see “Testing the 
SMCSD10-Z” on page 5). 

Содержание SMCSD10-Z

Страница 1: ...Pre installation Considerations Install the SMCSD10 Z in accordance with the National Fire Protection Association s NFPA Standard 72 Chapters 2 and 8 Depending on the application you may need to reference other chapters of NFPA 72 or NFPA 101 Choosing an Installation Location When choosing an installation location consider Use of structure and type of construction Contents you want to protect and ...

Страница 2: ...t smoke from reaching a smoke detector Within 10 feet 3 m of fluorescent light fixtures Not suitable for outdoor use WARNING LIMITATIONS OF SMOKE DECTECTORS The SMCSD10 Z Smoke Detector does not contain a built in audio alarm It is not intended for stand alone use it MUST be used with an approved Touchscreen Wireless smoke detectors are very reliable but may not work under all conditions No fire a...

Страница 3: ...atteries Do not replace with batteries that were used previously D Reattach the SMCSD10 Z to the mounting base and test the system E The SMCSD10 Z ships with a dust cover for protection on construction sites with dusty environments If your product is new remove the red plastic dust cover from the SMCSD10 Z 6 Pairing with Touchscreen Each SMCSD10 Z is programmed with a unique ID when manufactured T...

Страница 4: ...SMCSD10 Z Add the SMCSD10 Z to the Touchscreen before physically mounting it in the desired location A Test communications between the Touchscreen and the SMCSD10 Z as follows before permanently mounting the SMCSD10 Z Hold the SMCSD10 Z where you plan to install it Press the SMCSD10 Z Test button for 10 to 15 seconds The SMCSD10 Z sends a signal to the Touchscreen At the Touchscreen verify the sig...

Страница 5: ...e At the Settings Menu touch Security Alarm Tests Follow the Touchscreen s provided directions to place it into Test Mode C To generate a test alarm press and hold Test Button for 15 seconds An alarm message is sent to the Touchscreen The Touchscreen alarm will sound as each sensor is tested D Once completed exit Test Mode from the Touchscreen Using Smoke The SMCSD10 Z can be tested during install...

Страница 6: ...ng Zone Event History on this page To bypass a zone A With the system disarmed tap the Security app on the Home screen B Tap the Turn Zone Off button for the smoke detector The Turn Zone Off button changes to Turn Zone On C When the system is disarmed the Security Status header shows that some zones have been bypassed 12 Deleting a Sensor Deleting a sensor from the premises removes it as a monitor...

Страница 7: ...F until the SMCSD10 Z is serviced To place the SMCSD10 Z in diagnostic mode A Press the Test Button on the smoke detector for 5 seconds When the test starts the smoke detector LED flashes 1 to 9 times B Count the LED flashes and see the table below to determine the status of the smoke detector sensitivity and any action to take Flash Meaning Steps to Take 1 Unserviceable hardware fault Reset unit ...

Страница 8: ... Replace the batteries using the directions in section 5 of this guide 14 Troubleshooting The SMCSD10 Z does not power up properly or reports low battery Be sure the batteries are fully seated within the battery compartment and the polarity is correct Check the battery voltage 3 0 VDC nominal Touchscreen does not respond Follow the instructions in section 9 of this guide to test the SMCSD10 Z link...

Страница 9: ... Battery Life 5 years typically USensor Photoelectric Sensitivity 2 2 1 3 ft Drift Compensation Adj 0 5 ft max Heat Detection Fixed 135 F 5 F 57 2 C 2 8 C Heat Rate of Rise 15 F min 105 F 8 3 C min 40 6 C Low Battery Beep 1 every 45 seconds RF Wireless Frequency 2 4 GHz Weight w battery 0 20 lbs 0 09 kg Dimensions 5 6 x 2 4 14 2cm x 6 1cm Storage temperature 4 to 140 F 20 to 60 C Operating environ...

Страница 10: ...codes and standards or by the authority having jurisdiction NFPA 72 8 1 4 1 3 2 Detection in New Apartment Buildings Approved single station smoke alarms shall be installed in accordance with 7 6 2 10 of NFPA 101 outside every sleeping area in the immediate vicinity of the bedrooms and on all levels of the dwelling unit including basements 101 18 3 4 4 2 For exceptions refer to this section of NFP...

Страница 11: ...ediately Don t stop to pack or search for valuables In heavy smoke hold your breath and stay low crawl if necessary The clearest air is usually near the floor If you have to go through a closed door carefully feel the door and door knob to see if undue heat is present If they seem cool brace your foot against the bottom of the door with your hip against the door and one hand against the top edge O...

Отзывы: