Installing the SMART Hub SE240
13
5.
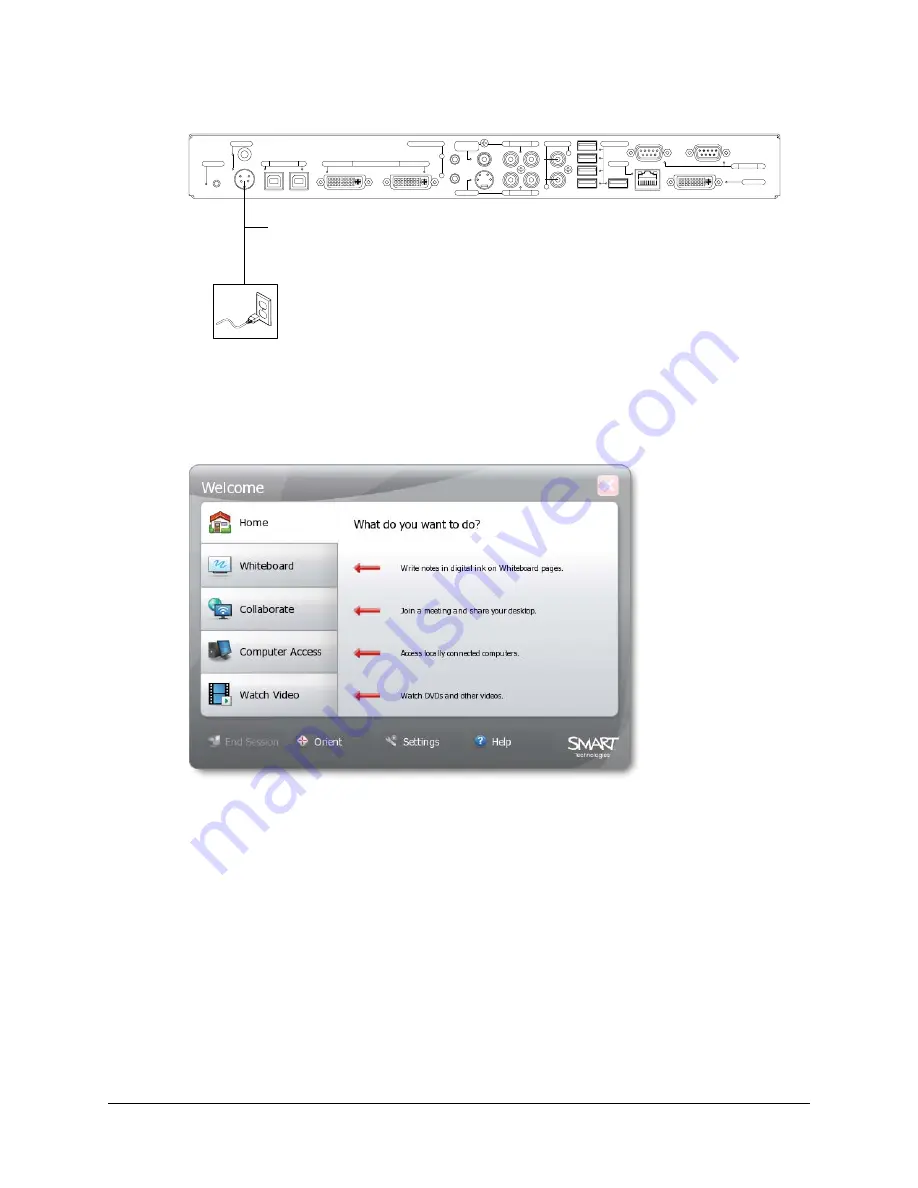
Connect the SMART Hub SE240 to a power supply.
NOTE:
For instructions on connecting computers and video sources to the SMART Hub
SE240, see page 22 and page 24.
6.
Turn on your SMART product and its projector or display.
The Welcome Center appears on the display.
You’ve connected the SMART Hub SE240.
Verifying that the SMART Hub SE240 Firmware is Current
After installing the SMART Hub SE240, verify that its firmware is current. For instructions, see
page 75.
L
R
12V DC
Reset
Computer
2
1
Video In
Computer 1
Computer Audio
2
1
Composite
Video
S-video
Audio In
L
R
Audio In
L
R
Audio Out
USB
Network
RS-232
B
A
Video Out
Computer 2
Power Supply (provided with the
SMART Hub SE240)
Содержание SE240
Страница 1: ...Installation and User s Guide SMART Hub SE240 ...
Страница 4: ...ii Important Information ...
Страница 10: ...4 About the SMART Hub SE240 ...
Страница 20: ...14 Installing the SMART Hub SE240 ...
Страница 50: ...44 Configuring the SMART Hub SE240 ...
Страница 90: ...84 Troubleshooting the SMART Hub SE240 ...
Страница 92: ...86 Regulatory Compliance ...
Страница 99: ......


