26
Configuring the SMART Hub SE240
1.
Press
Menu
.
The Welcome Center appears.
2.
Press
Settings
.
The
Settings
dialog box appears.
3.
If a password is required to change the configuration settings, type the password in the box at
the bottom of the menu, and then press
OK
.
NOTE:
For information on the configuration settings password, see page 20.
4.
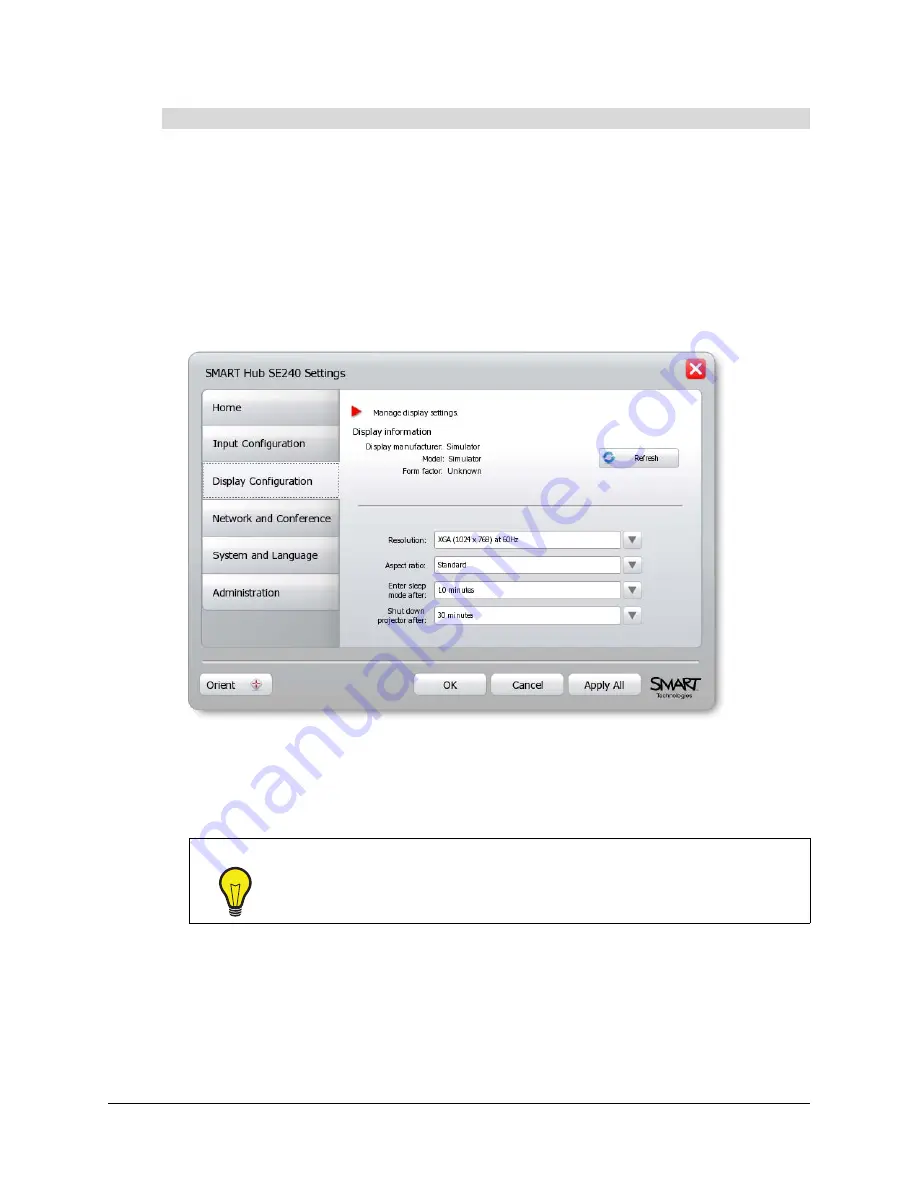
Press
Display Configuration
.
NOTE:
The top portion of the
Display Configuration
tab shows information on the projector or
display connected to the SMART Hub SE240. You can refresh this information by pressing
Refresh
.
5.
In the
Resolution
list, select a resolution.
To configure the display settings
TIP
If the selected resolution is not supported by the projector or display, press
CTRL+ALT+SHIFT+0 to reset the display settings. The SMART Hub SE240
display may take several minutes to reappear.
Содержание SE240
Страница 1: ...Installation and User s Guide SMART Hub SE240 ...
Страница 4: ...ii Important Information ...
Страница 10: ...4 About the SMART Hub SE240 ...
Страница 20: ...14 Installing the SMART Hub SE240 ...
Страница 50: ...44 Configuring the SMART Hub SE240 ...
Страница 90: ...84 Troubleshooting the SMART Hub SE240 ...
Страница 92: ...86 Regulatory Compliance ...
Страница 99: ......


