SMA Solar Technology AG
Installation Guide
SB50US-80US-IUS094030
33
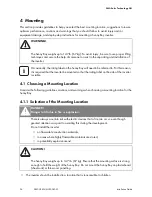
5. Insert the screws through the holes in the wall-mounting bracket and into the holes you drilled in
the wall. Tighten the screws until the bracket is held firmly against the wall. Do not overtighten
the screws.
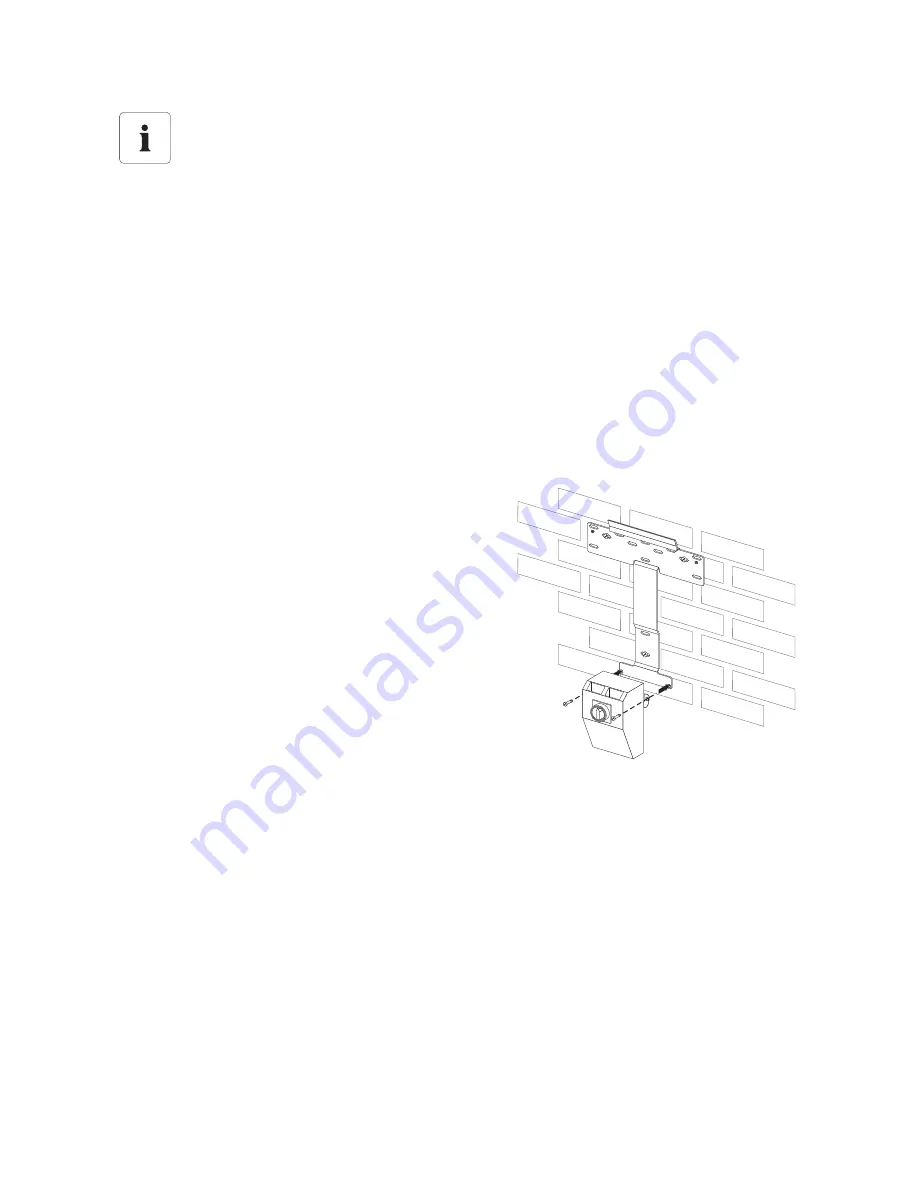
4.3.2 Mounting the SMA DC-Disconnect (if applicable)
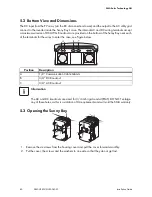
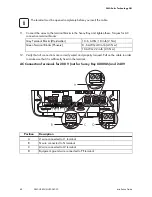
Attach the SMA DC-Disconnect to the two lower holes of
the wall-mounting bracket, using two M6 x 10 screws
and washers provided. The teeth of the washers should
face towards the wall in order to ensure proper
grounding. Tighten the screw to a torque of 44 in-lb (5
Nm).
Tip for installing
The diameter of the holes you drill must match the hardware you are using to mount the
Sunny Boy.
For example, if you are mounting the Sunny Boy to a concrete wall, the hole diameter
should be approximately the same as the outside diameter of the concrete anchors you
intend to use. If you are mounting the Sunny Boy on a wall that has wooden studs inside it,
the hole diameter should be the correct size for the lag screws you intend to use to mount
the bracket. It is recommended that the lag screws be made of stainless steel, and the
diameter of the screws closely match the diameter of the holes in the wall-mounting bracket.
Make sure that the screws are long enough to penetrate the wall to a depth of 1 and 1/2“.
Содержание SUNNY BOY 8000-US
Страница 2: ......
Страница 10: ...SMA Solar Technology AG 10 SB50US 80US IUS094030 Installation Guide...
Страница 29: ...SMA Solar Technology AG Installation Guide SB50US 80US IUS094030 29 Dimensions of the Wall Mounting Bracket...
Страница 105: ...SMA Solar Technology AG Installation Guide SB50US 80US IUS094030 105...
Страница 106: ...SMA Solar Technology AG 106 SB50US 80US IUS094030 Installation Guide...
Страница 107: ......
Страница 108: ...4 NFSJDB ODPSQPSBUFE XXX TNB BNFSJDB DPN...


