77
IT
ES
ENG
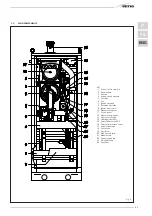
Fig. 12
3.1
ELECTRONIC BOARD
Built according to Low Voltage directive
CEE 73/23 and powered at 230 Volt, via a
transformer it sends 24 Volt power to the
following components: gas valve, safety
thermostat, heating probe, water pressure
transducer and air pressure switch.
An automatic and continual modulation
system permits the boiler to adjust power
to the various system or user needs.
Electronic components are guaranteed to
operate in a temperature range from 0 to
+60°C.
3.1.1
Malfunctions
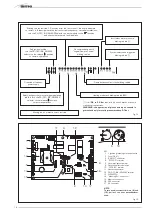
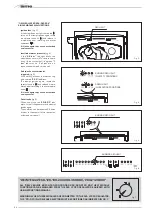
The led that signal errors and/or malfunc-
tions are indicated in fig. 14.
3.1.2
Devices
The electronic board is equipped with the
following devices:
–
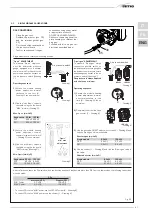
“POT. RISC.” trimmer
(10 fig. 15)
Adjusts maximum heating power.
To increase the value, rotate the trim-
mer clockwise, to reduce it, rotate the
trimmer counter-clockwise.
–
“POT. ACC.” trimmer
(6 fig. 15)
Trimmer to vary the gas valve ignition
pressure level (STEP). According to the
type of gas the boiler is designed for, the
trimmer must be adjusted to achieve a
burner pressure of approximately 6.5
mm H
2
O for methane gas and 9.5 mm
H
2
O for propane gas (G31).
To increase pressure, rotate the trim-
mer clockwise, to reduce it, rotate the
trimmer counter-clockwise. The slow igni-
tion pressure level can be set during the
first five seconds after the burner is lit.
After setting the ignition pressure level
(STEP) according to the type of gas,
make sure that the heating gas pressu-
re is still the previously set value.
–
“ANN. RIT.” connector
(5 fig. 15)
The electronic board is programmed,
during heating, with a technical burner
delay of about 90 seconds that is perfor-
med both at cold start and subsequent
ignitions. This is to prevent rapid ignitions
and shutdowns that could, in particular,
occur in systems with high load losses.
Each time the boiler restarts, after the
slow ignition, for about 1 minute it will run
at minimum modulation pressure before
moving to the set heating pressure. The
addition of a bridge will cancel both the
programmed technical delay and the
minimum pressure operating period at
ignition. In this case, the time between
shutdown and the next ignition will depend
on a 5°C differential detected by the hea-
ting probe (SM).
–
DIP SWITCH
(13 fig. 15)
For correct module operations, the dip
switches must be positioned as indicated
below:
–
“Modureg Sel.” connector
(14 fig. 15)
The bridge must always be
connected
.
–
“Albatros” connector
(15 fig. 15)
The bridge must always be off.
It is only engaged in sequence/cascade
installations with several boilers.
WARNING: All the above operations must be
per f or med by aut hor ised per sonnel,
otherwise the warranty shall be invalidated.
3
FEATURES
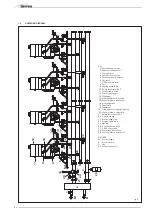
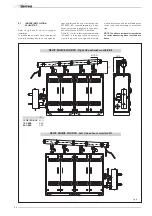
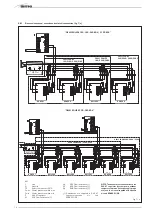
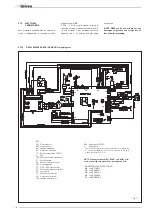
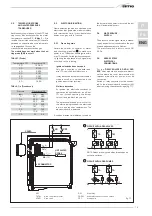
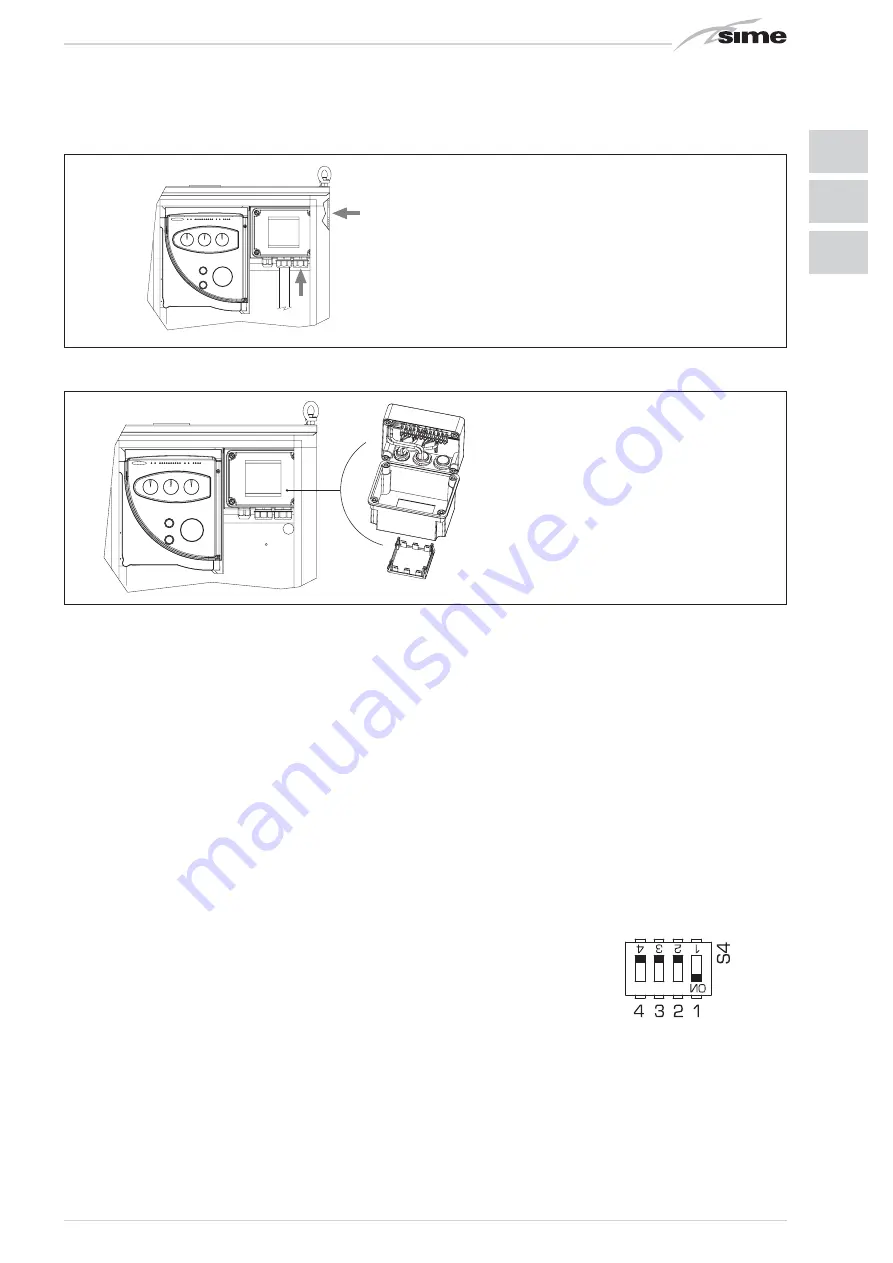
2.10.2 “DEWY EQUIPE 120-180-240-300-360 BOX/P60-P120 BOX” sequence/cascade electrical connections
Fig. 12/a
2.10.3 Installing cascade/sequence control unit supplied with kit code 8096301/08
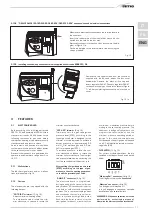
Remove the two upper screws from the shunt box
supplied with the box and adjust the box cover
downwards. Remove the black orifice cap and
insert regulator RVA 47. Connect regulator RVA 47
to the power supply, as shown in the layout of Figure
7/a. After completing the connection, close the box
cover.
Modules are electrically connected to the terminal board in
the shunt box.
Insert the rubber pipe of the module that has to be con-
nected into the hole on the box wall.
Electrically connect it to the shunt box, as shown in the dia-
gram of Figure 7/a.
Fix the rubber pipe to the internal wall of the box using the
straps provided.
Содержание DEWY EQUIPE 120 BOX
Страница 2: ......
Страница 88: ......
Страница 89: ...TAGLIARE LUNGO LA LINEA TRATTEGGIATA ...
Страница 90: ......
Страница 91: ......

