background image

30

SIMADO GDT11 System Manual

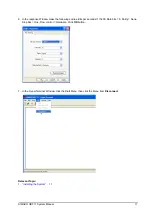
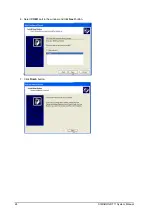
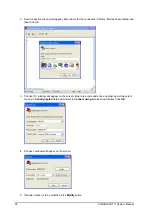
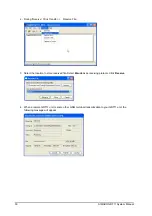
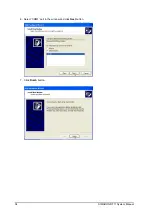
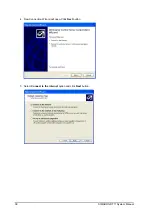
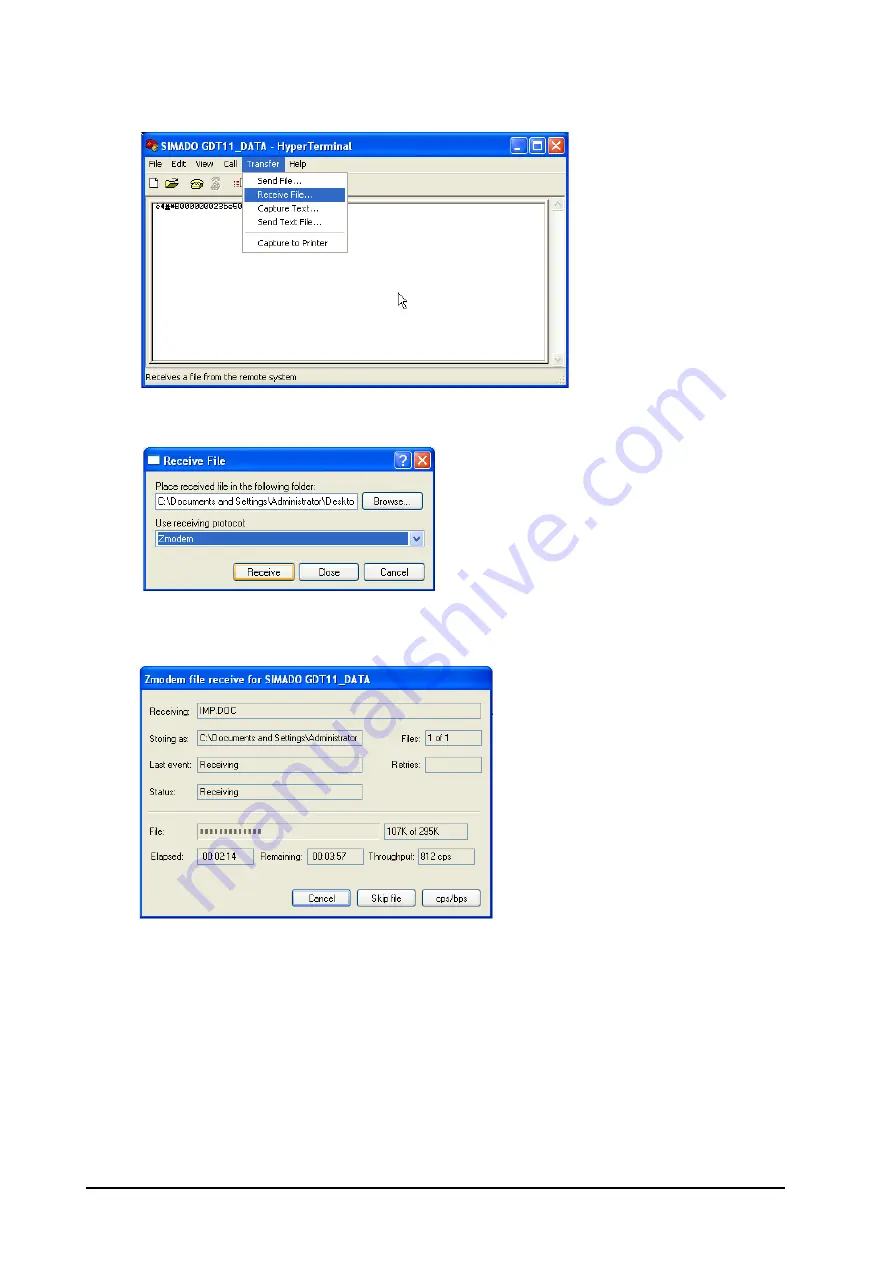
2. During 'Receive', Click Transfer 



Receive File.

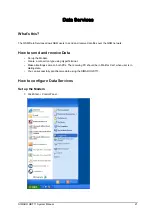
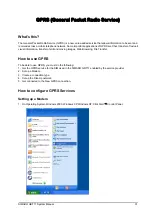
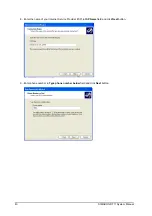
3. Select the location to store received file. Select 

Zmodem

 as receiving protocol. Click 

Receive

.

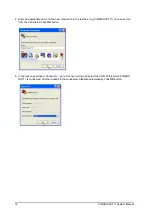
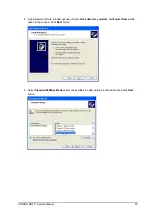
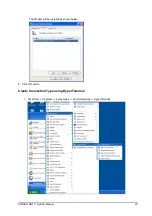
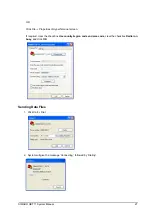
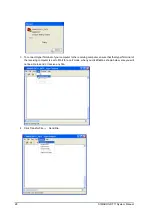
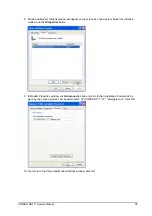
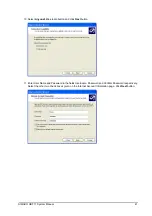
4. When a remote GDT11 unit or some other GSM terminal transmits data to your GDT11 unit, the 

following message will appear.

Содержание GDT11

Страница 1: ...SIMADO GDT11 System Manual ...

Страница 2: ......

Страница 3: ...SIMADO GDT11 GSM CDMA Fixed Cellular Terminal for Data Applications System Manual ...

Страница 4: ...hile every precaution has been taken in the preparation of this system manual Matrix Comsec assumes no responsibility for errors or omissions Neither is any liability assumed for damages resulting from the use of the information contained herein Neither Matrix Comsec nor its affiliates shall be liable to the purchaser of this product or third parties for damages losses costs or expenses incurred b...

Страница 5: ... Getting Started 14 Section 2 Features and Facilities 19 Data Services 21 GPRS General Packet Radio Service 31 Voice Services 44 SMS Short Message Service 47 Fax Services 51 Section 3 Appendices 65 Appendix A Technical Specifications 67 Appendix B Regulatory Information 68 Warranty Statement 70 ...

Страница 6: ......

Страница 7: ...Section 1 Introduction ...

Страница 8: ......

Страница 9: ...1 This document contains three broad sections Section 1 Introduction provides an overview of the product instructions for installing and operating it Section 2 Features and Facilities describes the features of SIMADO GDT11 and provides instructions for configuring and using these features Section 3 Appendices contains the technical specifications of SIMADO GDT11 and information on product certific...

Страница 10: ... SMS Data Services Sending and Receiving Data files Web Browsing Exploring the Internet Fax Services Sending and Receiving Fax Voice Services You can connect the SIMADO GDT11 to a PC and use it efficiently for web browsing sending and receiving SMS data transfer and fax services The SIMADO GDT11 is easy to install and finds its application in enterprises and institutions of varying sizes SIMADO GD...

Страница 11: ...er the following conditions If liquid has been spilled into the product If the product has been exposed to rain or water If the product has been dropped or the cabinet has been damaged If the product exhibits a distinct change in performance Warning for RF Safety The product complies with RF exposure guidelines as per standard FCC 47 CFR part 2 However please observe the following precautions Make...

Страница 12: ...pplied with SIMADO GDT11 into the power jack of the GDT11 and plug the adapter into the wall outlet for AC Mains Insert the SIM Card in the SIM card holder Do not power ON the system before you install the SIM Card as this may cause damage to the SIM Card Card Connect the COM Port of a PC to the COM Port of SIMADO GDT11 using the modem cable provided by Matrix Connect any headphone of standard mak...

Страница 13: ...SIMADO GDT11 System Manual 13 SIMADO GDT11 Dimensions 104 00 mm 4 09 Inch 80 00 mm 3 15 Inch 27 00 mm 1 06 Inch SIMADO GDT11 ...

Страница 14: ...rd If no SIM card is present then LED marked NW remains continuously ON When SIM card is inserted and the network is available this LED starts blinking The SIMADO GDT11 is now ready for use Now create Connection Type using HyperTerminal Creating Connection Type using HyperTerminal 1 Click Start All Programs Accessories Communications HyperTerminal ...

Страница 15: ...SIMADO GDT11 System Manual 15 2 Double click Hypertrm Icon 3 A New Connection Dialog Box with a text box for connection description appears ...

Страница 16: ...ion in the text box e g SIMADO GDT11 choose an Icon from the Icons listed Click OK button 5 In the response Window Connect To go to Connect Using and select the COM Port to which SIMADO GDT11 is connected All other options in the window are disabled automatically Click OK button ...

Страница 17: ... make the following entries Bits per seconds 115200 Data bits 8 Parity None Stop bits One Flow control Hardware Click OK button 7 In the HyperTerminal Window click the Call Menu then click the Menu Item Disconnect Relevant Topic 1 Installing the System 11 ...

Страница 18: ...18 SIMADO GDT11 System Manual ...

Страница 19: ...Section 2 Features and Facilities ...

Страница 20: ......

Страница 21: ...twork How to send and receive Data Set up the Modem Create a connection type using HyperTerminal Make all settings same on both PCs The receiving PC should be in Wait for Call when user is in dialing state You can successfully send receive data using the SIMADO GDT11 How to configure Data Services Set up the Modem 1 Click Start Control Panel ...

Страница 22: ...22 SIMADO GDT11 System Manual 2 Control Panel window will open up as shown below Double click the Phone and Modem Options icon 3 Phone and Modem Options window will open as shown below Click Add button ...

Страница 23: ... Add Hardware Wizard window will open Select Don t detect my modem I will select from a list option in the window Click Next button 5 Select Standard 9600bps Modem from the available modem options in the window and click Next button ...

Страница 24: ...24 SIMADO GDT11 System Manual 6 Select COM1 port in the window and click Next button 7 Click Finish button ...

Страница 25: ...SIMADO GDT11 System Manual 25 The Modem will be installed as shown below 8 Click OK button Create Connection Type using HyperTerminal 1 Click Start Programs Accessories Communications HyperTerminal ...

Страница 26: ...shown below and then click OK 3 Connect To window will appear on the screen Enter area code and phone number as well as select country in Country region field and modem in Connect using field as shown below Click OK 4 Connect window will appear on the screen 5 If phone number is to be modified click Modify button ...

Страница 27: ...operties of HyperTerminal screen If required clear the checkbox Use country region code and area code clear the checkbox Redial on busy and click OK Sending Data Files 1 Click Call Dial 2 System will give the message Connecting followed by Dialing ...

Страница 28: ...nal of your computer to the receiving computer ensure that the HyperTerminal of the receiving computer is set to Wait for a call mode when you click Call as shown below else you will not be able to send or receive any file 4 Click Transfer File Send File ...

Страница 29: ...System Manual 29 5 Browse and select the file to be sent Select Zmodem as the setup protocol Click Send 6 Message Sending will appear as shown below Receiving Data Files 1 On HyperTerminal click Call Wait for a call ...

Страница 30: ...e Click Transfer Receive File 3 Select the location to store received file Select Zmodem as receiving protocol Click Receive 4 When a remote GDT11 unit or some other GSM terminal transmits data to your GDT11 unit the following message will appear ...

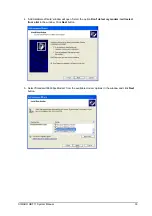
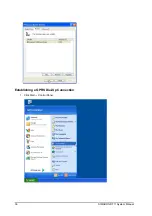
Страница 31: ...l visual information transfer of still and moving images Web Browsing File Transfer How to use GPRS To be able to use GPRS you must do the following 1 Get the GPRS service for the SIM used in the SIMADO GDT11 enabled by the service provider 2 Set up a Modem 3 Create a connection type 4 Set up the Dial Up network 5 Get connected to the New GPRS connection How to configure GPRS Services Setting up a...

Страница 32: ...32 SIMADO GDT11 System Manual 2 Control Panel window will open up as shown below Double click the Phone and Modem Options icon 3 Phone and Modem Options window will open as shown below Click Add button ...

Страница 33: ...dd Hardware Wizard window will open Select the option Don t detect my modem I will select from a list in the window Click Next button 5 Select Standard 33600bps Modem from the available modem options in the window and click Next button ...

Страница 34: ...34 SIMADO GDT11 System Manual 6 Select COM1 port in the window and click Next button 7 Click Finish button ...

Страница 35: ...low Select the installed modem and click Properties button 9 In Modem Properties window click Advanced tab and enter the Extra Initialization Commands as given by the service provider For example enter AT CGDCONT 1 IP airtelgprs com Click OK 10 You return to the Phone and Modem Options window click OK ...

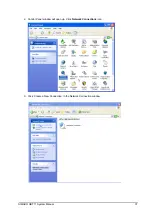
Страница 36: ...36 SIMADO GDT11 System Manual Establishing a GPRS Dial Up Connection 1 Click Start Control Panel ...

Страница 37: ...SIMADO GDT11 System Manual 37 2 Control Panel window will open up Click Network Connections icon 3 Click Create a New Connection in the Network Connection window ...

Страница 38: ...38 SIMADO GDT11 System Manual 4 New Connection Wizard will open Click Next button 5 Select Connect to the Internet option and click Next button ...

Страница 39: ...SIMADO GDT11 System Manual 39 6 Select Set my connection manually and click Next button 7 Select Connect using a dial up modem and click Next button ...

Страница 40: ...40 SIMADO GDT11 System Manual 8 Enter the name of your Internet Service Provider ISP in ISP Name field and click Next button 9 Enter phone number in Type phone number below field and click Next button ...

Страница 41: ...nyone s Use radio button and click Next button 11 Enter User Name and Password in the fields Username Password and Confirm Password respectively Select the other two check boxes given on the Internet Account Information page Click Next button ...

Страница 42: ... dial up will be created on your desktop Sending Receiving GPRS Data 1 Double click the shortcut SIMADO GDT11_GPRS on your desktop OR click Start My Network Places Setting View Network Connections and double click Dial up SIMADO GDT11_GPRS The Dialer SIMADO GDT11_GPRS will open Enter Username and Password and click Dial button to establish GPRS connection ...

Страница 43: ...anual 43 2 Connection process will be displayed as shown below 3 Once the connection is established you can access the Internet through GPRS connection For example access www google com in the Address Bar of the web browser ...

Страница 44: ...be answered with proper audio gain setting Audio gain setting is programmable The side tone signal can be minimized by setting level of MIC feedback to speaker How to use Voice Services Audio Signals Following voice related commands are used Audio Path Setting Receive Gain Setting Transmit Gain Setting Sidetone Setting Initiating Voice Call Activate voice call by ATD string Dial the number by ATD ...

Страница 45: ...el if required Where level 0 100 By default Level is 70 Transmit Gain Setting Set the microphonegain using command AT CMIC channel gain level if required Where channel 0 Main Microphone channel 1 Auxilliary Microphone gain level 0 15 By default Channel is Main Microphone and gain level is 2 Initiating Voice Call Initiate the voice call using the following command ATD string Dial the number by ATD ...

Страница 46: ...46 SIMADO GDT11 System Manual n number to be dialed Receiving a Voice Call Incoming call is identified by display RING on the screen Answer the call by ATA command Terminate the call by ATH command ...

Страница 47: ...puter To send and receive SMS Open Hyper Terminal window and enter name for the connection In the Connect To window select COM1 and click OK button COM1 Properties window will appear on the screen Select the following values for COM 1 Bits Per Second 9600 Data Bits 8 Stop Bit 1 Flow Control None In the Hyper Terminal window enter command AT CMGF 1 to set text message format and press Enter Also en...

Страница 48: ...d at various locations in the memory of the SIM card These locations are referred to as indexes To read received messages Type AT on the HyperTerminal Screen OK will appear in response Enter command AT CMGF 1 to set text message format Enter AT CMGR Index to read SMS Where Index is the index number at which SMS is stored The index of the message is displayed when the SIMADO GDT11 indicates the arr...

Страница 49: ... Telephone Number The telephone number is the number to which you want to send the SMS on the HyperTerminal screen Now type the message When the message is completed press CRTL Z On successful transmission of the message the confirmation OK will appear Deleting the messages Enter AT CMGD Index on the HyperTerminal screen Where ...

Страница 50: ...50 SIMADO GDT11 System Manual Index is the index number of the message to be deleted ...

Страница 51: ...s Fax Class 1 or Fax Class 2 compliant must be installed on the Computer Set up the modem Create connection type using HyperTerminal Proceed with the further Setup as per the WinFax Application requirement How to configure FAX services Install the PC Fax application on your computer using the wizard of the PC Fax application Connect COM port of the SIMADO GDT11 to the COM port of the computer usin...

Страница 52: ...52 SIMADO GDT11 System Manual 2 Control Panel window will open up as shown below Double click the Phone and Modem Options icon 3 Phone and Modem Options window will open as shown below Click Add button ...

Страница 53: ... Add Hardware Wizard window will open Select Don t detect my modem I will select from a list option in the window Click Next button 5 Select Standard 19200bps Modem from the available modem options in the window and click Next button ...

Страница 54: ...54 SIMADO GDT11 System Manual 6 Select COM1 port in the window and click Next button 7 Click Finish button Modem will be installed as shown below Click Properties button ...

Страница 55: ...SIMADO GDT11 System Manual 55 8 Select Maximum port speed as 19200 and click OK Set up for Sending FAX 1 Click Start Program Symantec WinFax PRO WinFax PRO Message Manager 2 Click Tools Program Setup ...

Страница 56: ...Device and click Properties button 4 Modems and Communication Devices window will appear as shown below Select Standard 19200 bps Modem and select the Active check box of the selected modem and click OK 5 Following message will appear on the screen Click Yes button ...

Страница 57: ...on Wizard Ready to Test window will appear on the screen Click Next button 7 Modem Configuration Wizard Testing modem window will appear Again click Next button 8 Select Class 1 Hardware Flow Control in the window that appears on the screen Click Next ...

Страница 58: ... will appear on the screen Click Finish button 10 Now select location for the standard modem and click OK 11 Modems and Communication Devices Properties window will appear on the screen Select Standard 19200 Modem and select Active checkbox Click Properties button ...

Страница 59: ...DT11 System Manual 59 12 Select COM1 in communication port initialize at 19200 bps and Modem Type Class 1 0 Click FAX 13 Enter Initializing string sequence AT C1 D2S7 55 and Reset ATZ Click Apply button and OK ...

Страница 60: ... and Communication Devices Properties screen Select Connection Device as Standard 19200 bps Modem and select the checkbox Active as shown below Click Receive Setup button 2 In Receive Properties ensure that When answering on Standard 19200bps Modem Answer after 2 rings Click Apply and OK ...

Страница 61: ...200 bps Modem and select the checkbox Active as shown below Click Dialing Setup Ensure that Dialing Properties are as shown below Click OK Sending and Receiving Fax To Send Fax 1 Open WinFax PRO Message Manager screen Click Send To Matrix or Name Number Enter the number where fax is to be sent Enter the text content of the Fax message on the Cover Page Click Send ...

Страница 62: ...62 SIMADO GDT11 System Manual 2 While sending the operation message is displayed as shown below 3 Following screen shown that sending is in progress ...

Страница 63: ...SIMADO GDT11 System Manual 63 4 On successful transmitting you can check the Send Log as shown below To Receive Fax 1 On receiving Fax you can check the Receive Log as shown ...

Страница 64: ...64 SIMADO GDT11 System Manual ...

Страница 65: ...Section 3 Appendices ...

Страница 66: ......

Страница 67: ...x 1930 1990 Tx 1850 1910 GPRS Class 10 RF Power 2W 900MHz 1W 1800MHz RF Sensitivity Better than 102dBm Antenna Type Dipole Fixed or Roof Top with Flexible Cable 3 meter 118 11 Inch Antenna Gain 2 5 dBi Antenna Connector SMA Female Signals Tx Rx RTS CTS DTR DSR Connector DB9 Female Supply Input 8V 14VDC 0 5A External adaptor 90 265VAC 47 63HZ supplied with Matrix SIMADO GDT11 Power Consumption 5W T...

Страница 68: ...68 SIMADO GDT11 System Manual Appendix B Regulatory Information ...

Страница 69: ...SIMADO GDT11 System Manual 69 ...

Страница 70: ...mproperly packed or physically damaged 4 Products damaged due to operation of product outside the products specifications or use without designated protections Warranty valid only if Primary protection on all the ports provided Mains supply is within limit and protected Environment conditions are maintained as per the product specifications Warranty Card When the product is installed please return...

Страница 71: ...lers or sub dealers makes any other warranty of any kind whether expressed or implied with respect to Matrix products Matrix and its distributors dealers or sub dealers specifically disclaim the implied warranties of merchantability and fitness for a particular purpose This warranty is not transferable and applies only to the original consumer purchaser of the Product Warranty shall be void if the...

Страница 72: ...ra Vadodara 390010 India Tel 91 265 2630555 Fax 91 265 2636598 E mail Info MatrixComSec com Factory 39 GIDC Waghodia 391760 Dist Vadodara India Tel 91 2668 262056 57 Technical Support Tel 91 2668 263172 73 Fax 91 2668 262631 E mail Support MatrixComSec com www MatrixComSec com ...

Отзывы: