GoSilent - GSC100 Setup Guide
Version 1.0
4
www.silentcircle.com
Setup Wizard
1. From the Setup Wizard screen, select “Continue”.
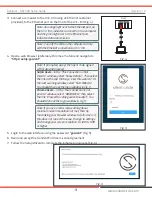
2. You will now set up your
GoSilent GSC-100
client password. In the
“New Password” box enter a new password that will replace the
original “gosilent” password. Then go to the “Re-enter Password”
box and re-enter the password you just created.
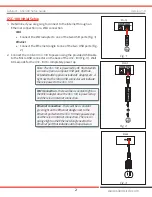
Note: The new password must be a minimum of 8
characters. We recommend using a combination
of upper case, lower case, numeric, and special
characters for your password.
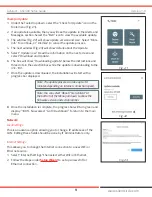
Note: If the desired WiFi network is not displayed
in the drop down list, then select “refresh WiFi” (Fig.
8).
Note: If the fields do not auto populate with DHCP
selected then make sure you have a green and
orange lights on the Ethernet dongle next to the
Ethernet plug. If not then check your Internet and
dongle connections.
3. After re-entering your new password, select the “Save and Logout”
button. You will be taken back to the initial Login screen (Fig. 5)
where you enter the new password you created. You will now be
taken back to the Setup Wizard screen, and the first item will have a
green check mark showing it is complete.
4. From the Setup Wizard screen, select “Continue” again.
5. You now need to connect the
GSC-100
to the Internet. At the
beginning you connected the Ethernet dongle or WiFi adapter to the
GSC-100
for Internet connection. Follow the appropriate steps below.
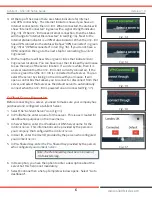
WiFi Internet Connection:
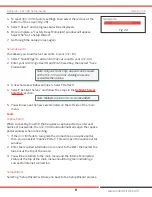
• Select the WiFi icon on the screen (Fig. 7), then click in the
box “Select WiFi Network...”. You should see the name of the
network you want to connect in the drop down list.
• Select the desired network, then enter the WiFi Network
Password into the “Password” box and select “Continue”.
Fig. 7
Fig. 8
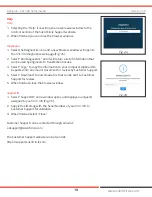
Fig. 9
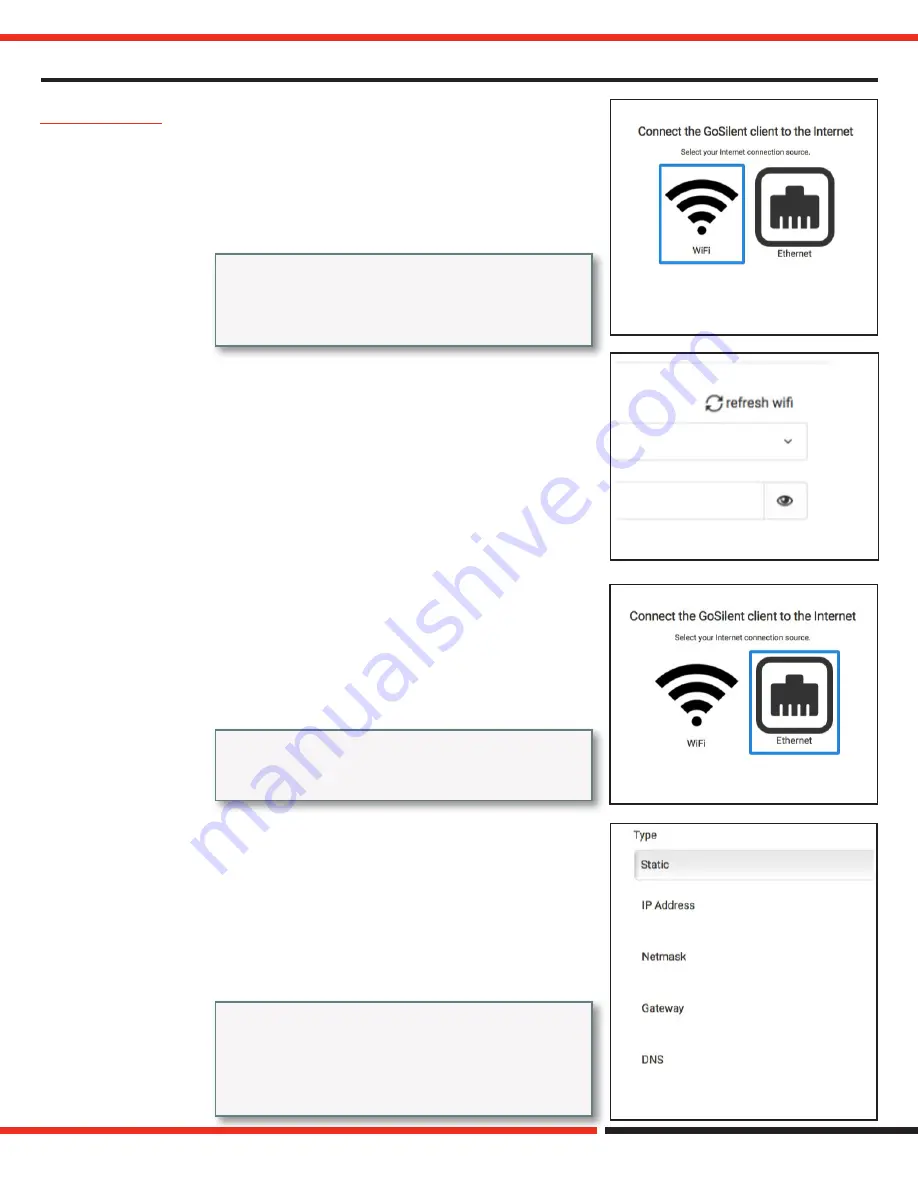
Fig. 10
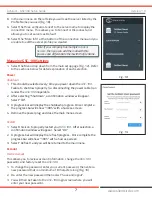
Ethernet Connection:
• Select the Ethernet icon on the screen (Fig. 9).
• Under the “Type” pull down list you have the option of
selecting “DHCP” or “Static”. By selecting “DHCP” the IP
fields below will auto populate with the information from the
Internet Gateway. By selecting “Static” you can manually
enter the IP information in all the fields (Fig. 10). Then select
“Continue”.


