.
NOTE:
If you are in a hurry to get the model built and aren't interested in a
perfect bottom line contour between the wing and fuselage, ignore
Steps 35 and 36. Look ahead to Step 37 for an explanation of a
simplified wing bolt hole reinforcement.
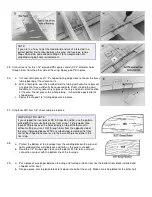
35.
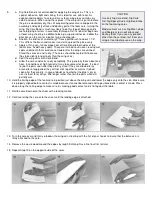
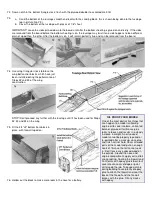
Cut out inserts for the 1/16" plywood PB squares and drill 1/4" diameter holes
through them from the other side of the wing. Epoxy glue PB in place.
36.
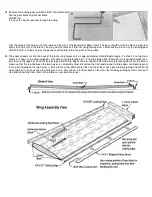
a. Cut and notch pieces of 1/4" shaped trailing edge stock to fit over the brass
tubing bearing of the aileron horns.
b. With a tooth pick, coat the inside end of the tubing with vaseline to prevent
any glue that may accidently be squeezed onto it from sticking the horn
movement. It is only necessary to grease the very end and a small section
of the wire. Do not grease the whole tubing -- it should be epoxied to the
shaped piece.
c. Epoxy the shaped 1/4" trailing edge stock in place.
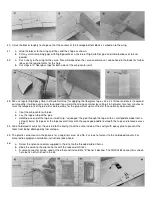
37.
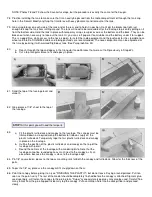
Cut pieces WS from 1/8" sheet and glue in place.
SIMPLIFICATION NOTE:
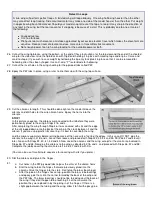
If you skipped the inset pieces PB in Steps 35 and 36, use the pattern
called WSS to cut substitute pieces from scrap 1/16" plywood. Glue
these WSS pieces over the holes directly on top of the balsa skin
without cutting any inset. Drill through them from the opposite side of
the wing. If plywood pieces WSS are substituted, remember that they
cannot be shaped to contour as are the balsa WS pieces done in the
next step.
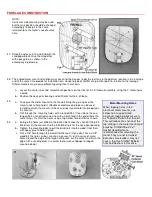
38.
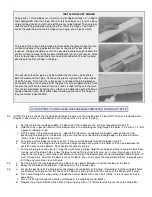
a. Protect the bottom of the fuselage from the sanding block with a piece of
light cardboard that will slide back and forth as the wing is shaped.
b. Sand the 1/4" trailing edge stock and the pieces WS to form a smooth
connection contour with the bottom line of the fuselage.
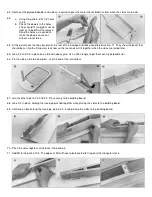
39.
a. Put a piece of wax paper between the wing and fuselage (which now has the bottom front block installed and
shaped) at the front.
b. Shape a piece of scrap balsa block to fit down into half of the cavity. Make a matching block for the other half.


