.
9.
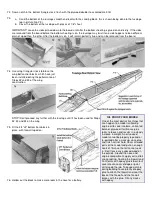
a. Sig Core Bond is recommended for applying the wing skins. This is a
special adhesive, light and strong, that is ideal for use with foam. As
experienced modelers have found, many foam wing glues contain very
volatile solvents. When using these glues, if the wing skin is put on before
the glue is absolutely dry, the still evaporating solvents are trapped in the
assembly and quickly attack and destroy part of the foam core, ruining the
wing. Sig Core Bond is much less likely to do this type of damage and is
more forgiving of errors in assembly technique. So it is ideal for beginners
at foam wing sheeting in addition to being a superior adhesive. Follow the
directions on the can for a perfect wing sheeting job.
b. Shorten the bristles of an ordinary 2" house paint brush to about 1-1/2".
This stiffens the brush and makes it easier to spread the glue evenly.
c. Apply a thin, even, full coverage coat of Core Bond to both sides of the
foam cores. Avoid heavy spots. These are inclined to skin over, leaving wet
spots underneath that could cause trouble after the wings are skinned.
Stand the cores on end to dry. (The cores should be coated first because
they take slightly longer to dry than the wing skins.)
d. Coat the wing skins with Core Bond.
e. Allow the cores and skins to dry completely. This generally takes about one
hour. In conditions of high humidity it may take somewhat longer. It is best
to join the parts soon after they are dry, since if they are allowed to lay
around for a long period, they will not stick together as well as if joined
soon after they are dry. In case of doubt as to whether the glue is dry or
not, it is best to let it dry a little longer rather than join the parts while still
partially wet.
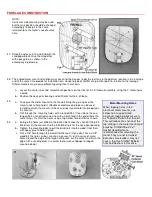
CAUTION
Use only Sig Core Bond, Sig Kwik-
Set, Sig Epoxy Glue or Sig-Bond Glue
on the foam wing cores.
Model cement such as Sig-Ment, dope
and fiberglass resin will attack and
destroy foam. If you use any product
other than those listed, test them on a
scrap of foam before use on the wing.
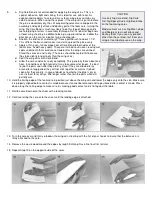
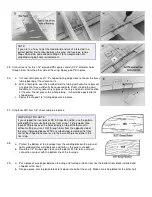
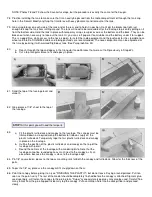
10. Hold the trailing edge of the foam core in position just above the wing skin and lower the edge only onto the skin. Make sure
it is properly aligned before contact is made because it cannot be removed and re-positioned after contact is made. Press
down along the trailing edge to make sure it is making good contact and is flat against the table.
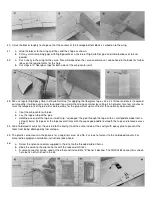
11.
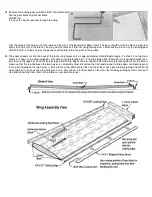
Roll the core down onto the sheet with a rocking motion.
12.
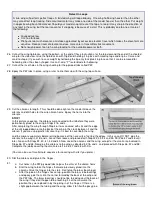
Continue rolling the core onto the sheet until the leading edge is attached.
13.
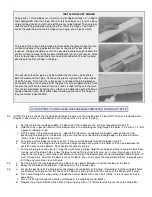
Turn the core over and firmly rub down the wing skin sheeting with the flat of your hands to insure that the balsa skin is
firmly attached to the core.
14.
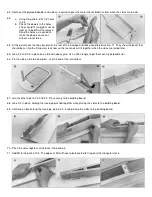
Remove the waste wood around the edges by rough trimming. Save fine final trim for later.
15.
Repeat Step 10 on the opposite side of the cores.


