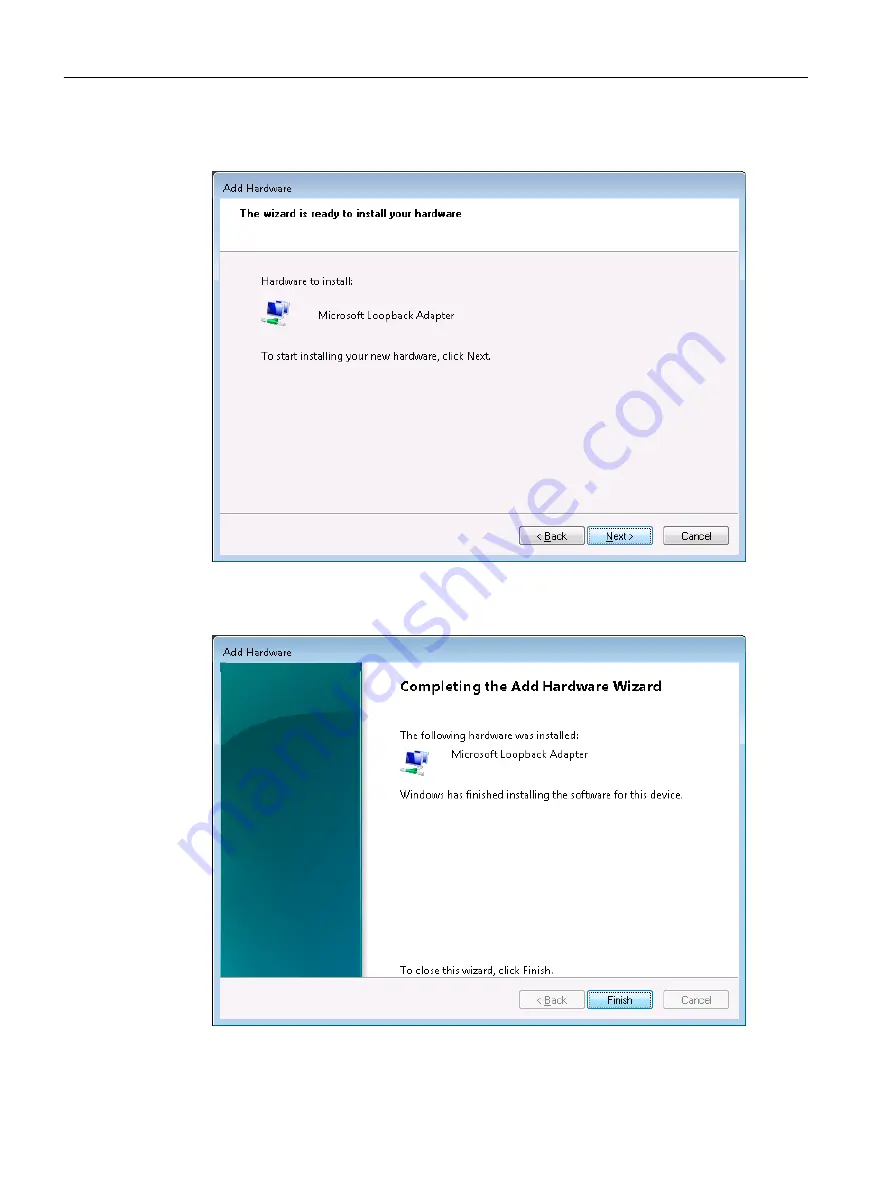
7. The selected Network Adapter is shown in the following dialog box.
Click Next to confirm and install.
Figure 3-14
Add Hardware - Selected Network Adapter can be installed
8. After finishing the installation, the following dialog box is displayed.
Exit the wizard with Finish.
Figure 3-15
Add Hardware - Installation of the Microsoft Loopback Adapter is finished
Description
3.3 HMI and SIMOTION SCOUT
SIMOTION P320-4 E / P320-4 S
68
Manual, 03/2018, A5E36004933B
Содержание SIMOTION P320-4 E
Страница 10: ...Table of contents SIMOTION P320 4 E P320 4 S 10 Manual 03 2018 A5E36004933B ...
Страница 48: ...Industrial security 2 4 Product specific measures SIMOTION P320 4 E P320 4 S 48 Manual 03 2018 A5E36004933B ...
Страница 76: ...Description 3 3 HMI and SIMOTION SCOUT SIMOTION P320 4 E P320 4 S 76 Manual 03 2018 A5E36004933B ...
Страница 132: ...Troubleshooting FAQs 8 2 Hotplug Enabled BIOS settings SIMOTION P320 4 E P320 4 S 132 Manual 03 2018 A5E36004933B ...
Страница 154: ...Spare parts 11 1 Available spare parts for SIMOTION P320 4 SIMOTION P320 4 E P320 4 S 154 Manual 03 2018 A5E36004933B ...
Страница 156: ...Standards and approvals A 1 General rules SIMOTION P320 4 E P320 4 S 156 Manual 03 2018 A5E36004933B ...
Страница 166: ...Index SIMOTION P320 4 E P320 4 S 166 Manual 03 2018 A5E36004933B ...


