Basic functions
85
Step by Step
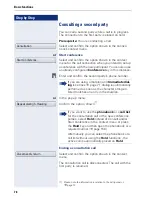
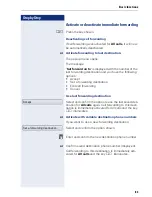
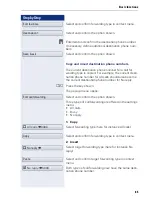
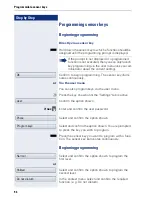
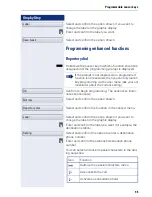
Select and confirm forwarding type in context menu.
Select and confirm the option shown.
j
Enter/edit and confirm the destination phone number.
If necessary, define additional destination phone num-
bers.
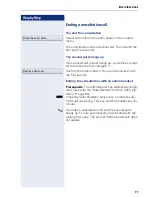
Select and confirm the option shown
Copy and insert destination phone numbers
The current destination phone number for a call for-
warding type is copied. For example, the current desti-
nation phone number for All calls should also become
the current destination phone number for No reply.
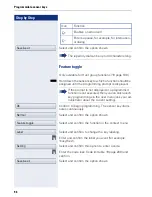
r
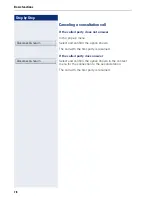
Press the key shown.
The pop-up menu opens:
Select and confirm the option shown.
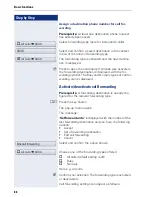
Three types of call forwarding are offered in the settings
menu:
•
All calls
•
Busy
•
No reply
1. Copy
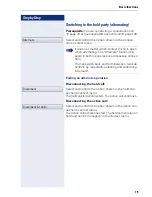
Select forwarding type (here for instance All calls
)
Select and confirm forwarding type in context menu.
2. Insert
Select target forwarding type (here for instance No
reply
)
Select and confirm target forwarding type in context
menu.
Both types of call forwarding now have the same desti-
nation phone number.
Edit favorites
Destination 1
Save & exit
Edit call forwarding
All calls
g
3338
Copy
No reply
g
Paste
No reply
g
3338

