Router User’s Guide
Monitoring Network Health
DMZ
The firewall supports virtual DMZ in single (LAN) port router models. Virtual DMZ redirects traffic to a
specified IP address rather than a physical port. Because this redirection is a logical application rather
than physical, it is called “virtual DMZ.”
Using virtual DMZ, a single node on the LAN can be made “visible” to the WAN IP network. Any incoming
network traffic not handled by port forwarding rules is automatically forwarded to an enabled DMZ node.
Outbound traffic from the virtual DMZ node circumvents all firewall rules. The DMZ feature allows a
computer on your home network to circumvent the firewall and have direct access to the internet. This
feature is primarily used for gaming. Under this mode of operation all network traffic received from the
WAN that is not destined for a host specifically exposed through NAT or for a server exposed through
Port Forwarding will be redirected to the designated DMZ host. If the DMZ feature is enabled, you must
select the computer to be used as the DMZ computer/host.
This function is recommended for use only when you require this special level of unrestricted access as it
leaves your Router and network exposed to the Internet with no firewall protection. To enable and
configure the DMZ:
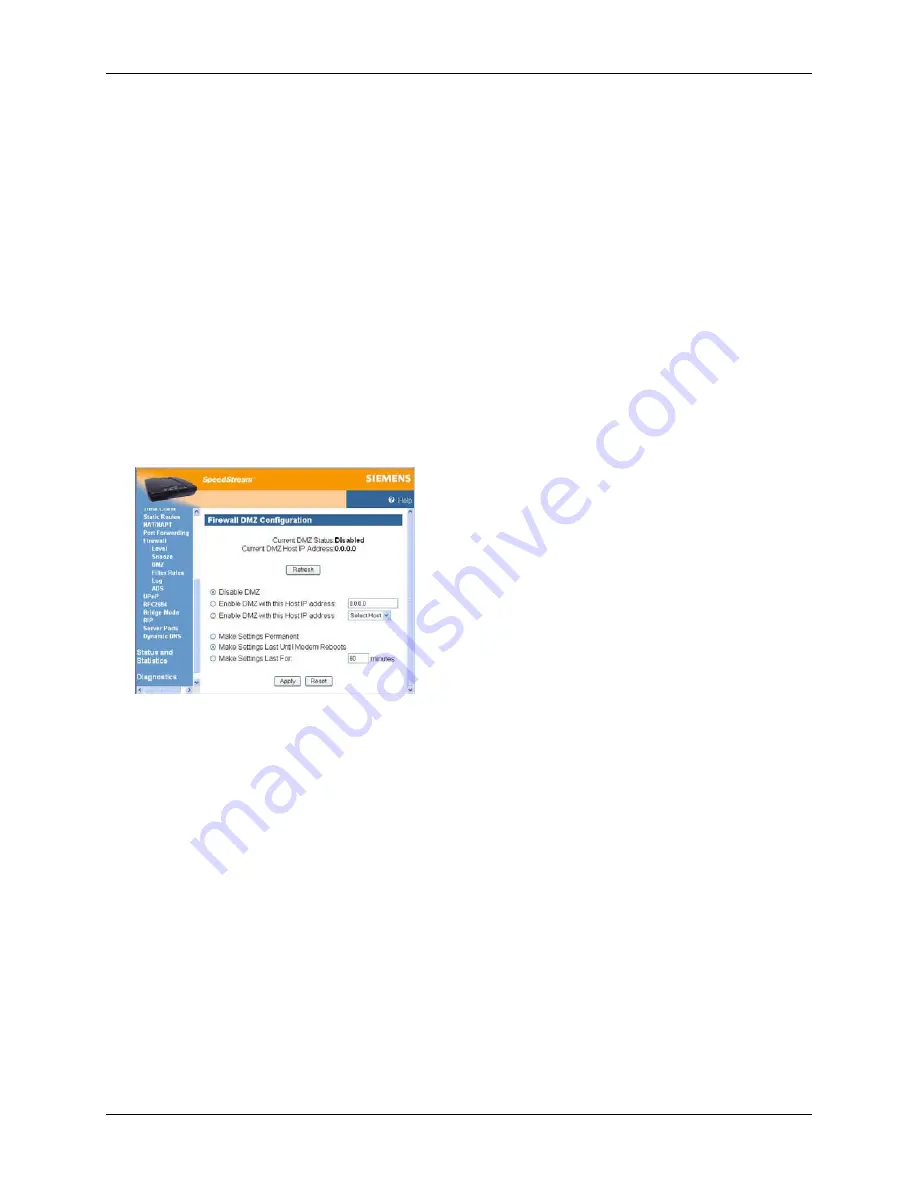
1. Select
Setup>Firewall>DMZ
from the left navigation pane of the Web interface. This displays the
“Firewall DMZ Configuration” window.
2. Select one of the following DMZ enable options:
•
Disable DMZ
The firewall is not bypassed.
•
Enable DMZ with this Host IP address
The firewall is bypassed through an IP address typed in the box next to this field.
•
Enable DMZ with this Host IP address
The firewall is bypassed through an IP address that is selected from the
Select Host
drop-down
menu next to this field. Select the desired host from the drop-down menu.
3. Select one of the following time element options:
•
Make Settings Permanent
DMZ settings are permanent unless changed by the administrator.
•
Make Settings Last for
DMZ settings last for only the time (in minutes) entered in the box next to this option.
4. Click
Apply
.
45


