Residential Gateway Family User Guide
Installation
Connecting Cables
The Router provides ports for either a USB or an Ethernet connection to your primary computer. Select
the interface you will use to connect the Router, and follow the step-by-step instructions below for your
chosen installation method.
Ethernet Installation Method
To connect the SpeedStream Router via the Ethernet interface, your
computer must have an Ethernet adapter (also called a network interface
card, or “NIC”)
installed.
If your computer does not have this adapter, install it before proceeding
further. Refer to your Ethernet adapter documentation for complete
installation instructions.
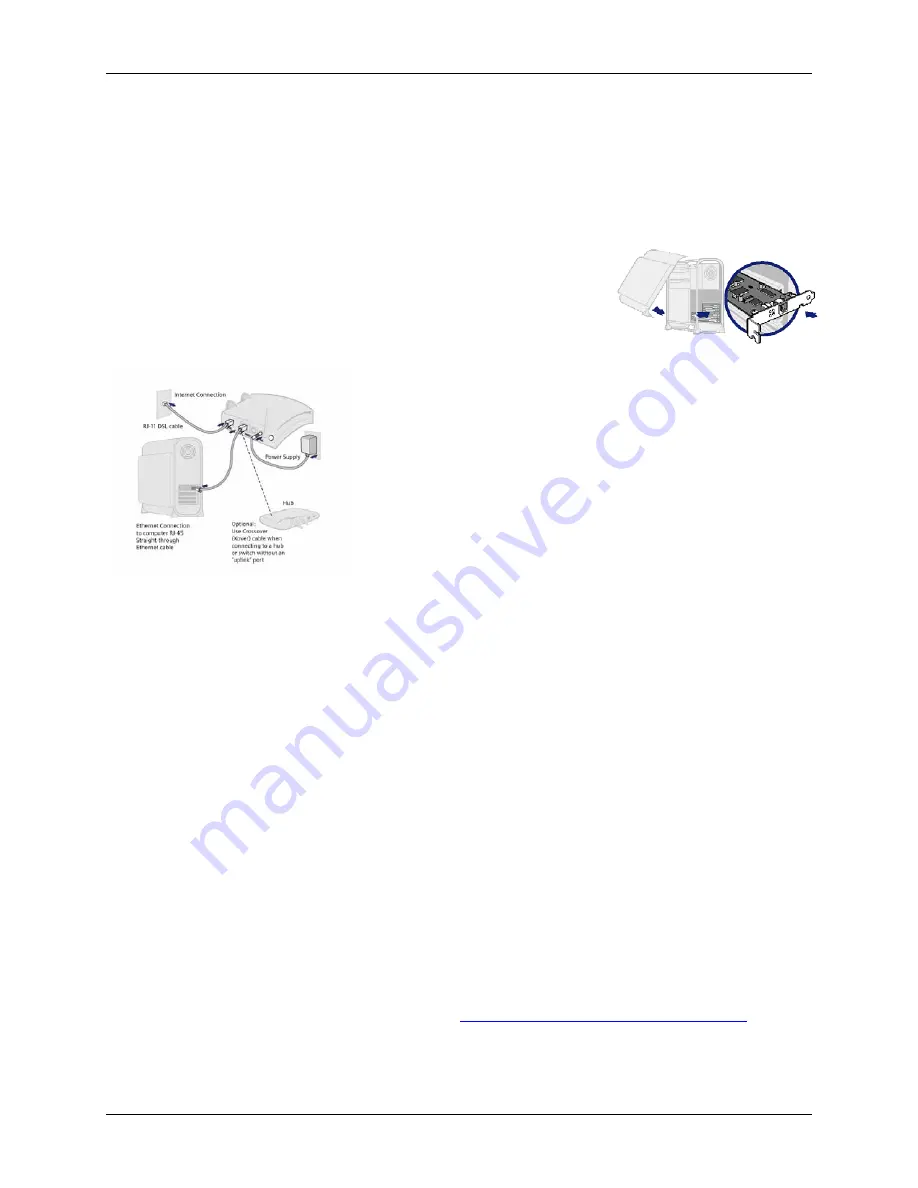
1. Connect the Ethernet cable(s)
1) With your computer powered off, connect the Ethernet
cable to an Ethernet port (1-4) on the Router.
2) Connect the other end of the Ethernet cable to the
Ethernet port on your computer.
3) If desired, use standard 10/100 CAT5 Ethernet cables
to connect additional computers to the remaining
Ethernet ports on the Router.
2. Connect the DSL cable
1) Connect the DSL cable (resembles a telephone cord) to the DSL port on the Router.
2) Plug the other end of the DSL cable into the phone jack.
3. Connect the power
1) Connect the power adapter to the rear of the Router.
2) Plug the power adapter into the electrical wall outlet.
3) Flip the power switch to power on the SpeedStream Router.
4) Power on all connected computers.
4. Check the LEDs
1) For each active Ethernet connection, the LAN Link LED for the corresponding port number should
be lit.
2) The DSL and Power LEDs should be lit.
When using the Ethernet installation method, you do not have to install any software. Refer to your
Internet Service Provider’s instructions for installing their software and/or connecting to the Internet. You
can now configure the TCP/IP settings as detailed in
Chapter 3, Operating System Configuration
.
7


