63
O
pe
ra
tin
g Cam
er
a
High-Speed Video Camera
HPV-X2
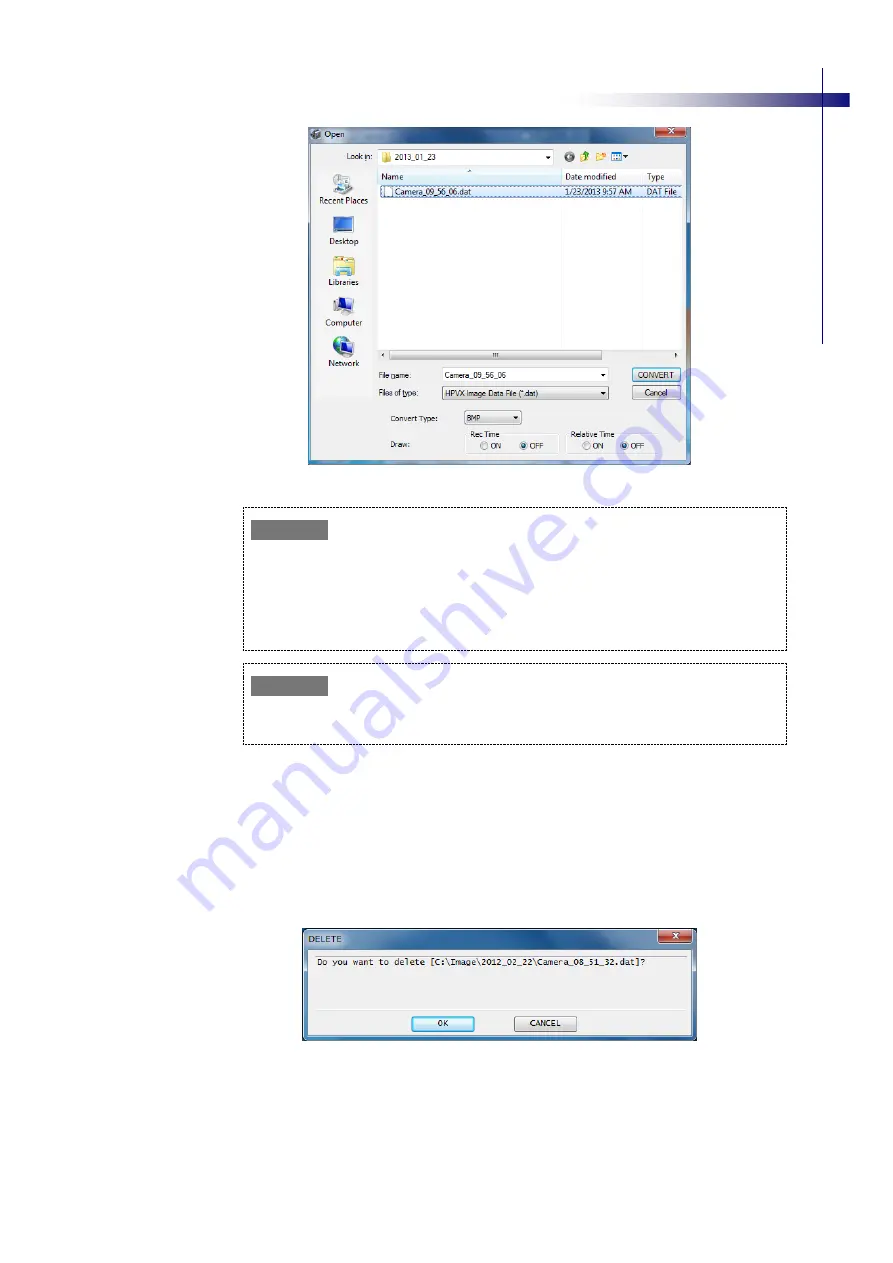
Fig. 5-26 File Conversion Window (CONVERT)
If a TIFF (16-bit) image cannot be displayed correctly in the currently active Viewer, change
the "Tiff16Upper=" [Auto Save Setting] to either "0" or "1" in the "HPVX.ini" file, located in
the same folder as the "HPVX.exe" file, before converting the image.
To display TIFF (16-bit) images in standard Windows software (such as Windows Media
Player) set it to "1." The default setting is "1." (Do not change anything else in the "HPVX.ini"
file.)
The file conversion function is applied only to existing image files.
To convert the format of recorded images, first save the recorded image as an image file.
Deleting files [DELETE]
To delete a file, first display the desired image data in a Viewer window. If the file is
not yet displayed, click [OPEN] to open the image file to be deleted.
When the file to be deleted is displayed, click [DELETE]. A confirmation dialog box
(Fig. 5-27) is displayed to prevent unintentional deletion of files.
Confirm the name of the file to delete and then click [OK].
To cancel the deletion, click [CANCEL].
Fig. 5-27 Deletion Confirmation Dialog Box (DELETE)
✐
Note
✐
Note


