32
No.
Name
Description
See
Page
[Auto Save Setting] selects the format for
saving recording data.
③
Version Information
Display Icon
Displays version information.
P.35
④
EXIT
Closes the application.
⑤
Window Display Mode
Switches between windows for recording parameter
settings
⑥
REC MODE
Select the recording mode.
⑦
REC FRAMES
Select the recording frame.
P.40
⑧
REC SPEED
Select the recording speed.
P. 40
⑨
REC EXPOSE
Select the exposure time for recording.
⑩
TRIGGER POLARITY
Set the polarity of the trigger signal.
⑪
TRIGGER DELAY
Set the delay time of the trigger signal.
⑫
TRIGGER POINT
Set trigger points.
⑬
STANDBY POLARITY
Set the polarity of the standby signal.
⑭
STANDBY DELAY
Set the delay time of the standby signal.
⑮
LIVE EXPOSE
Select the exposure time for live images.
⑯
LIVE
Displays live images.
⑰
REC
Records images.
■
Selecting the Camera
– [CAMERA]
This displays the name of the currently active camera.
Clicking [CAMERA] allows selecting the camera to be operated from a list of all currently
connected cameras.
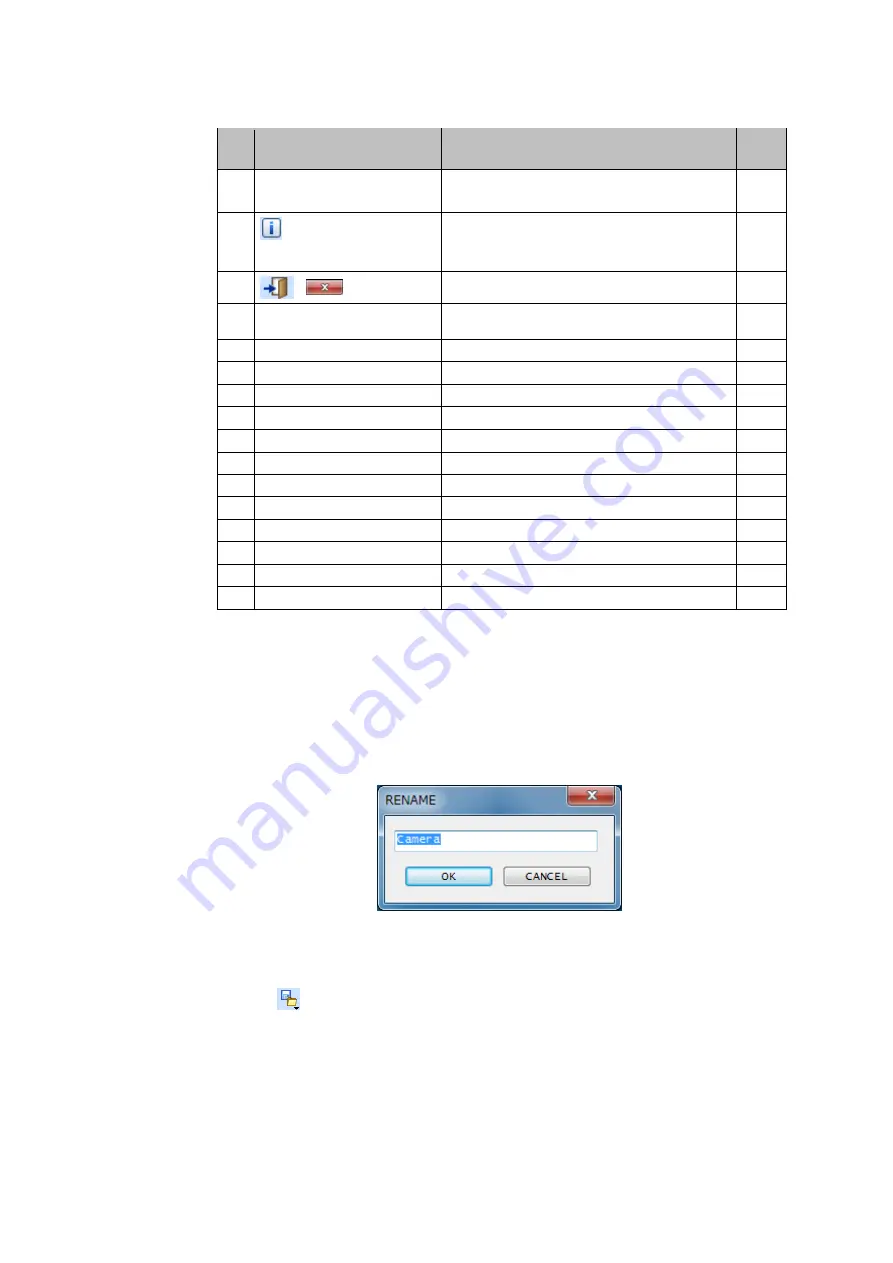
Right-clicking [CAMERA] displays the [RENAME] window for renaming cameras (Fig.
5-3).
Click [OK] to rename the camera or [CANCEL] to cancel renaming the camera.
Fig. 5-3 Camera Rename Window
■
File Operation List Icon
Click the
icon to display the [OPEN Setting File], [SAVE Setting File], or [Auto
Save Setting] window.
Loading recording parameter setting file – [OPEN Setting File]
Clicking [OPEN Setting File] displays a window for loading files (Fig. 5-4).
Select the desired recording parameter setting file and click [Open] to apply settings
from the recording parameter setting file to the [REC] and [I/O PORT] windows.
For more information about recording parameter setting files, see 5.7.3 Recording
Parameter Setting Files.


