E47
English
Deutsch
Français
Italiano
Español
English
Menu setting items
Picture menu
Auto* .................................................... Page E49
OPC ..................................................... Page E49
Brightness ........................................... Page E49
Black Level* ........................................ Page E49
Contrast* ............................................. Page E49
Color Control ....................................... Page E49
Audio menu
Treble ................................................... Page E50
Bass ..................................................... Page E50
Balance ............................................... Page E50
Dolby Virtual ....................... Pages E31 and E50
Setup menu
Auto Sync.* ......................... Pages E46 and E51
Fine Sync.* .......................................... Page E51
Input Signal* ........................................ Page E51
Scaling ................................................ Page E51
Language** ......................................... Page E51
Option menu
Quick Shoot ......................................... Page E52
Output Select** .................................... Page E52
DVI Select** ......................................... Page E52
Using the menus in PC mode
You can adjust the color of the computer screen
image and perform various settings using the
menus in PC mode.
How to adjust using the menus
1. Press the PC button to select PC mode.
2. When you adjust "Black Level" (Picture menu),
"Contrast" (Picture menu), or "Fine Sync." (Setup
menu), display an image that makes the entire
screen display light colors beforehand. If you are
using Windows, use the adjustment pattern on
the supplied CD-ROM. (See page E48.)
Otherwise, continue to the next step.
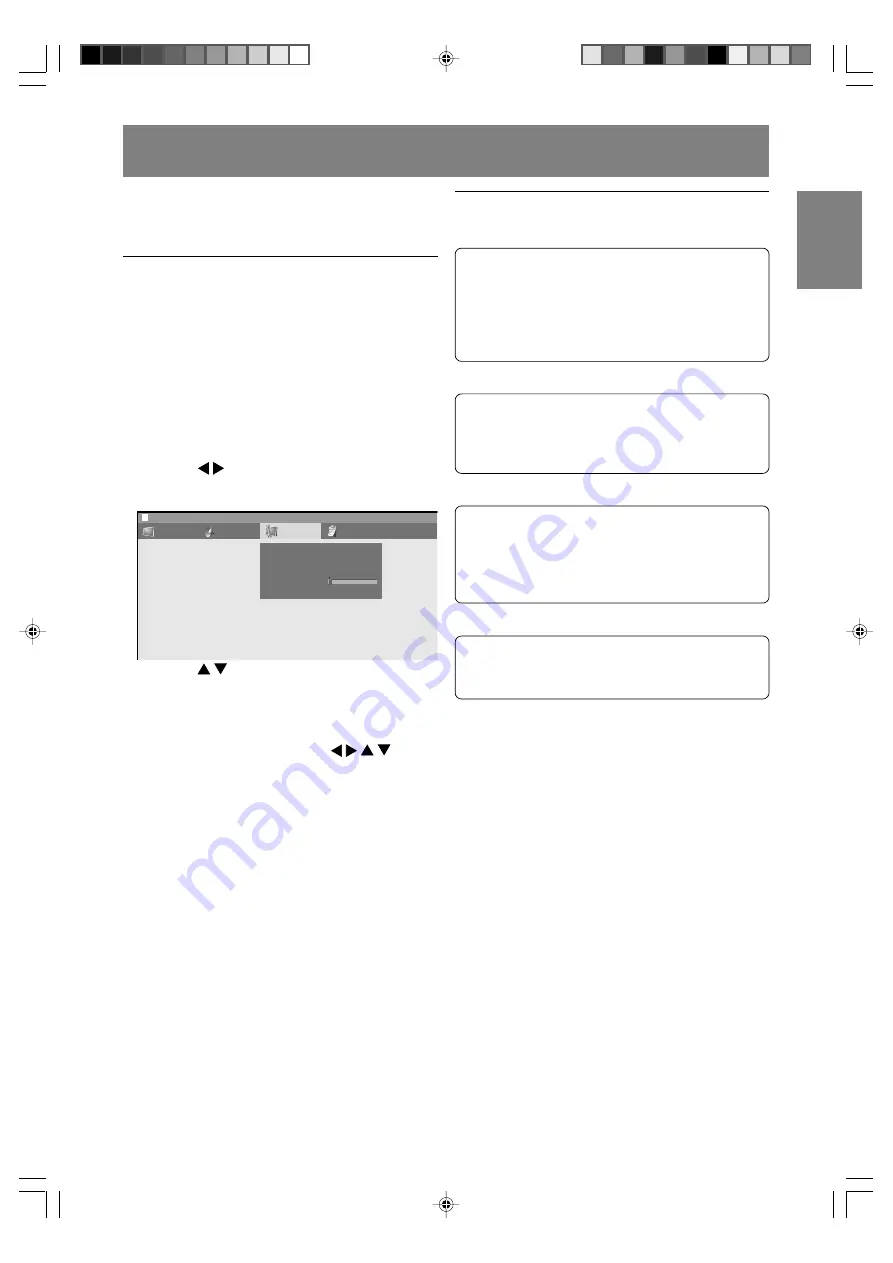
3. Press the MENU button to display the MENU
screen.
4. Press the
buttons to select the menu you
want to set.
A list of items will be displayed.
Picture
Audio
Setup
Option
Auto Sync.
Fine Sync.
Input Signal
Scaling
[1]
Language
[English]
MENU
[Setup]
5. Press the
buttons to select the item you
want to set.
Note:
- The items colored in gray cannot be selected.
6. Change the numbers/values.
- To adjust the value, press the
buttons.
- To open a submenu, press the ENTER button.
- To return to the previous screen, press the
RETURN button.
7. Press the MENU or EXIT button to exit the
screen.
Notes:
- If you do not press any buttons for about 30
seconds while in an adjustment screen, the
settings you made up to that point will be
applied and the screen will automatically
disappear.
- This manual describes display adjustment
based on the use of the adjustment pattern (for
Windows).
*
When using the TV with a digital connection,
this item does not appear. (This item
adjustment is not necessary.)
** The values set in PC mode will be also applied
in TV/AV mode.
02_LD-26SH3U_gb_02.P65
5/23/2005, 1:44 PM
47


