background image

E-11

In this example, the clock is set for the 24-hour (0:00) display.

To confirm the time display:

Press the CLOCK/TIMER button. The time display will

appear for about 5 seconds.

Note:

When power supply is restored after unit is plugged in again 

or after a power failure, reset the clock.

To readjust the clock:

Perform “Setting the clock” from step 1. If the “Clock” does not

appear in step 2, step 4 (for selecting the 24-hour or 12-hour

display) will be skipped.

To change the 24-hour or 12-hour display:

Timer playback:

The unit turns on and plays the desired source (CD,
TUNER, USB, iPod, AUDIO IN) at a preset time.

This unit has 2 types of timer: ONCE TIMER and DAILY
TIMER.

Once timer (

 indicator):

Once timer play works for one time only at a preset time.

Daily timer (

DAILY

 indicator):

Daily timer play works at the same preset time every day
that we set. For example, set the timer as a wake-up call
every morning.

Using the once timer and daily timer in combination:

For example, use the once timer to listen a radio program, 
and use the daily timer to wake up.

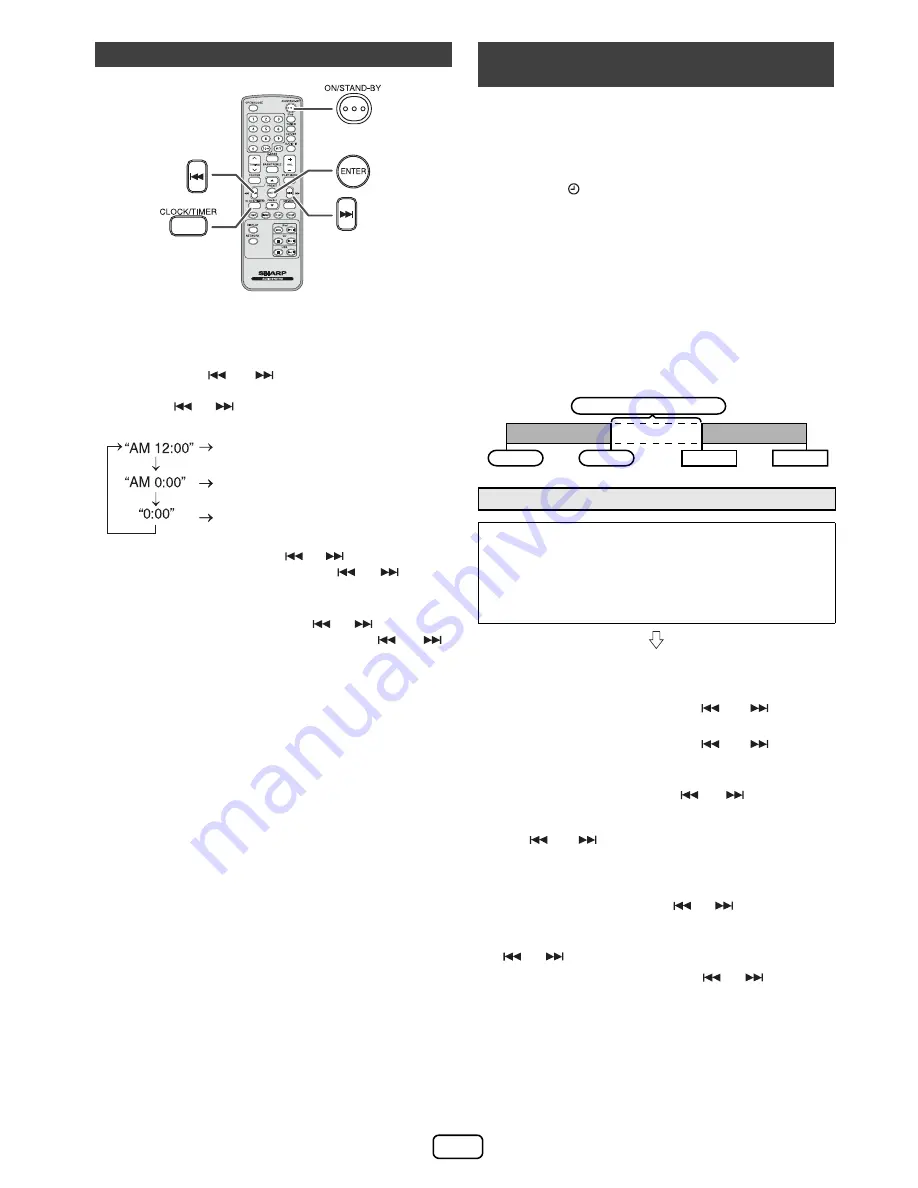
Setting the clock (Remote control only)

1

Press the POWER ON/STAND-BY button to turn the power on.

2

Press the CLOCK/TIMER button.

3

Within 5 seconds, press the ENTER button. To adjust the

day, press the 

 or 

 button and then press the

ENTER button.

4

Press the 

 or 

 button to select 12-hour or 24-hour

display and then press the ENTER button. 

The 12-hour display will appear.
(AM 12:00 - PM 11:59)
The 12-hour display will appear.
(AM 0:00 - PM 11:59)
The 24-hour display will appear.
(0:00 -  23:59)

 To adjust the hour, press the 

 or 

 button and then

press the ENTER button. Press the 

 or 

 button

once to advance the time by 1 hour. Hold it down to
advance continuously.

6

To adjust the minutes, press the 

 or 

 button and

then press the ENTER button. Press the 

 or 

button once to advance the time by 1 minute. Hold it
down to advance the time by 5 minutes interval.

1

Clear all the programmed contents. [Refer to “Factory

reset, clearing all memory” on page 14 for details.]

2

Perform “Setting the clock” from step 1 onwards.

Timer and sleep operation (Remote 
control only)

Set the daily timer.

2

Set the once timer.

Timer playback

Before setting timer:

Check that the clock is set to the correct time (refer to
this page). If it is not set, you cannot use the timer
function.

For timer playback: Plug in USB or load discs or dock
iPod to be played.

1

Press the POWER ON/STAND-BY button to turn the power on.

2

Press and hold the CLOCK/TIMER button.

3

Within 10 seconds, press the 

 or 

 button to

select “Once” or “Daily”, and press the ENTER button.

4

Within 10 seconds, press the 

 or 

 button to

select “Timer Set”, and press the ENTER button.

5

To select the timer playback source (CD, TUNER, USB,

iPod, AUDIO IN), press the 

 or 

 button. Press

the ENTER button. 
When you select the tuner, select a station by pressing
the 

 or 

 button, and then press the ENTER

button. If a station has not been programmed, “No
Preset” will be displayed and timer setting will be
canceled.

6

To adjust the day, press the 

 or 

 button and then

press the ENTER button.

7

Press the ENTER button to adjust the hour. Press the

 or 

 button and then press the ENTER button.

8

To adjust the minutes, press the 

 or 

 button and

then press the ENTER button.

9

Set the time to finish as in steps 7 and 8 above.

10

Adjust the volume using the VOLUME control, and then

press the ENTER button. Do not turn the volume up too
high.

Once timer

Daily timer

Start

Stop

1 minute or more

Start

Stop

Содержание DK-KP95P

Страница 1: ... with this product in revenue generating broadcast systems terrestrial satellite cable and or other distribution channels revenue generating streaming applications via Internet intranets and or other networks other revenue generating content distribution systems pay audio or audio on demand applications and the like or on revenue generating physical media compact discs digital versatile discs semi...

Страница 2: ...ack or batteries installed shall not be exposed to excessive heat such as sunshine fire or the like Notes concerning use Replace the battery if the operating distance is reduced or if the operation becomes erratic Purchase an AA size battery UM SUM 3 R6 HP 7 or similar Periodically clean the transmitter on the remote control and the sensor on the unit with a soft cloth Exposing the sensor on the u...

Страница 3: ...1 PresstheBASS TREBLEbuttontoselect Treble 2 Within5 seconds press the VOLUME or buttonto adjustthe treble When the FUNCTION button on main unit is pressed the current function will change to different mode Press the FUNCTION button repeatedly to select desired function Note The backup function will protect the memorized function mode for a few hours should there be a power failure or the AC power...

Страница 4: ...r devices manual 8 Select your router from the list of available networks Enter your network password if required 9 Continue with step 8 to 9 in Direct wireless connection Note WPS process network search takes about 2 minutes If fail to connect the display will show Cannot connect to Network Repeat step 4 to retry 1 Press the POWER ON STAND BY button 2 Press the NETWORK button on the remote contro...

Страница 5: ...ectly do the Network reset refer page 14 Various function can be controlled from the remote control or your AirPlay DLNA device Notes For DLNA compatible devices the function control may vary depending on DLNA application used To enable this unit to control iTunes software the setting below is required On Network Stand by mode is enable During stand by mode if select DK KP95 speakers through AirPl...

Страница 6: ... Once the calls are answered the conversation can only be heard through the built in iPhone speaker Turn on the iPhone speaker or undock the iPhone to start conversation Caution Unplug all accessories from the iPod or iPhone before inserting it into the dock Note Docking station is not recommended for iPad connection For iPod nano or iPod touch For additional support apply dock spacer supplied as ...

Страница 7: ...iPod iPhone or iPad continued iPod or iPhone playback 1 Press the POWER ON STAND BY button to turn the power on 2 Press the iPod button on the remote control or FUNCTION button repeatedly on the main unit to select iPod function 3 Insert iPod or iPhone unit into the dock of main unit DOCK OK will appear 4 Press the iPod button to start playback Navigating the iPod iPhone or iPad menus 1 Press the ...

Страница 8: ...l Repeat One appears Press the CD button To repeat all tracks Press the PLAY MODE button repeatedly until Repeat All appears Press the CD button To repeat desired tracks Perform steps 1 4 in Programmed play section on page 8 and then press the PLAY MODE button repeatedly until Repeat All appears Caution After performing repeat play be sure to press the CD button Otherwise the disc will play contin...

Страница 9: ... Numeric button on the remote control to select the desired track Note To select track number 10 or higher refer Direct track search 3 Repeat step 2 for other tracks Up to 32 tracks can be programmed If you want to check the programmed tracks press the MEMORY button repeatedly If you make a mistake the programmed tracks can be cleared by pressing the CLEAR button 4 Press the CD button to start pla...

Страница 10: ...o various unforeseen reasons from some devices Should this happen turn off the unit and then turn it on again During CD function MP3 player will not be charging Listening to USB mass storage device MP3 player To play back USB MP3 player with folder mode off 1 Press the CD USB button on the remote control or FUNCTION button repeatedly on main unit to select USB function Connect the USB memory devic...

Страница 11: ...y and recall them at the push of a button Preset tuning Note The backup function protects the memorized stations for a few hours should there be a power failure or the AC power cord becomes disconnected Press the PRESET or button for less than 0 5 seconds to select the desired station The stations saved in the memory can be scanned automatically Preset memory scan Advanced USB playback Listening t...

Страница 12: ...r button once to advance the time by 1 hour Hold it down to advance continuously 6 To adjust the minutes press the or button and then press the ENTER button Press the or button once to advance the time by 1 minute Hold it down to advance the time by 5 minutes interval 1 Clear all the programmed contents Refer to Factory reset clearing all memory on page 14 for details 2 Perform Setting the clock f...

Страница 13: ...perates at the same time every selected day It will continue until the daily timer setting is canceled Cancel the daily timer when it is not in use 1 Turn the power on and press and hold down the CLOCK TIMER button 2 Within 10 seconds press the or button to select Once or Daily and press the ENTER button 3 Within 10 seconds press the or button to select Timer Call and press the ENTER button 1 Turn...

Страница 14: ... sound is heard Is the volume level set to Min Are the headphones connected CD player Symptom Possible cause Playback does not start Playback stops in the middle or is not performed properly Is the disc loaded face down Does the disc satisfy the standards Is the disc distorted or scratched Playback sounds are skipped or stopped in the middle of a track Is the unit located near excessive vibrations...

Страница 15: ... away from direct sunlight heat and excessive moisture Always hold the CDs by the edges Fingerprints dirt or water on the CDs can cause noise or mistracking If a CD is dirty or does not play properly clean it with a soft dry cloth wiping straight out from the centre along the radius Troubleshooting chart continued Wi Fi connection Symptom Possible cause Wi Fi network connection failed Is your rout...

Страница 16: ...ifier Output power RMS Total 50 W 25 W per channel into 6 ohms at 1 kHz 10 T H D FTC 22 W minimum RMS per channel into 6 ohms from 100 Hz to 20 kHz 10 T H D Output terminals Headphones 16 ohms recommended 32 ohms Input terminals Audio In audio signal 500 mV 47 k ohms CD player Type Single disc multi play compact disc player Signal readout Non contact 3 beam semiconductor laser pickup D A converter...

Отзывы: