AL-2020/2035/2040/2050/2060 UNPACKING AND INSTALLATION 5 - 9
10. Interface
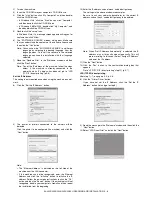
A. USB
Connector
Type-B connector
Cable
Shielded twisted pair cable
(2 m (6 feet) Max.: high-speed transmission equivalent)
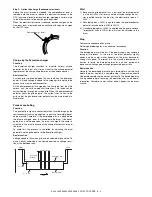
Pin configuration
The pin numbers and signal names are listed in the following table.
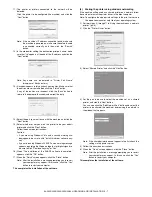
B. RJ45
RJ-45 connector pin arrangement
11. Moving
Moving instructions
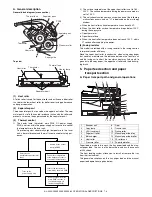
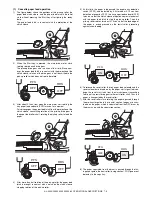
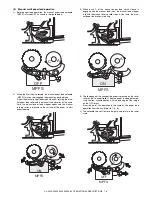
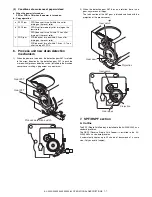
When moving the unit, follow the procedure below.
Note: When moving this unit, be sure to remove the TD cartridge in
advance.
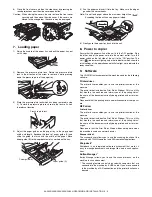
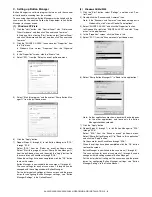
1) Turn the power switch off and remove the power cord from the
outlet.
2) Open the side cover and front cover, in that order. Remove the
TD cartridge and close the front cover and side cover, in that
order.
To open and close the side cover and front cover, and to remove
the TD cartridge.
3) Raise the handle of the paper tray and pull the paper tray out
until it stops.
4) Push the center of the pressure plate down until it locks in place
and lock the plate using the pressure plate lock which has been
stored in the front of the paper tray.
5) Push the paper tray back into the unit.
6) Lock the scan head locking switch.
Note: When shipping the unit, the scan head locking switch must
be locked to prevent shipping damage.
7) Close the multi-bypass tray and the paper output tray extension,
and attach the packing materials and tape which were removed
during installation of the unit.
8) Pack the unit into the carton.
12. Scanner moisture-proof kit
If the machine is installed in a highly humid environment, you can
alleviate dew condensation inside the scanner by installing the
scanner moisture-proof kit described below.
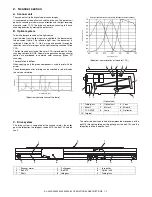
A. Components
Scanner moisture-proof kit (DKIT-0016QSZZ)
B. Precautions at installation
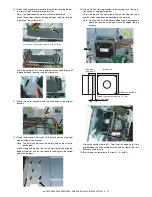
Clean the position where each cushion/mylar is attached with
industrial alcohol before the work.
C. Attachment method
Turn the main switch to the "OFF" position and remove the power
plug from the outlet.
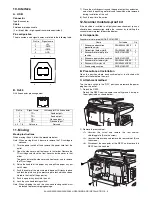
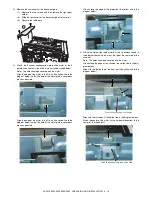
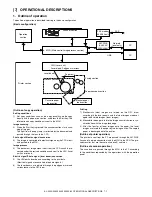
1) Detach the RSPF.
Detach the RSPF from the copier and softly place it on top of
the original table as shown below.
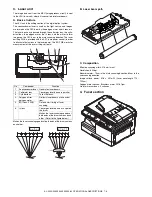
2) Remove the rear cabinet.
<1> Unscrew the screw and remove the rear cabinet
shielding plate. (Save the screw.)
<2> Unscrew three screws and remove the rear cabinet. (Save
the screws.)
<3> Disconnect the connector of the RSPF, and remove the
RSPF from the machine.
Pin No.
Signal name
1
+5V
2
-DATA
3
+DATA
4
GND
Pin No.
Signal name
LAN adapter RJ-45 connector
1
TD +
Send
2
TD –
Send output -
3
RD +
Receive input +
6
RD –
Receive input -
4, 5, 7, 8
Not used.
Not used.
1
2
3
4
1
8
Name
Part code
Qty
1
Scanner condensation
prevention mylar
PSHEZ0493QSZZ
3
2
Optical right hole mylar B
PSHEZ0469QSZZ
2
3
Scanner motor metal plate
cushion
PMLT-0106QSZZ
2
4
Scanner upper surface cushion
PMLT-0105QSZZ
1
5
Scanner motor lower mylar
PSHEP0600QSZZ
1
6
Scanner UPG mylar J3
PSHEP0599QSZZ
1
7
Fan housing cushion
PMLT-0108QSZ1
1
1
2
Содержание AL-2020
Страница 217: ...Memo ...

