AL-2020/2035/2040/2050/2060 UNPACKING AND INSTALLATION 5 - 5
Caution:
• If you are using Windows Vista and a security warning win-
dow appears, be sure to click "Install this driver software any-
way".
• If you are running Windows 2000/XP and a warning message
appears regarding the Windows logo test or digital signature,
be sure to click "Continue Anyway" or "Yes".
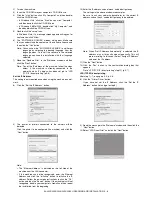
10) You will return to the window of step 8). If you wish to install But-
ton Manager or Sharpdesk, click the "Utility Software" button.
If you do not wish to install the Utility Software, click the "Close"
button and go to step 12).
Note: After the installation, a message prompting you to restart
your computer may appear. In this case, click the "Yes"
button to restart your computer.
Installing the Utility Software
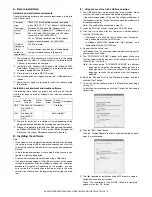
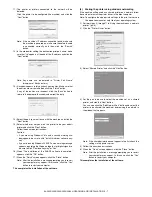
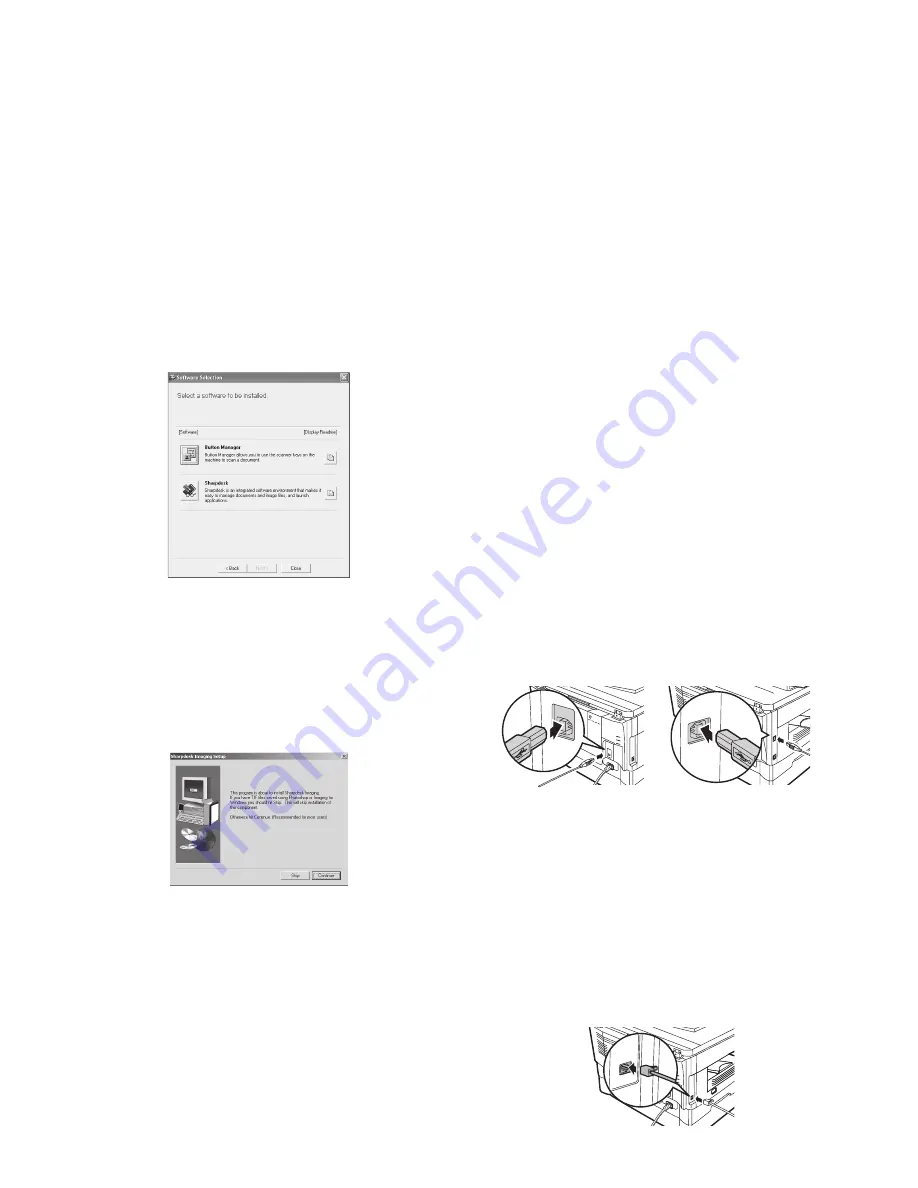
11) Click the "Button Manager" or the "Sharpdesk" button.
Click the "Display Readme" button to show information on pack-
ages that are selected.
Follow the on-screen instructions.
Caution: In Windows 98/Me/2000, if the following screen
appears, click the "Skip" button or the "Continue" but-
ton as appropriate to continue the Sharpdesk installa-
tion.
If "Skip" is selected, the Sharpdesk installation will
continue without installing Sharpdesk Imaging.
If "Continue" is selected, Sharpdesk Imaging will be
installed. If Imaging for Windows is installed on your
computer, Sharpdesk Imaging will overwrite Imaging
for Windows.
12) When installing is finished, click the "Close" button.
Caution:
• If you are using Windows Vista and a security warning win-
dow appears, be sure to click "Install this driver software any-
way".
• If you are running Windows 2000/XP and a warning message
appears regarding the Windows logo test or digital signature,
be sure to click "Continue Anyway" or "Yes".
A message will appear instructing you to connect the machine
to your computer. Click the "OK" button.
Note: After the installation, a message prompting you to restart
your computer may appear. In this case, click the "Yes"
button to restart your computer.
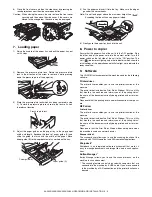
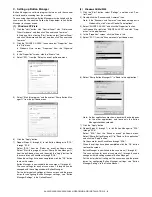
13) Make sure that the power of the machine is turned on, and then
connect the USB cable (p.5-5).
Windows will detect the machine and a Plug and Play screen
will appear.
14) Follow the instructions in the plug and play window to install the
driver.
Follow the on-screen instructions.
Caution:
• If you are using Windows Vista and a security warning win-
dow appears, be sure to click "Install this driver software any-
way".
• If you are running Windows 2000/XP and a warning message
appears regarding the Windows logo test or digital signature,
be sure to click "Continue Anyway" or "Yes".
Note: A "USB 2.0 Composite Device" installation window may
appear prior to this procedure. In this case, follow the
instructions in the window to install the USB 2.0
Composite Device.
This completes the installation of the software.
• If you installed Button Manager, set up Button Manager as
explained in "Setting up the Button Manager" (p.5-8).
• If you installed Sharpdesk, the Sharpdesk setup screen will
appear. Follow the instructions in the screen to set up Sharpdesk.
(2)
Connecting a USB cable
Follow the procedure below to connect the machine to your com-
puter.
A USB cable for connecting the machine to your computer is not
included with the machine. Please purchase the appropriate cable
for your computer.
Caution:
• USB is available with a PC/AT compatible computer that was orig-
inally equipped with USB and had Windows 98, Windows Me,
Windows 2000 Professional, Windows XP Professional or Win-
dows XP Home Edition preinstalled.
• Do not connect the USB cable before installing the printer driver.
The USB cable should be connected during installation of the
printer driver.
1) Insert the cable into the USB connector on the machine.
2) Insert the other end of the cable into your computer’s USB port.
(3)
Using the machine as a network printer
Note:
• Interface cables for connecting the machine to your computer are
not included with the machine. Please purchase the appropriate
cable for your computer.
• If you intend to use the machine as a scanner, it must be con-
nected to your computer with a USB interface cable. The scanner
function cannot be used if the machine is connected with a LAN
cable.
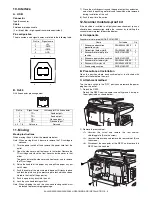
1) Insert the LAN cable into the LAN connector on the machine.
Use a network cable that is shielded.
(AL-2020/2035/2040)
(AL-2050/2060)
Содержание AL-2020
Страница 217: ...Memo ...

