42
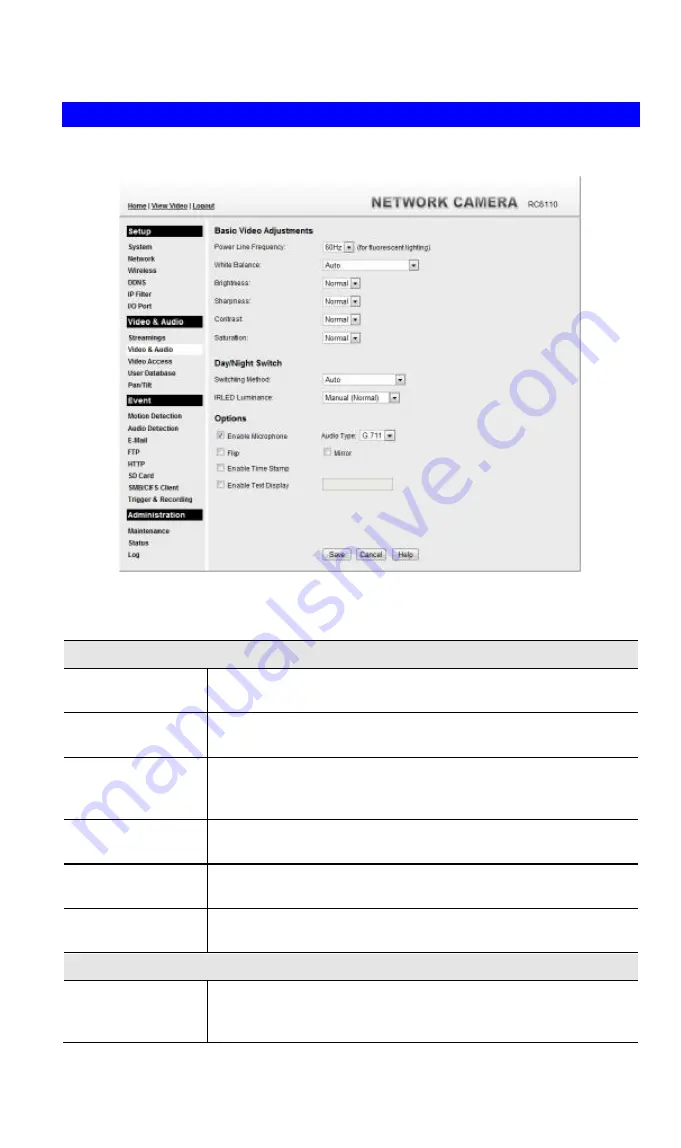
Video & Audio Screen
This screen is displayed when the
Video & Audio
menu option is clicked.
Figure 22: Video & Audio Screen
Data - Video & Audio Screen
Basic Video Adjustment
Power Line
Frequency
Select the power line frequency (50Hz or 60Hz) used in your region,
to improve the picture quality under florescent lighting.
White Balance
Select the desired option to match the current environment and
lighting.
Brightness
If necessary, you can adjust the brightness to obtain a better image.
For example, if the camera is facing a bright light, the image may be
too dark. In this case, you can increase the brightness.
Sharpness
Select the desired option for the sharpness. You can select a
Sharpness value between -3 and 3.
Contrast
Select the desired option for the Contrast. You can select a value
between -3 and 3.
Saturation
Select the desired option for the Saturation. You can select a value
between -3 and 3.
Day/Night Switch
Switching Method
The Wireless HD IP Camera
s
upports Day/Night mode switch for
getting better quality of the low light condition. Select the desired
method to use this function.
Содержание RC8110
Страница 1: ...Wireless HD IP Camera User s Guide ...
Страница 32: ...29 Network Screen This screen is displayed when the Network option is clicked Figure 16 Network Screen ...
Страница 59: ...56 Video Clips Video Clips Click View button to see the details of the video clips ...
Страница 63: ...60 file depends on this setting and also the Video size and degree of compression ...


