71
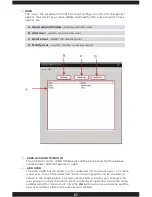
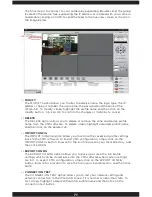
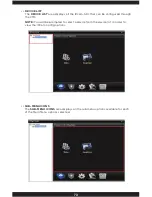
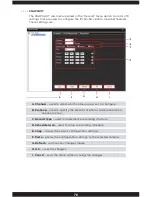
The final step is to connect to your camera by expanding (double click) the group
located in the device tree, expanding the IP address associated with your camera
and double clicking on CAM1 to send the feed to the live view screen as shown in
the image below.
• • MODIFY
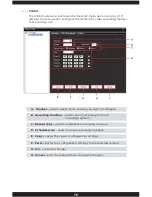
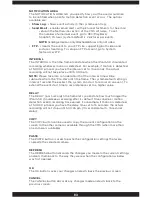
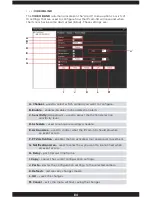
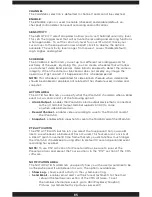
The MODIFY option allows you to alter the device name, the login type, the IP
address, the port number, the user name, the password and the zone of the
IPcam-SD. To modify, simply highlight the profile name and then click on the
modify button. Click on OK to confirm the changes or CANCEL to cancel.
• • DELETE
The DELETE option allows you to delete or remove the zone and device profile
name from the CMS software. To delete simply highlight a desired profile name
and then click on the delete icon.
• • IMPORT CONFIG
The IMPORT CONFIG option allows you to restore the saved .bin profile settings
back to the CMS software. To import CMS configuration, simply click on the
IMPORT CONFIG button, browse for the .bin file saved in your local directory, and
then click OPEN
• • EXPORT CONFIG
The EXPORT CONFIG option allows you to back up or save the .bin profile
settings which can be stored back into the CMS software when certain settings
are lost. To export CMS configuration, simply click on the EXPORT CONFIG
button, browse for a location to save the file in your local directory, and then click
SAVE.
• • CONNECTION TEST
The CONNECTION TEST option allows you to test your network setting and
network connection to the IPcam-SD to see if it is normal or abnormal state. To
test, simply highlight a desired IPcam-SD profile name and then click on the
connection test button.
Содержание IPCAM-SD
Страница 1: ...IPcam SD User s Manual WiFi Security Camera for Smartphone Tablet and Computer ...
Страница 44: ...40 ...
Страница 146: ...142 ...
Страница 147: ......

