XFp Extracellular Flux Analyzer User Manual
_____________________________________________________________________________________________________________________
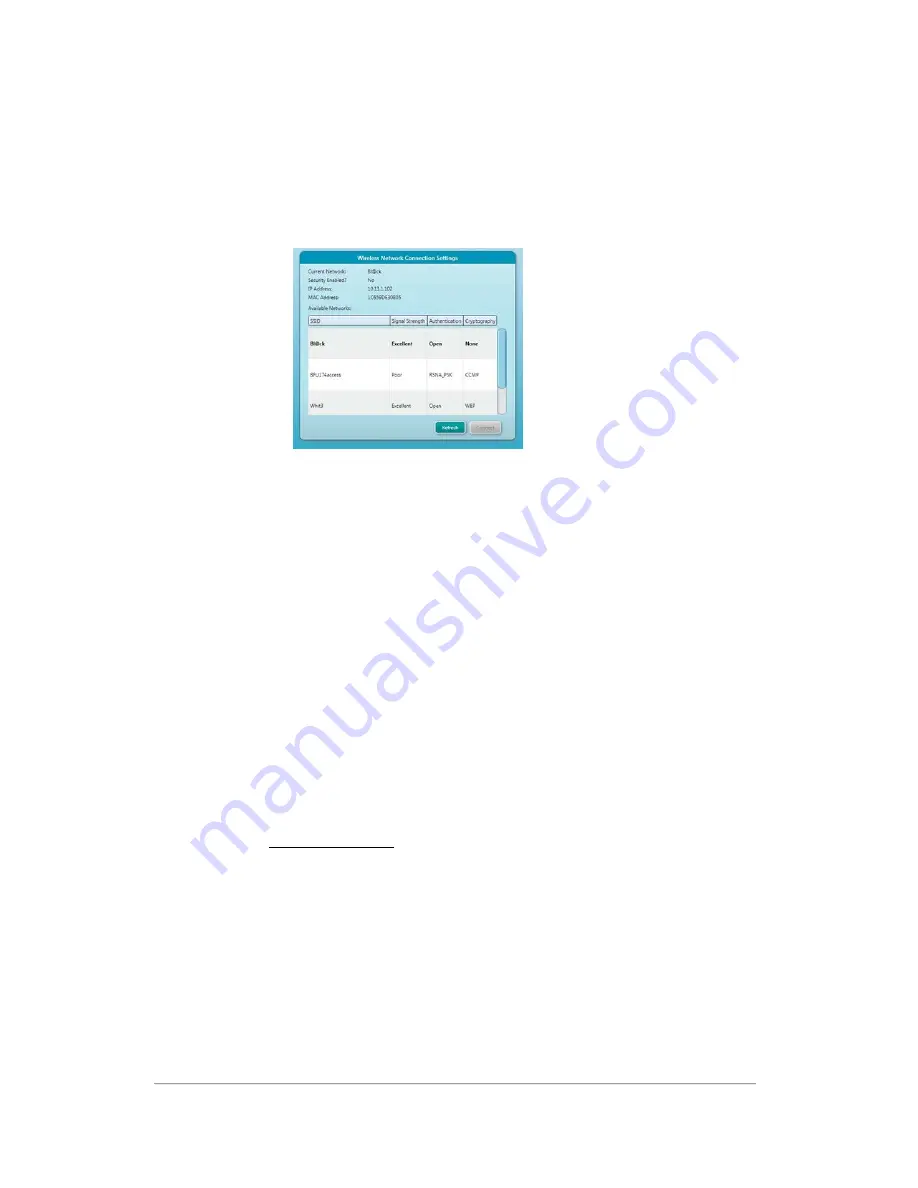
3b. Wireless Setup
1.
From the
Home
screen, select the
Settings
button
2.
Click the
Go to Setup
button
3.
Click the right arrow (bottom right) once. The
Wired Network Connection Settings
screen will appear.
4.
Select the desired network to connect to, click
Connect.
5.
Enter the password when prompted.
6.
If no errors are received, select the desired network again, and verify that the connect
button displays “disconnect”.
7.
Power the XFp Analyzer
OFF
8.
Power the XFp Analyzer
ON
9.
After the instrument completes the boot process and is displaying the temperature value
in the upper right corner, click
Settings
, and then
Go To Setup.
10.
Click the
Ping
button in the
Wired Network Connection Settings
screen.
11.
If there is a “
Pass”
message and icon, the wireless setup is complete.
a.
If it fails, confirm the information in the wireless networking setup steps and
reattempt connecting to a wireless network.
12.
Use the left and right arrows at the bottom of the user interface to exit the setting
options.
4.
Shared Folder Setup
1.
From the
Home
screen, click
Settings
and then click
Go To Setup
2.
Click the right arrow at the bottom right twice. The
Network Directory
tab will appear.
3.
Enter the information for the shared drive into the dialogue boxes (the facility IT
department should provide this information).
Note:
Accuracy is essential Double-check your entry before clicking the “Check Access”
button.
4.
Once the required information has been entered, click
Check Access
and verify
no errors are generated.
5.
Use the left and right arrows at the bottom of the user interface to exit the setting
options.
22


