process.
3. After installing thermocouple wires correctly, it will display the galvanic
current measurement temperature in the touch-screen outside the
measured temperature curve screen “measured” column.
(II) Installation
1. Check the thermocouple wires, whether there are disconnected
phenomenon or not.
2. Insert the galvanic Plug into the “outer galvanic Socket” on the control
according to the positive and negative mark.
3. After GALVANIC installed correctly, the real temperature of the outer
temperature curve screen of the touch screen will show the
temperature of the GALVANIC.
(III) Measurement
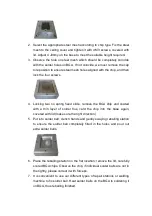
1. PCB board will be installed on the rework station, with the galvanic
fixed on the PCB board
2. Adjust the height of the probe with the probe galvanic head located in
the top 1-2mm of the test site.
3. Adjust the related mechanical adjustment knob, so that the heating
part just below the hot-air tube.
4. Adjust the up and down adjustment knob of the hot-air head to make
the distance between the edge of PCB board side and hot-air head is
3-5mm.
5. Implementation of the welding / disordering process, that is to start the
process of upper and lower heater.
6. Then it will show three curves of the green, red and yellow on the
computer monitor screen.
(IV) Using the external thermocouple to adjust the temperature curve
Statement: In this operation, it may be due to improper operation to cause
the temperature deviation of the device or even lose control, please
caution!
Take the upper hot-air tube as an example to make detailed description of
adjustment method.
Содержание ACHI-HR15000
Страница 1: ...ACHI HR15000 Rework Station NO ACHI HR 15000 Instruction Manual Shenzhen Scotle Technology Co Ltd...
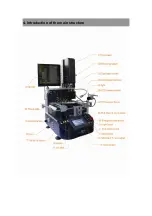
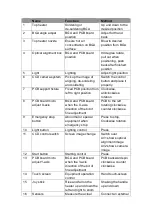
Страница 6: ...4 Introduction of the main structure...
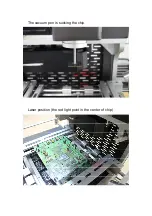
Страница 24: ...The vacuum pen is sucking the chip Laser position the red light point in the center of chip...
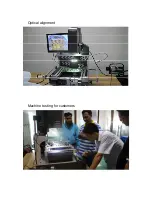
Страница 25: ...Optical alignment Machine testing for customers...
Страница 26: ......


