Introduction
4
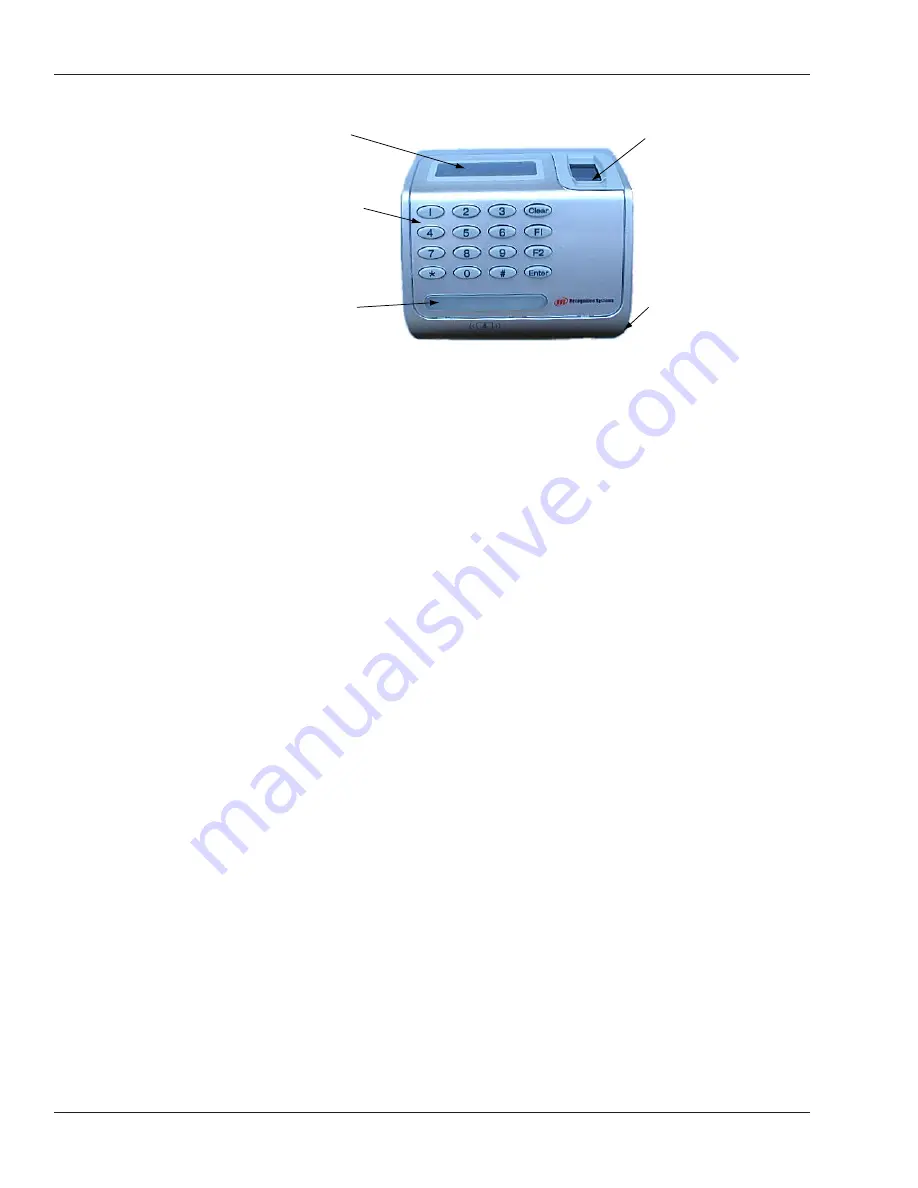
The LCD display
shows messages and
programming menus.
The keypad allows
users to enter ID
numbers. It also
allows for reader
set-up.
Red/green/amber
verifcation LEDs
quickly show users if
the finger was
recognized, and flash
other warning and
status signals.
Guides help users
place their fingers
correctly on the
sensor window.
The internal card
reader provides for
convenient ID entry.
An internal beeper provides
audible feedback.
Figure 2-1: Finger Key Features
1. If you haven’t done so already, get the appropriate access control panel and
electrified door hardware (lock, door position switch, request to exit, etc.).
2. Install the reader on the wall by the door; see page 6.
3. Wire the reader and connect it to your access control panel; see page 9
4. Design an ID numbering system; see page 15.
A properly designed ID numbering system makes the reader faster and easier to use.
5. Add/enroll your supervisory staff.
This includes users who are authorized to program the reader, users who access
the reader through software, and users who will enroll new users to the reader. The
process for enrolling these users is the same as for enrolling other users; see page 21.
6. Set authority levels for your supervisory staff; see page 16.
This makes sure that these users have access to the options in the reader that they
need, and it also prevents other users from being able to inappropriately access the
reader menu options.
7. Customize settings in the reader as needed.
Use the programming menus in the reader; see page 33.
8. Enroll the users who should have access through the door associated with the
reader; see page 21.
FingerKey
Features
Setup Overview
Содержание FingerKey
Страница 1: ...Terminal User s Guide FingerKey...


