background image


Operating Design 


Arium

®

 Smart Station Operating Instructions 

27

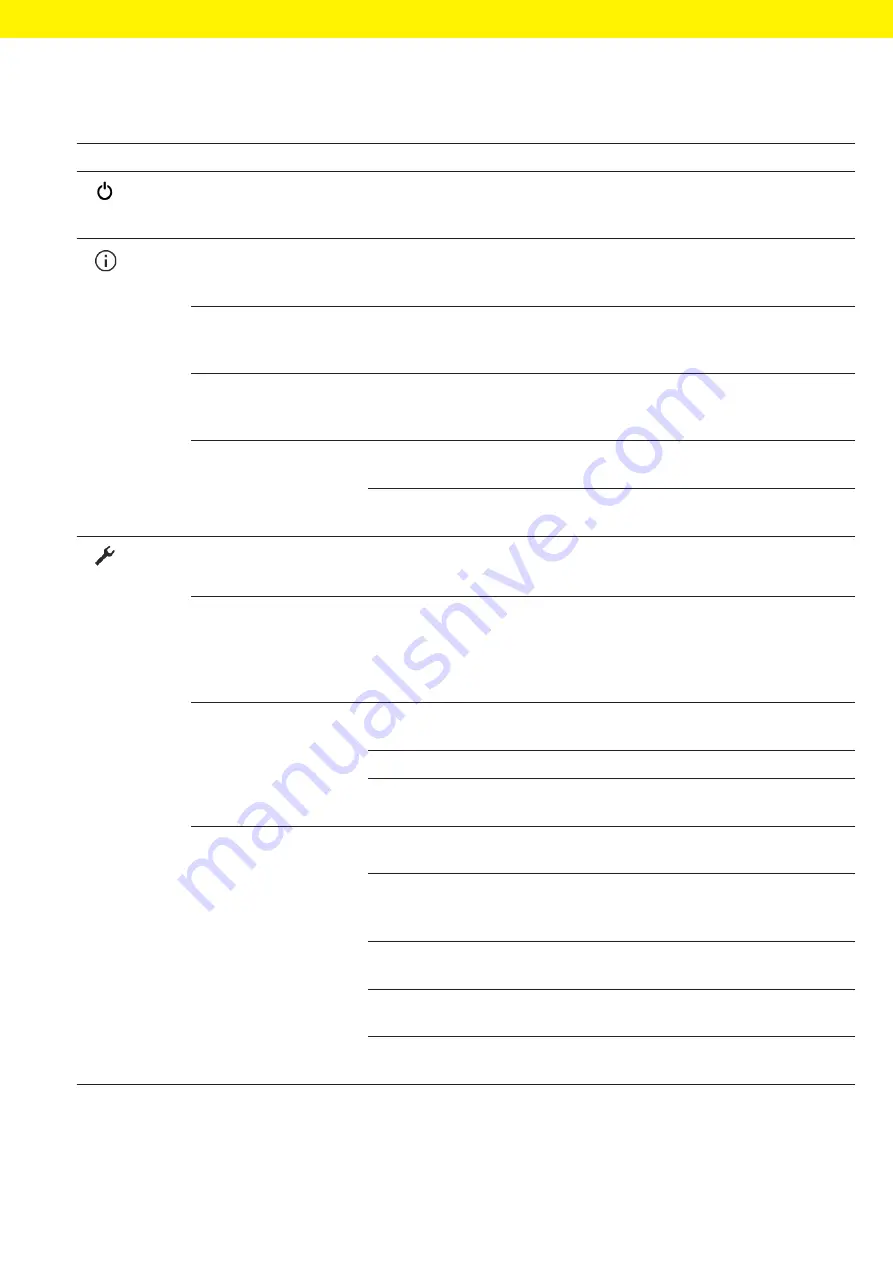
4.10  Menu Structure

Level 1

Level 2

Level 3

Description

Standby


Starts standby mode.


Activates a dispensing unit from 
standby mode.

Information

Device information

Arium

®

 water treatment 

device & Smart Station

Displays all features of the connected 
Arium

®

 devices, e.g., the device 

description and the serial number.

Measured values


Displays the current water quality of 
the system.


Displays the dispensed volume.

Reminders

Displays the data for the next required 
replacement of all consumables in the 
entire system.

Service information

Service contact

Displays the responsible contact at 
Sartorius Service.

Next maintenance

Displays the date for the next scheduled 
maintenance.

Settings

Display temperature

If the conductivity value is compensated: 
Activates the water temperature display.

Final filter reminder


Activates or deactivates the reminder 
for the next required final filter 
replacement.


Allows for a selection of final filter 
types.

Flow rate

Reset the volume of the 
water dispensed

For “Pure” version only: Resets the 
volume counter.

Flow sensor adjustment

Starts the adjustment of the flow sensor.

Flow speed adjustment

For “Ultrapure” version only: Starts the 
adjustment of the flow speed.

Acoustic signals

Display button signals

Activates | deactivates acoustic signals 
when pressing a button.

Key signals on hand-held

Activates | deactivates acoustic signals 
when pressing the hand-held part keys 
[Plus], [Minus] and [Volume].

Warning

Activates | deactivates acoustic signals 
for warnings.

Error

Activates | deactivates acoustic signals 
for error messages.

Confirmation

Activates | deactivates acoustic signals 
for expired rinse times.

Содержание Arium H2O-ARST-P-B

Страница 1: ...Operating Instructions Original Operating Instructions Arium Smart Station H2O ARST P B H2O ARST P T H2O ARST UP B H2O ARST UP T Dispensing Unit 1000084125...

Страница 2: ......

Страница 3: ...4 6 Numeric Keypad 23 4 7 Status Display of the Buttons 23 4 8 Buttons in the Operating Display 24 4 8 1 Buttons for Operation and Navigation in Displays 24 4 8 2 Buttons for Editing or Managing Entr...

Страница 4: ...1 Removing the Final Filter 59 8 4 2 Connecting the New Final Filter 59 8 5 Performing Venting 60 8 6 Pure Version Perform Depressurization 61 8 7 Enabling Disabling or Configuring Reminders for Repl...

Страница 5: ...rium Comfort Arium Advance and Arium Bagtank 1 3 Target Groups The instructions are designed for the following target groups The target groups must possess the knowledge listed below Target Group Know...

Страница 6: ...tes a hazard that may result in property damage if it is not avoided 1 4 2 Other Symbols t Required action Describes actions which must be carried out The actions in the sequence must be carried out i...

Страница 7: ...be used with the equipment and under the operating conditions described in the Technical Data section of these instructions 2 1 1 Modifications to the Device If the device is modified for example by a...

Страница 8: ...tivities carried out by the required target group t If no particular qualification is required for the actions described Have these activities carried out by the user target group 2 3 Significance of...

Страница 9: ...short circuits 2 6 2 Power Supply Unit and Power Supply Cable Serious injury can result e g from electric shocks if an unsuitable inadequately dimensioned power supply cable or unsuitable power supply...

Страница 10: ...ment button Used to set the height for the hand held part 4 Protective tubing Used to protect the water tubes and the data cable 5 Stand support rod Used for the height adjustment of the hand held par...

Страница 11: ...uring volume controlled dispensing For Ultrapure version only When held down it increases the flow speed level by level Changes the menu selection for pre defined levels of volume controlled dispensin...

Страница 12: ...ther Arium Smart Station 3 Inlet connection Used to connect the feed water tube and connects this device with an Arium water treatment device or Arium Bagtank For serial connection of several dispensi...

Страница 13: ...to the control unit 2 Ethernet A Used to connect an Arium water treatment device or another Arium Smart Station 3 Ethernet B Used to connect an Arium water treatment device or another Arium Smart Stat...

Страница 14: ...ispensing Unit 2 3 4 1 4 Fig 5 Wall brackets for the dispensing unit example Pos Name Description 1 Wall bracket for hand held part Used to hold the hand held part 2 Clip Secures the protective tubing...

Страница 15: ...cket 2 1 3 2 1 3 Fig 6 Power supply unit and wall bracket example Pos Name Description 1 Power supply unit Used to supply power to the device 2 Power supply cable Has a country specific plug type 3 Wa...

Страница 16: ...ample Pos Name Description 1 Arium water treatment device Supplies the ultrapure water to the dispensing units 2 Protective tubing Contains the water tubes and the Ethernet system cable 3 Dispensing u...

Страница 17: ...on Pos Name Description 1 Status bar Indicates the water type e g ultrapure If there are messages present Indicates that messages have been saved Opens a message or the message list 2 Measurement disp...

Страница 18: ...d Arium water treatment device as well as the buttons relevant for dispensing 5 2 1 3 4 Fig 9 Dispensing Mode of the Dispensing Unit for Pure Water Schematic Representation Pos Name Description 1 Stat...

Страница 19: ...ispensing 1 3 4 Care 2 Fig 10 Menu for the User role example Pos Symbol Name Description 1 Dispensing Opens the dispensing mode 2 Care Opens the Care menu 3 Identifier If more than one dispensing unit...

Страница 20: ...the Administrator role example Pos Symbol Name Description 1 Dispensing Opens the dispensing mode 2 User role If available Displays the name of the active user profile 3 Care Opens the Care menu 4 Ide...

Страница 21: ...is active no dispensing is possible 1 2 3 Messages Fig 12 Message display in the dispensing mode example Pos Symbol Name Description 1 Messages Messages Messages Message list Indicates that error mes...

Страница 22: ...ntil their cause has been corrected The device detects if the cause of a message has been corrected and automatically deletes the message from the message list Error Error 0130 Care Change final filte...

Страница 23: ...e 3 Function bar Displays available operating functions for the current display 4 Numeric Keypad Transfers numerical values to the dialog box Grayed out numbers indicate that the function cannot curre...

Страница 24: ...vorite button Starts the volume controlled dispensing with a pre defined volume Adopts the entered digit sequence as the pre ferred dispensing volume Cancel button Ends the volume controlled dispensin...

Страница 25: ...iption Save button Saves a selection or entry Opens a previously selected menu item OK OK button Confirms the current display and initializes the next step More button Displays additional functions an...

Страница 26: ...scroll Slowly swipe the touch screen up or down with your finger y The menu entries move in the corresponding direction y During scrolling a gray scrollbar is displayed on the right for orientation t...

Страница 27: ...gs Display temperature If the conductivity value is compensated Activates the water temperature display Final filter reminder Activates or deactivates the reminder for the next required final filter r...

Страница 28: ...ssurization For Pure version only Starts reducing the pressure for the dispensing unit 4 11 Parameter List 4 11 1 Parameters in the Information Menu Parameter Setting Values Explanation Device informa...

Страница 29: ...nt device is displayed compensated to 25 C Off Deactivates the water temperature display Default setting 4 11 3 Parameters in the Settings Final Filter Reminder Menu Parameter Setting Values Explanati...

Страница 30: ...nals for warnings Off Deactivates acoustic signals for warnings Error On Activates acoustic signals for error messages Off Deactivates acoustic signals for error messages Confirmation On Activates aco...

Страница 31: ...rium water treatment device Operating Instructions Service 4 11 9 Parameters in the Care Menu Parameter Setting Values Explanation Replace final filter None guided drain Starts the wizard for replacin...

Страница 32: ...utlet water tube outer diameter Ethernet system cable 1 For Pure version only Connection tubing including inlet and outlet water tube outer diameter Ethernet system cable 1 Clips 3 Only for benchtop v...

Страница 33: ...on space e g a sink Sufficient space for the system for dispensing unit space requirements see Chapter 14 1 Dimensions and Weights page 68 Sufficient load bearing capacity for the system for weight of...

Страница 34: ...rt rod and the control unit at the same time We recommend that installation and commissioning of the device should be carried out by Sartorius Service Procedure t Please contact Sartorius Service t We...

Страница 35: ...t hand side of the control unit t Secure the base plate and the stand base using the four screws 1 including the three bases on the control unit 5 5 Installing the Stand Arm Only for Dispensing Unit w...

Страница 36: ...for alignment see Chapter 3 6 Power Supply Unit and Wall Bracket page 15 t During adhesion ensure that the surface is clean and grease free t Remove the protective film 1 from the adhesive tape and s...

Страница 37: ...les 1 on the wall bracket can be used as a template for drilling the installation space t Secure the wall bracket to the wall using suitable screws and dowels 5 8 Dispensing Unit with Wall Bracket Sec...

Страница 38: ...sten the wall bracket securely to the wall t Use the holes 1 on the wall bracket as a template for drilling the installation space t Secure the wall bracket to the wall using suitable screws and dowel...

Страница 39: ...ge or damage to the device t Use only original Sartorius tubing t Do not bend the tubing t Perform a functional check after commissioning Requirements The device is disconnected from the power supply...

Страница 40: ...ispensing unit 1 with the return flow of the Arium water treatment device 4 Connection tube 2 Connects the unmarked water outlet of dispensing unit 1 with the Inlet connection of dispensing unit 2 5 C...

Страница 41: ...ight connector 2 using the tubing release tool and remove t Loosen the straight connector 2 using the tubing release tool and remove t Apply the angle joint removed from connection tube 1 in the place...

Страница 42: ...1 connection of dispensing unit 2 t Connect the other side of this tube to the unmarked water outlet 1 of dispensing unit 1 Connecting Dispensing Unit 2 to the Water Treatment Device t Connect the un...

Страница 43: ...ved by Sartorius may lead to leakage or damage to the device t Use only original Sartorius tubing t Do not bend the tubing t Perform a functional check after commissioning Requirements The device is d...

Страница 44: ...of the hand held part to the identically marked connectors 1 6 1 6 Leak Test Procedure t NOTICE Water leakage in tubes or tube connections If the tube is deformed or is not inserted deep enough Water...

Страница 45: ...y The hand held part 1 is held in the stand arm or the wall bracket magnetically 6 1 9 Connecting the Ethernet System Cable Procedure t Connect the Ethernet system cable to one of the two connectors 1...

Страница 46: ...s in the insulation before use t Check whether the country specific power plug matches the power supplies at the installation site t If required Replace the country specific power plug adapter t Only...

Страница 47: ...of the power cable complies with your country s standard t If required Please contact Sartorius Service t Connect the power supply unit to the power supply 1 of the dispensing unit t Place the power s...

Страница 48: ...filter dialog box is displayed in the operating display Procedure t Press the final filter 1 into the quick connector of the water outlet t Confirm the connection of the final filter with the OK butt...

Страница 49: ...mend activating the standby mode on the Arium water treatment device and all connected dispensing units 7 2 Dispensing Water 7 2 1 Preparing to Dispense Water The water can be dispensed as follows Man...

Страница 50: ...er outlet y The device is ready to dispense water 7 2 2 Dispensing Water Manually Manual dispensing can only be started or stopped via the hand held part Requirements The device is in dispensing mode...

Страница 51: ...controlled dispensing a previously specified amount of water is dispensed The volume to be dispensed must be entered with the following specifications Minimum and maximum dispensing volume for values...

Страница 52: ...e requirements for the volume input y The entered volume appears t Press the Favorite button 1 y The entered volume is saved as a favorite Using Favorites The saved dispensing volume is displayed on t...

Страница 53: ...d volume Press the Plus or Minus button on the hand held part or press the desired volume on the operating display y The selected volume appears in an area with a dark gray background t To start the d...

Страница 54: ...ispensed t To not repeat the volume controlled dispensing with the last volume dispensed Press the Volume button 1 or let go of the handle on the hand held part y The standard dispensing mode appears...

Страница 55: ...perating display goes dark for the time period see Chapter 14 6 Device Functions page 70 7 4 2 Standby Mode If the complete system has not been in use for a prolonged period the device automatically s...

Страница 56: ...5 Changing System Settings The system settings for the device e g for the flow rate can be changed in the Settings menu Procedure t Press the Setup button 1 y The Settings menu appears t Configure the...

Страница 57: ...electric shock when cleaning the device and its components while live t Always disconnect the device from the power supply before cleaning NOTICE The electronic equipment could be damaged by improper...

Страница 58: ...59 1 3 months depending on the application Ultrafilter final filter Change the final filter 8 4 59 8 3 Opening the Care Menu The Care menu contains all the steps for the care and maintenance work and...

Страница 59: ...let quick connector up y The quick connector is unlocked t Pull the final filter 2 out of the quick connector t Confirm the removal of the final filter with the OK button 8 4 2 Connecting the New Fina...

Страница 60: ...tube and run the free end to the drain t Press the OK button t To start the rinse Press the START button y During the rinsing process the remaining rinse time is displayed in minutes t To interrupt t...

Страница 61: ...nnect the dispense tube and run the free end to the drain t Confirm this preparatory step with the OK button y The Start depressurization dialog box is displayed t Press the START button y The Depress...

Страница 62: ...ect the installed final filter e g Sterile filter or Ultrafilter y The currently configured replacement interval appears in the Reminder Months column t To change the replacement interval Press the Mo...

Страница 63: ...error message is active on the Arium water treatment device dispensing is canceled and locked automatically The Arium water treatment device error messages are also displayed in parallel on the operat...

Страница 64: ...nal filter is connected Rinse the final filter Perform a venting process for the final filter If the error still occurs Replace the final filter 8 5 60 8 4 59 If no water can be dispensed when the fin...

Страница 65: ...sconnect the device from the supply lines t Remove all consumables used t Disconnect all connected components from the device t Clean the device see Chapter 8 Cleaning and Maintenance page 57 11 Trans...

Страница 66: ...2 Returning the Device and Parts Defective devices or parts can be returned to Sartorius Returned devices must be clean decontaminated and properly packed Transport damage as well as measures for sub...

Страница 67: ...for transport and disposal 13 2 Disposing of Device and Parts The device and the device accessories must be disposed of properly by disposal facilities A lithium button cell battery type CR2032 is in...

Страница 68: ...ox m 2 Operating range of the flexible hand held part approx m 0 7 Weight approx kg 4 9 14 1 2 Dispensing Unit with Wall Bracket Unit Value Dimensions Control unit L W H mm 172 157 343 Hand held part...

Страница 69: ...rease from maximum 80 at 31 C to maximum 50 at 40 C 14 4 Storage Conditions Unit Value Temperature C 2 60 Relative air humidity maximum 90 14 5 Electrical Data 14 5 1 Power Supply to the Power Supply...

Страница 70: ...le for use in industrial areas interference immunity Electromagnetic compatibility according to EN 61326 1 Electrical equipment for measurement control and laboratory use EMC requirements Part 1 Gener...

Страница 71: ...size TB 2 PC Full Low Speed 5 V 500 mA 14 8 Permitted Devices or Components Arium water treatment devices Arium Pro Arium Comfort Arium Advance Arium Bagtank 14 9 Materials Housing surfaces Plastic P...

Страница 72: ...ons Recommendation Description Access restrictions to the device and the IT system Use internal IT systems with measures for risk reduction e g firewalls antivirus programs Operate risk mitigation mea...

Страница 73: ...ile filter Arium Sterile Plus Sartopore 2 150 capsules 5441307H4 CE Ultrafilter Arium Cell Plus H2O CUF 16 Sartorius Service Sartorius Service is at your disposal for queries regarding the device Plea...

Страница 74: ...Conformity Documents 74 Arium Smart Station Operating Instructions...

Страница 75: ...Conformity Documents Arium Smart Station Operating Instructions 75...

Страница 76: ...feminine forms are used to facilitate legibility in these instructions and always simultaneously denote the other gender as well Copyright notice This instruction manual including all of its component...

Отзывы: