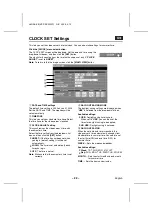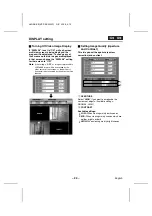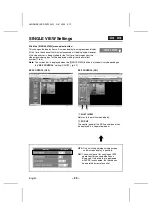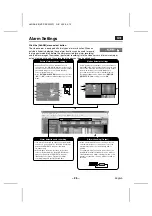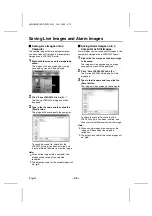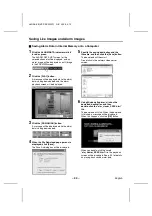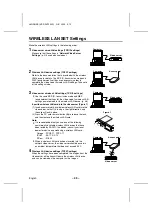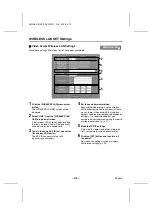
Alarm Settings
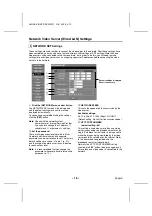
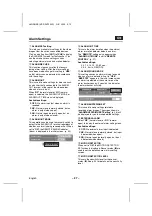
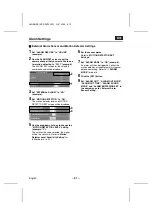
Motion Detector Level Sensitivity
Setting
The default setting for the motion detector
sensitivity is “5”. The setting can be selected
from a level ranging from “1” (High) through to
“10” (Low).
1
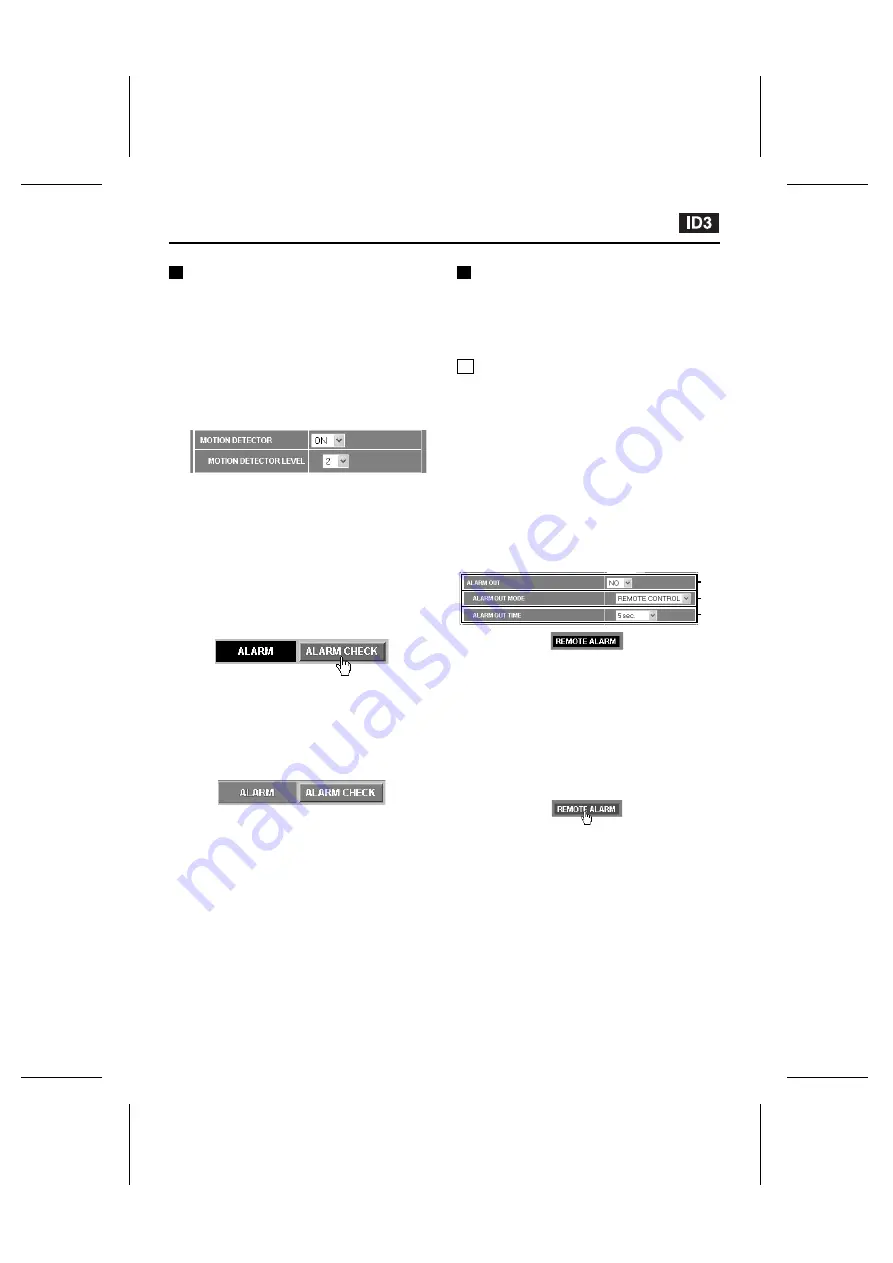
Set “MOTION DETECTOR LEVEL” to “2”
(example).
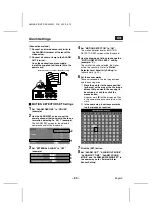
Insert sensor marks for the motion detector
settings (grid area).
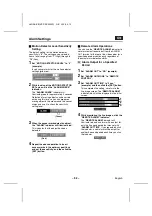
2
While looking at the MOTION DETECTOR
SET screen, click the “ALARM CHECK”
indicator.
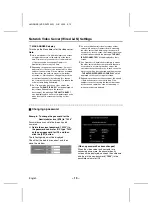
The “ALARM CHECK” indicator will
illuminate green for approximately 5 seconds.
Detection of moving objects can be carried
out during this time, so you can prepare a
moving object in the area around the sensor
marks and use it to check the sensitivity
setting level.
3
When the sensor marks detect an object,
the “ALARM” indicator will illuminate red.
This indicates that the object has been
detected.
4
Repeat the above operation to insert
sensor marks in the optimum positions
and set the sensitivity, and then click the
[SET] button.
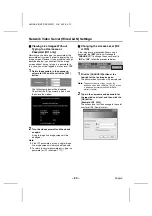
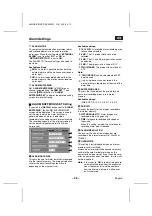
Remote Alarm Operations
You can use the “REMOTE ALARM” indicator to
set alarm output to come out from the ALARM
OUT terminal at the rear of the video server for a
specified period or continuously regardless of
the actual alarm detection status.
A Alarm Output for a Specified
Period
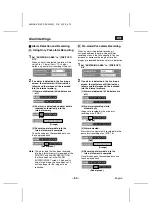
1
Set “ALARM OUT” to “NO” (example).
2
Set “ALARM OUT MODE” to “REMOTE
CONTROL”.
3
Set “ALARM OUT TIME” to “5 sec.”
(example), and then click the [SET] button.
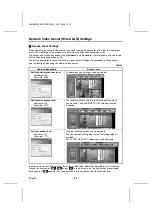
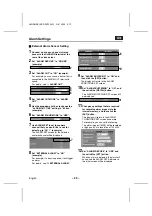
This completes the setting, so return to the
live image screen. The “REMOTE ALARM”
indicator (black) will be displayed in the initial
screen.
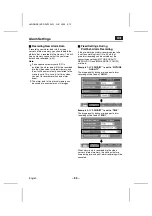
4
While monitoring the live images, click the
“REMOTE ALARM” indicator.
The “REMOTE ALARM” indicator will
illuminate red and an alarm will be output for
only the 5-second period that was set with
“ALARM OUT TIME”. If you repeatedly click
the indicator, a new alarm will be output for
another 5-second period each time you click
the indicator.
(Green)
(Red)
1
2
3
L8NAA/XE
(VSP-SV2000P) GB 2003,
5,
12
– 32 –
English

