Miscellaneous Settings (OPTION)
49
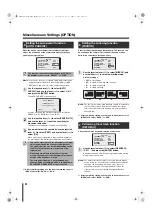
Sets the type and position of the information displayed on the
monitor.
b
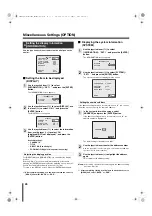
Setting the item to be displayed
(DISPLAY)
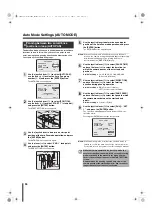
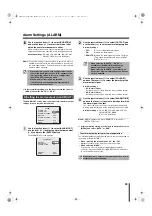
1
Use the joystick lever (
xy
) to select
[INFORMATION] – “SET
y
”, and press the [ENTER]
button.
The INFORMATION screen appears.
2
Use the joystick lever (
xy
) to select [DISPLAY], use
the lever (
vw
) to select “ON
y
”, and press the
[ENTER] button.
The DISPLAY screen appears.
3
Use the joystick lever (
xy
) to select the information
item, use the lever (
vw
) to select “ON
(displayed)/OFF (not displayed)”, and press the
[ENTER] button.
Available settings:
• CAMERA ID
• TITLE
• DIRECTION (Pan/tilt angle)
• ZOOM RATIO (Magnification power in zooming)
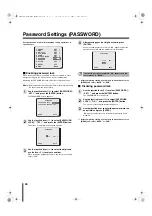
For [DIRECTION] and [ZOOM RATIO], you can adjust the display
position.
Selecting “ON
y
” for the item to adjust the display position and
pressing the [ENTER] button displays the adjusting screen. Use the
joystick lever to adjust the display position for the item.
To return to the DISPLAY screen, press the [ENTER] button again.
☞
After completing setting, use the lever to move the cursor to
[MENU] and select “BACK” or “END”.
b
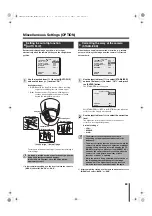
Displaying the system information
(SYSTEM)
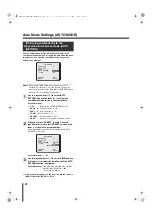
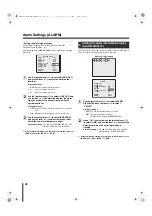
1
Use the joystick lever (
xy
) to select
[INFORMATION] – “SET
y
”, and press the [ENTER]
button.
The INFORMATION screen appears.
2
Use the joystick lever (
xy
) to select [SYSTEM] –
“SET
y
”, and press the [ENTER] button.
The system information is displayed in the screen.
If the address setting switch on the camera is set to “0”, you can use
the menu screen to specify the camera’s address.
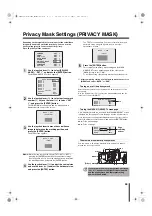
1
In the system information screen, select
[ADDRESS] and press the [ENTER] button.
If the address setting switch on the camera is set to “0”, the
address number is highlighted.
The initial setting for the address is “001”.
2
Use the joystick lever to enter the address number.
Use the lever (
vw
) to select a digit to enter a number and use
the lever (
xy
) to select number.
3
Use the joystick lever (
v
) to highlight the address
again.
This completes the address setting.
Memo:
After turning off and on the camera again, the address setting
becomes effective.
☞
After completing setting, use the lever to move the cursor to
[MENU] and select “BACK” or “END”.
A
Setting the display information
(INFORMATION)
Adjusting the display position
OPTION
INFORMATION
AUTO FLIP
STABILIZER
AUTO PURSUIT
MIRROR
REFRESH
y
y
PRESET
MENU
SET
ON
OFF
OFF
OFF
SET
OFF
BACK
y
INFORMATION
DISPLAY
SYSTEM
OFF
SET
DISPLAY
CAMERA ID
TITLE
DIRECTION
y
ZOOM RATIO
y
ON
ON
ON
ON
Setting the camera’s address
y
y
INFORMATION
DISPLAY
SYSTEM
ON
SET
CAMERA VER
PROTOCOL
ADDRESS
BAUD RATE
MENU
0.00-00
485S
1
19200
BACK
001
MENU
ADDRESS
BACK
L5BW2_XE(VCC-MC800P_MC700P)(GB).book 49 ページ 2007年1月18日 木曜日 午前10時18分

