Pan and Tilt Settings (PAN/TILT)
29
D
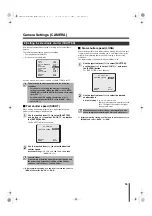
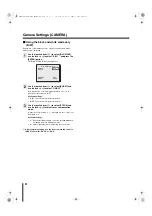
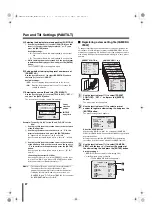
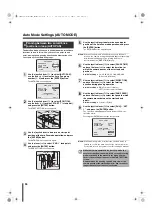
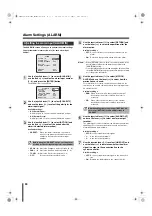
Setting zooming operation options (ZOOM)
When a motion is detected, the camera zooms in and out
automatically.
1
Use the joystick lever (
xy
) to select [ZOOM] and use the
lever (
vw
) to select zooming mode.
Available settings:
• OFF:
Disables the auto zooming. (Initial setting)
• IN:
Performs detection at the center of the screen
and zooms in along the optical axis.
• OUT:
Performs detection over the full screen (except
for the masked area) and zooms out along the
optical axis.
• IN-MOV:
Performs detection over the full screen (except
for the masked area) and zooms in at the position
where motion was detected.
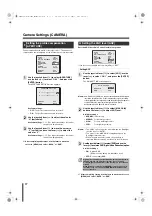
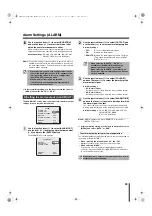
2
Select the optical zoom magnification power (RATIO)
according to the zooming mode you selected.
Available settings:
• IN:
x1.4, x2, x2.8, x4, x5.6, x8, FULL (zooming in to
the TELE end), MANU (manual setting)
• OUT:
x1/1.4, x1/2, x1/2.8, x1/4, x1/5.6, x1/8, FULL
(zooming out to the WIDE end), MANU (manual
setting)
• IN-MOV:
x1.4, x2, x2.8, x4, x5.6, x8, FULL (zooming in to
the TELE end), MANU (manual setting)
Memo:
When selecting “MANU”, the RATIO SETTING screen
appears. While monitoring the actual image and performing
zooming operation, specify the zoom magnification power,
then press the [ENTER] button. The zoom magnification
power value appears in the bottom left of the screen.
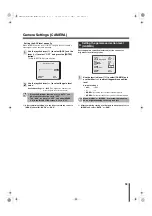
3
Select the duration for the zooming operation (TIME)
Available settings:
(common to all zooming modes)
5S, 10S, 15S, 20S, 30S, 45S, 1M, 2M, 3M, 4M, 5M
(S: Second, M: Minute)
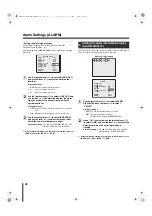
E
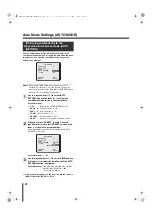
Setting the interval after which the next alarm
becomes in effect (DURATION)
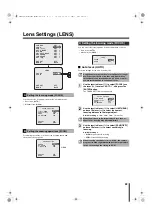
When a motion is detected and an alarm signal is output, another
alarm signal will not be output until the duration specified in this
setting has passed.
Use the joystick lever (
xy
) to select [DURATION] and use the
lever (
vw
) to select the interval after which the next alarm
becomes in effect.
Available settings:
5S, 10S, 15S, 20S, 30S, 45S, 1M, 2M, 3M,
4M, 5M (S: Second, M: Minute)
The following settings are common to the ones performed in the
camera and lens settings. See their respective reference pages.
•
IRIS
(Page 11)
•
WHITE BALANCE
(Page 12)
•
BLC
(Page 14)
•
SHUTTER
(Page 16)
•
APERTURE
(Page 17)
•
AGC
(Page 17)
•
GAMMA
(Page 18)
•
DAY/NIGHT
(Page 19)
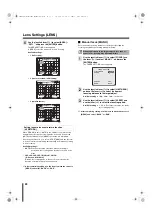
Memo:
• The IRIS, SHUTTER and MOTION functions can be used
in the combination shown in the table below.
F
: Function is set
T
: Not allowable
E
: Allowable
•
: When exiting individual menu, settings will be
cancelled.
☞
After completing setting, use the lever to move the cursor to
[MENU] and select “BACK” or “END”.
b
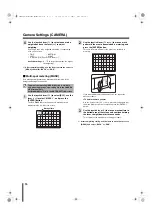
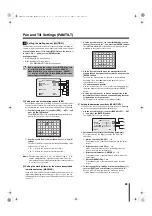
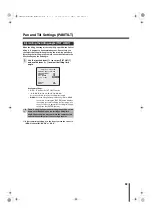
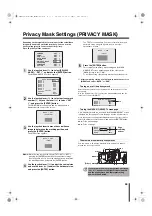
Grouping the preset positions
(SEQUENCE GROUP)
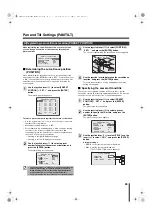
Each preset position can be assigned to a group (A to D). The group
can be used for the Sequence mode to monitor multiple surveillance
locations sequentially.
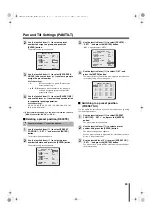
1
Use the joystick lever (
xy
) to select [PRESET
POSITION] – “SET
y
”, and press the [ENTER]
button.
The preset map screen appears.
The value you can select here should be within the
duration specified in the [DURATION] setting (see step
E
below).
B
Setting related options other than motion
sensor
IRIS
AUTO: SENSE UP (ON)
F T T T T
MANU: EI (ON)
T F T T E
SHUTTER LONG
T T F T T
SHORT
T T T F E
MOTION
T E T E F
No. 27
No. 15
No. 4
No. 1
No. 8
No. 30
No. 22
No. 11
No. 2
No. 20
PRESET NO.SELECT
1:A 11:B 21:- 31:-
2:B 12:- 22:B 32:-
3:- 13:- 23:- 33:-
4:A 14:- 24:- 34:-
5:- 15:A 25:- 35:-
6:- 16:- 26:- 36:-
7:- 17:- 27:A 37:-
8:A 18:- 28:- 38:-
9:- 19:- 29:- 39:-
10:- 20:B 30:B 40:-
MENU
BACK
Group A
Group B
L5BW2_XE(VCC-MC800P_MC700P)(GB).book 29 ページ 2007年1月18日 木曜日 午前10時18分

