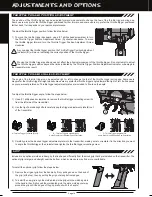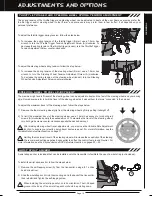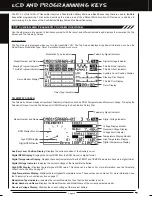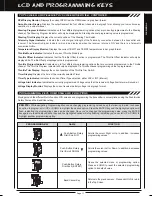
Page 13
GENERAL
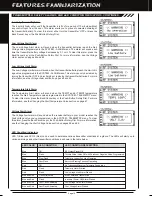
Telemetry Sensor Overview
The
MT-4 2.4GHz FHSS-4T
radio control system includes one Temperature Sensor and one RPM Sensor, in addition to the Voltage
Sensor built into the receiver. These sensors can be installed in your model to give you Temperature and RPM or Speed feedback
in real-time displayed on the transmitter's Telemetry Screen.
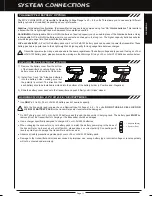
Plugging the Telemetry Sensors into the Receiver
1)
receiver.
2) Plug the Telemetry Sensor(s) into their respective inputs in the receiver. The Temperature Sensor can be plugged into either
the TEMP 1 or the TEMP 2 input and the RPM Sensor is plugged into the RPM input. The sensor plugs are indexed so they
can be plugged in only one direction.
The receiver supports the use of two different Temperature Sensors at the same time. If desired, an extra Temperature
Sensor can be purchased separately.
sensor wires inside your model, be careful that they cannot come into contact with any moving parts or can be damaged in
the event of a crash. The sensor wires should be securely mounted and protected against damage.
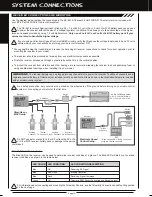
Mounting the Temperature Sensor
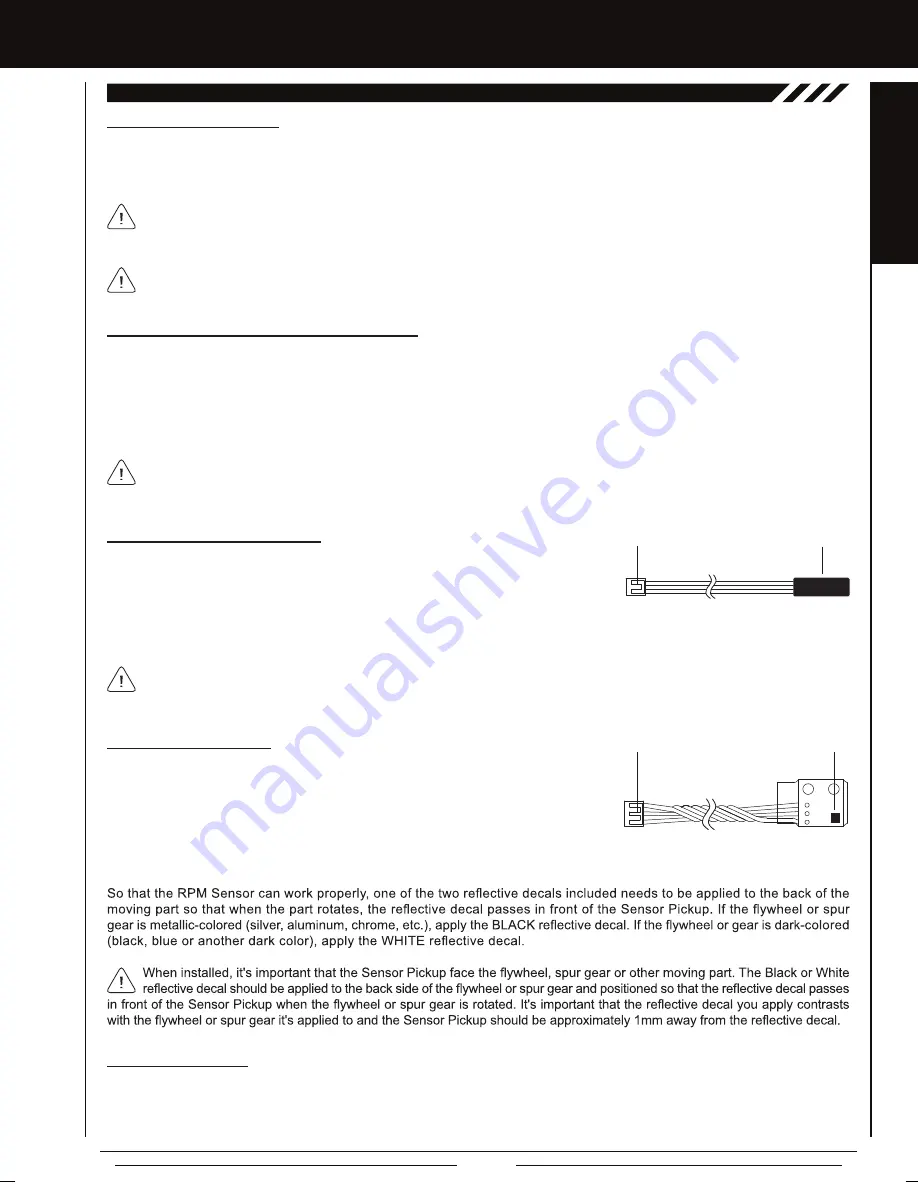
The Sensor End should be secured directly against the part of your engine, motor
or battery you want to monitor temperature readings from. For example, to monitor
the cylinder head temperature of your nitro-powered model, the best place to secure
the Sensor End is where the bottom of the cylinder head meets the top of the engine
case. The Sensor End can be held in place using a nylon cable tie wrapped around your engine. To monitor the temperature of
your battery pack or electric motor, clear tape can be used to secure the Sensor End to the spot you want to monitor.
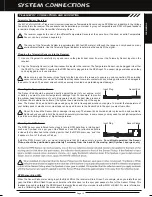
Mounting the RPM Sensor
The RPM Sensor uses infrared technology to record RPM data from a rotating part,
included that is attached to the rotating part so that the RPM Sensor can 'see' it as
it passes in front of the Sensor Pickup.
Install the RPM Sensor into your model, making sure that it's held securely in place.
For optimal operation, the Sensor
Sensor End
Input Plug
Do not try to bend the Sensor End or damage it in any way. The Sensor End should be held in place with a nylon cable tie
(tightened only enough to hold the Sensor End securely) or clear tape. In some cases, you may need to use high-temperature
tape to ensure strong adhesion at higher temperatures.
Sensor Pickup
Input Plug
RPM Sensor Bind LED
When the Sensor Pickup is receiving input, the Bind LED on the receiver will turn Green. For example, when you rotate the spur
feedback is used to calibrate the RPM Sensor to display the speed of your model in either MPH or KM/H. For more information,
see the
Calibrating the RPM Sensor
section on page 70.
The range of the Telemetry System is approximately 260 feet (80 meters), although the range can vary based on many
environmental factors. Use the Telemetry Signal Indicator to determine the quality of the signal.
SYSTEM CONNECTIONS
TELEMETRY CONNECTIONS AND MOUNTING
Use your fingernail to carefully pry up and remove the plastic dust cover from over the Telemetry Sensor inputs on the
Make sure to push the sensor plugs firmly into their inputs in the receiver to ensure a good connection. When routing
such as a flywheel or a spur gear. One Black and one White reflective decal are
Pickup should be positioned approximately 1mm away from the back of the moving part (flywheel, spur gear,etc.)
gear, the Bind LED will flash Green each time the reflective decal on the spur gear passes in front of the Sensor Pickup. This
Содержание MT-4
Страница 1: ...OPERATING MANUAL ...


