Page 18
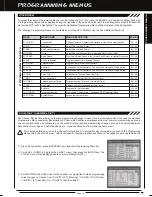
The Binding function allows you to 'Bind' the transmitter and receiver pair. When new, it is necessary to pair the transmitter and
receiver to prevent interference from transmitters operated by other users. This operation is referred to as 'Binding'. Once the
Binding process is complete, the setting is remembered even when the transmitter and receiver are turned 'OFF'. Therefore, this
procedure usually only needs to be done once.
Under some circumstances, the receiver may not operate after turning the transmitter and receiver 'ON'. If this occurs,
perform the Binding process again.
Before beginning the Binding process, connect your servos and receiver battery pack to the receiver. For more information,
see the
Receiver Connections and Mounting
section on page 12. The transmitter and the receiver should be turned 'OFF'.
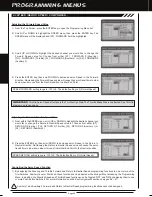
3) While holding down the Bind Button on the receiver, turn the receiver
2 seconds, release the Bind Button. The Bind LED on the receiver
Use the tip of a non-conductive instrument to press the Bind Button on the receiver. Do NOT use a sharp object!
Transmitter and Receiver Binding
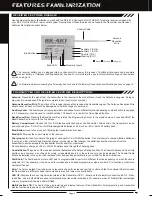
1) Turn the transmitter 'ON'. The Top Screen will be displayed. Press the ENTER key
(Push-Button Rotary Dial) to open the Programming Menu list, then scroll UP or
DOWN to highlight the SYSTEM menu. Press the ENTER key to open the SYSTEM
menu, then scroll DOWN to highlight the BIND menu. Press the ENTER key to open
the BIND menu.
When the Binding procedure is successful, the Bind LED on the receiver and LED 1 on the transmitter will illuminate solid
In this case, turn both the transmitter and receiver 'OFF', then repeat the Binding procedure again.
4)
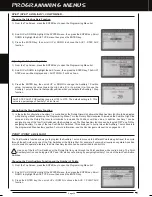
5) After the Bind LED on the receiver goes out, press the ENTER key a second time. The Bind LED on the receiver will illuminate
solid blue and LED 2 on the transmitter will go out, indicating that the Binding procedure is complete and a Telemetry
connection has been made.
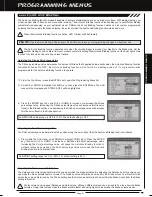
Verify that [RF MODE]: FH4T is displayed. If it isn't, change the Modulation Type to FH4T. For more information, see the
Changing the Modulation Type
section on page 54.
2) Scroll UP or DOWN to highlight the [ENTER] command.
IMPORTANT:
This section details Binding the RX-461 4-Channel 2.4GHz FHSS-4T Telemetry receiver with Digital or Analog
servos set to Normal mode. If you are Binding an FHSS-2 or FHSS-3 receiver to the transmitter, or if you prefer to change
the Servo Operating Mode, see the
Binding, Modulation Type and Servo Mode
section on pages 54 and 55.
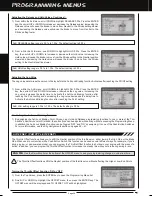
6) Move the steering wheel and throttle trigger to verify that the servos are operating normally, then press and HOLD the
Back/Cancel key to return to the Top Screen.
TRANSMITTER AND RECEIVER BINDING
'ON'. The Bind LED on the receiver will flash slowly. After approximately
will continue to flash slowly.
Press the ENTER key. The [ENTER] command will begin to flash and the Bind LED
on the receiver will flash rapidly, then go out.
blue. If the Bind LED on the receiver is flashing rapidly or is not illuminated at all, the transmitter and receiver are not paired.
Содержание MT-4
Страница 1: ...OPERATING MANUAL ...

