Dasher Front
View
Scraper Blade
Blade Support
Tab
Support
Rod
Blade Support
Tab
Support
Rod
Dasher Front
View
Scraper Blade
Fig. 9
Scraper Blade Removal
DISASSEMBLY and CLEANING
PAGE 5
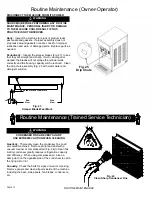
10. Remove the drip tray insert and drip tray (Fig. 10).
11. Remove the top cover of the machine by removing the
phillips head screw in the back of the top cover Turn
the three knobs on the expansion chamber (Fig. 11)
counter-clockwise and remove the chamber top.
12. Place all parts in a three partition sink filled with the
following solutions:
a. In the first partition, a solution of water and anti-
bacterial
dishwashing
detergent.
b. In the second partition, clear rinse water.
c. In the third partition, sanitizing rinse solution
equivalent to 200 parts per million (PPM)
Chlorine
residual.
13. Pour a portion of the detergent solution in the
expansion chamber and clean the chamber and
freezing chamber with the brush provided.
14. Place all removable items in the sink and clean all
holes and ports with brushes.
15. Rinse the parts in the clear rinse water and place them
in the sanitizing solution for at least three minutes and
then allow them to air dry before assembly and
lubrication.
Drip Tray
Support
Drip Tray
Drip
Fig. 10
Drip Tray Assembly
Fig. 11
Expansion Chamber
Содержание A7081HEP
Страница 2: ......
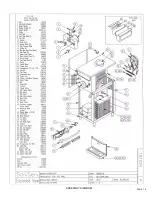
Страница 17: ...PAGE 16 ASSEMBLY DIAGRAM ...
Страница 18: ...Notes ...
Страница 19: ...Service Log ...


