S&C Instruction Sheet 1072-530
43
SpeedNet Client Tool
Serial Pass-Through
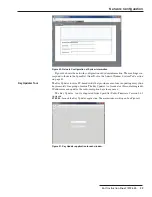
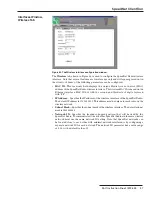
Figure 70. Serial Pass-Through configuration window.
The
Serial Pass-through
feature allows support for legacy equipment on the serial port
using non-DNP3 serial protocols, such as Modbus.
The following options are available when
DNP
is the selected serial port mode, as
shown in Figure 70.
• UDP/TCP
—Determines which transport control protocol—TCP or UDP—will be used
for pass-through communication; UDP is the default setting
• Listen Port
—The IP port the radio listens on for incoming messages
• Remote IP Address
—The IP address assigned to the remote device of the pass-
through link
• Peer Port
—The Remote IP port the radio sends the serial message to
• Output Delay
—The value that defi nes the amount of time (in milliseconds) between
transmitting serial packets to the SpeedNet Radio’s serial interface after they are
received over the wireless interface (This feature has been added to accommodate
legacy equipment that cannot receive back-to-back data packets as quickly as a
SpeedNet Radio can deliver them. The default value is 80 milliseconds.)
• Input Timeout
—The value that defines the amount of time (in milliseconds) the serial
interface will wait before sending a packet after data is received; the default value is
60 milliseconds
Persistent Routes
The
Persistent Routes
feature will establish a route to a specifi c destination before any
application traffi c is initiated. The
Persistent Routes
feature runs with AODV enabled
and implements a keep-alive mechanism between a source and a destination.
The
Persistent Routes
feature is useful when traffic must keep flowing to specific
paths in the network. It will also reduce delay and improve reliability between the nodes
configured with the
Persistent Routes
feature.
It is important to note that entries for persistent routes only need to be configured
in each end-point radio. No intermediate hops need to be entered. The AODV Mesh will
automatically determine the route.
The following options are available:
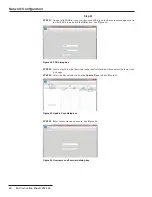
• Add
—The
Add
button is used to add persistent routes to the route table. Click the
Add
button, enter the Endpoint’s IP address, and click the
OK
button to add a persistent route
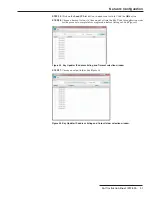
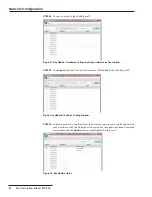
• Delete
—To delete a route from the route table, select the route, then click the
Delete
button to remove the route from the route table

