S&C Instruction Sheet 766-557 21
Serial Connection—Rev. 3.5.x and Later
After control firmware has been successfully loaded, it is recommended that you verify
that the control is operating correctly, by using IntelliLink.
Step 1
After closing the update window the IntelliLink software will prompt you to log in. Enter
the appropriate User Name and Password.
Step 2
On the IntelliRupter
Operation
screen, check the
Control Status
in the upper right hand
corner. Verify that the control is in the
Okay
state. If there are any alarms, warnings, or
errors—please contact S&C Electric Company.
Step 3
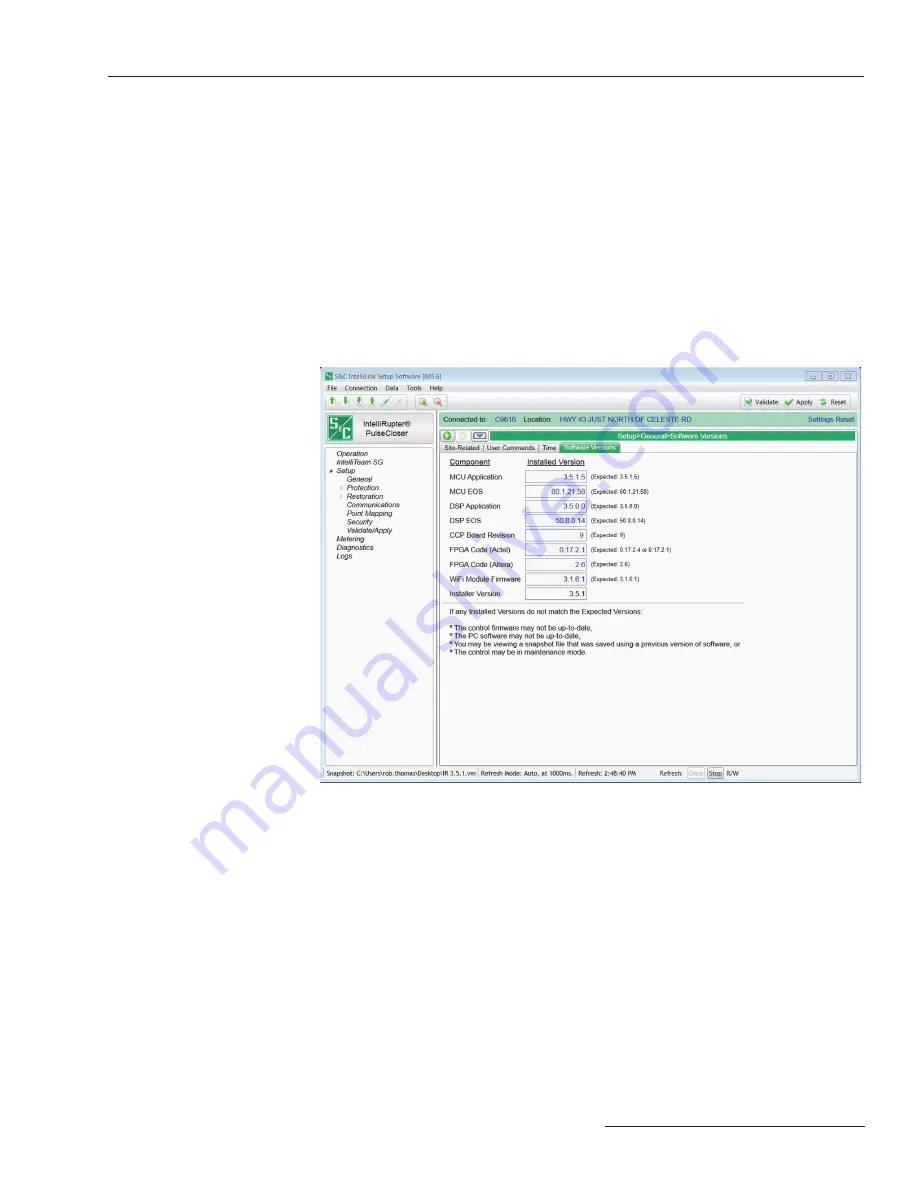
Check the
Setup
>
General
>
Software Versions
screen, shown in Figure 25, to see that
the correct firmware has been installed.
Verification of
Correct Operation
Figure 25. The IntelliRupter Setup > General > Software Versions screen.
After you complete verification, change the communication parameters of the Intel-
liLink software back to the default settings.
Step 4
Locate the
Tools
menu option at the top of the screen. The communication parameters
are on the
Tools > Options
menu. See Figure 18 on page 18. Change the
Connection
Type
to
UDP/IP
and then click the
Save & Exit
button. Close the IntelliLink software.
Step 5
Disconnect the serial cable from the jumper, and reconnect the jumper to the Wi-Fi Serial
to Comm connector on the Docking Station.
The Control and Communication Modules should now correctly respond to a LinkStart
connection attempt.
Содержание IntelliRupter PulseCloser SDA-4650R2
Страница 24: ......


