Digital Camcorder
114
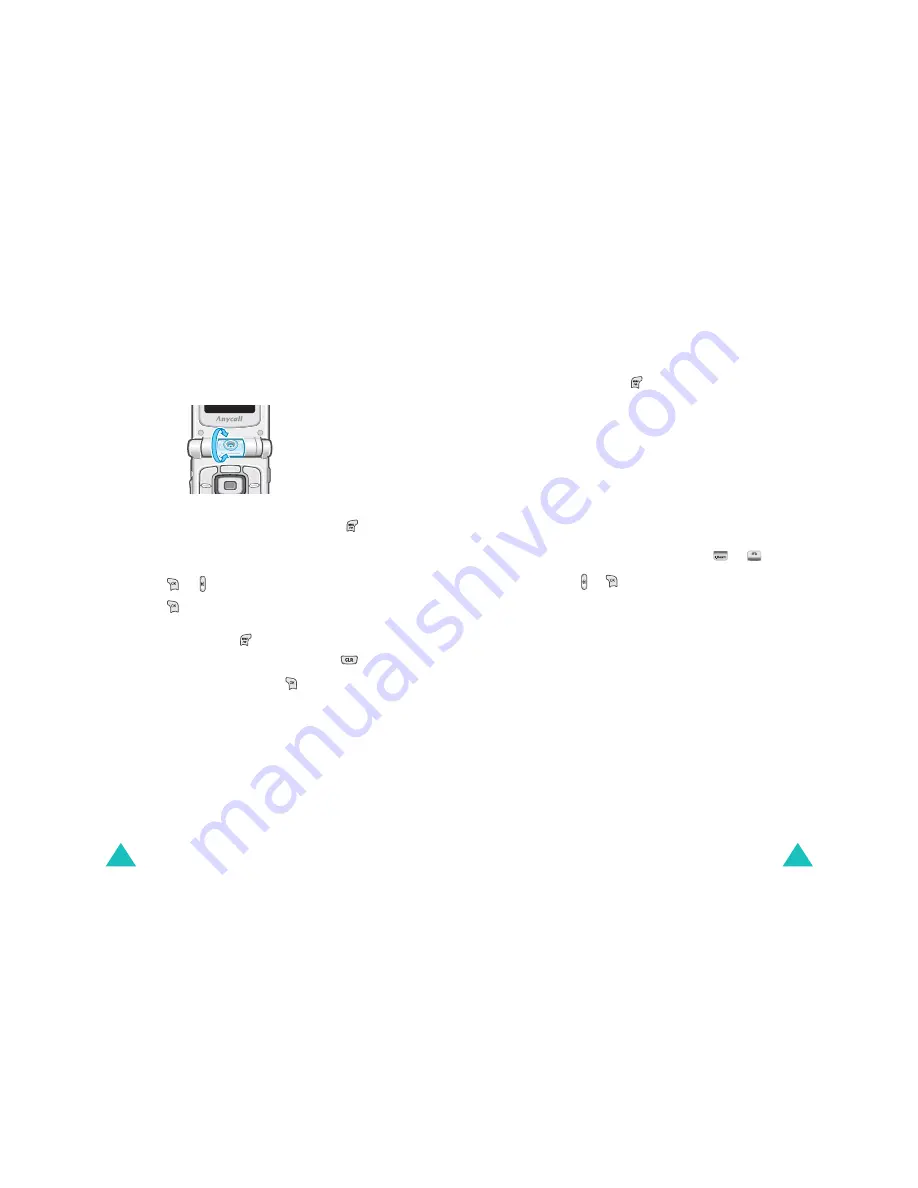
2. Adjust the image by rotating the camera module
and aiming it at the subject.
The captured image displays on the full screen.
Notes:
• You can use the camera options by pressing
.
For details, see below.
• You can change the image settings by using the
keypad. For details, see page xx.
3. Press
or to take the photo.
4. Press
to save the photo.
If you want to discard the image and go back to
Capture mode, press
.
5. If necessary, clear the default name using
.
6. Enter a photo name and press
.
For further details about how to enter
characters, see page xx.
Digital Camcorder
115
Using the options in Capture mode
When you press
in Capture mode, the following
options are available for the current shot:
Save Size: allows you to select an image size,
640x480, 176x144, or 128x96.
Image Quality: allows you to select an image
quality, High, Mid, or Low.
Flash On/Off: allows you to turn on or off the flash
on the front of the phone.
Special Effect: allows you to change the color tone
or apply a special effect to the photo.
Self Timer: allows you to set the phone to take a
photo at a predefined time. Press
or
to
select a time delay and select Start. When you
press or
, the timer starts counting down.
Enable Space: shows the available memory space
for photos.
Daylight Add on: allows you to use the backlight
compensation feature. In the case of a very bright
back ground or a strong spot light behind the main
object is unavoidable the camera will take all of the
incoming lights average it and decide the exposure
index. The taken picture may be too dark to see.
This feature is used to solve this problem. This
options is not available in Multi shot mode.
Photo Album: switches to the Photo Album menu
(MENU 6-2). For further details, see page xx.
VGA Normal Screen/VGA Full Screen: switches
to between Normal screen mode or Full screen
mode.


