ENGLISH
130
130
Precautions on Camcorder Care
The Camera : Advanced Techniques
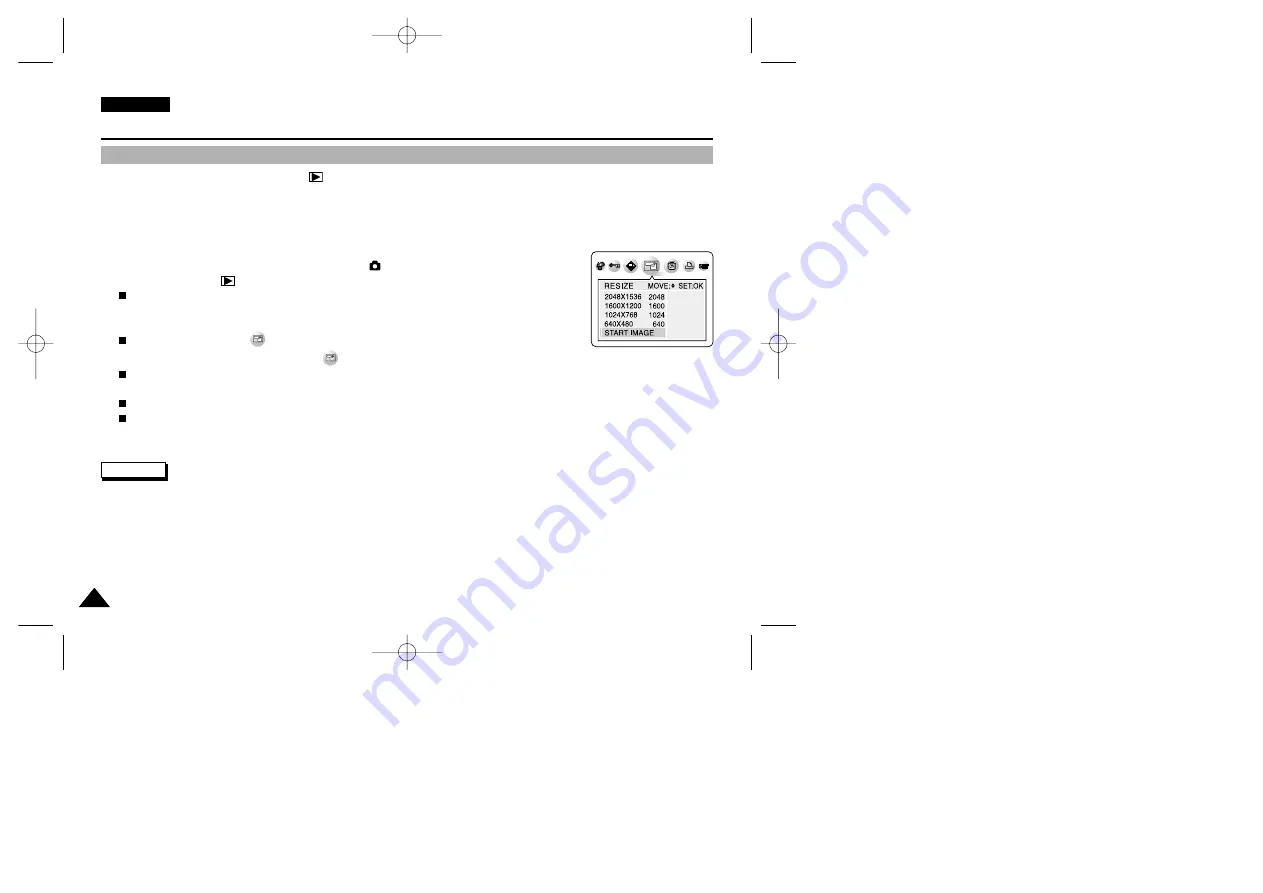
Resizing a Stored Picture
✤
This function works only in the Camera
(PLAY) mode.
✤
This function works only for still images recorded onto the memory card.
✤
Only downsizing is available. Enlarging low resolution pictures into higher resolutions is not available.
✤
Choose this option to scale down your stored pictures.
✤
This function utilizes JPEG technology.
1. Turn on your camera by setting the Power Switch to
(CAMERA) mode.
2. Set the Mode Dial to
(PLAY) mode.
A stored picture is displayed on the LCD monitor.
3. Press the LEFT or RIGHT button to locate the picture you wish to resize.
4. Press the MENU button.
The top menu including
(RESIZE) is displayed.
5. Press the LEFT or RIGHT button to select
(RESIZE), then press the DOWN button.
Available image resolutions are listed.
6. Select an option by pressing the DOWN or UPbutton, then press the OK button.
The selected option is applied and automatically exits from the menu screen.
Select START IMAGE if you want to save the image as START IMAGE 3.
✤
You can select and resize a still image and then save it to appear as your new start-up image (see page 133).
✤
Resizing for the START IMAGE size saves a new picture to the camcorder's internal memory, not to the memory card.
✤
Only JPEG file types can be resized. TIFF and motion clips cannot be resized.
✤
Only downsizing is supported. Enlarging a picture is not supported.
✤
Resizing does not delete the original picture. An additional resized picture is saved on the memory card.
✤
If there is no space for the additional resized picture, it is not saved and the message “CARD FULL!” appears.
Reference
(2272X1704: VP-D6050(i) only)
00779F VPD6050-UK (124-168) 8/16/04 1:43 PM Page 130


