Editing videos or photos
68
Playback/Editing
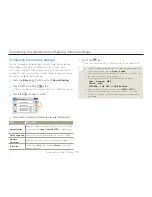
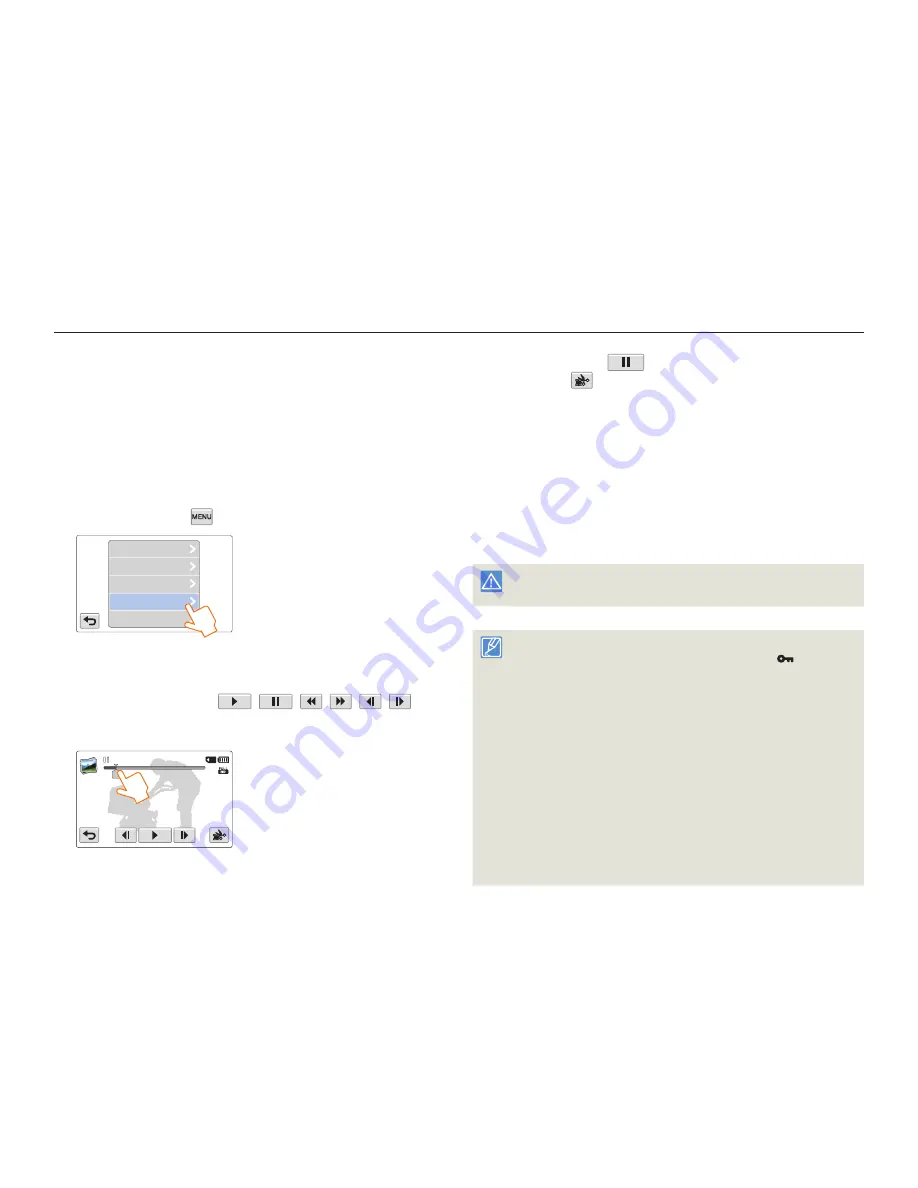
Divide
You can divide a video into two, and easily delete a section you no
longer need. As this function edits the original file, make sure to back
up the original before dividing it.
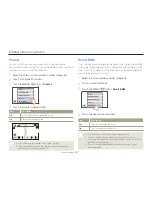
1
Select the video playback mode.
¬
page 56
2
Touch a video thumbnail.
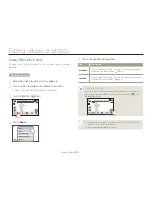
3
Touch the MENU (
) tab
p
Divide
.
My Clip Creation
Protect
File Info
Smart BGM
Divide
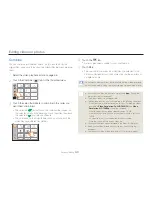
4
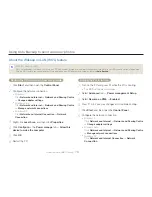
Find the point of division by touching the playback control
tabs.
Playback control tabs:
/
/
/
/
/
Drag the playback progress bar left or right to move directly to
the division point.
00:00:20/00:01:03 100_0001
Divide
•
•
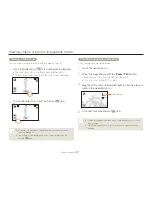
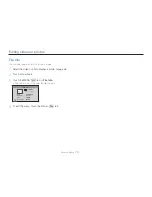
5
Touch the Pause (
) tab at the point of division
p
the Cutting (
) tab.
A message appears asking for your confirmation.
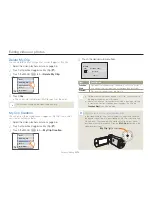
6
Touch
Yes
.
The video is divided into two video clips.
The second portion of the divided video is displayed as the last
thumbnail.
After the division, you can partially delete unnecessary sections
of the divided videos or combine them with other videos.
¬
page 69
Do not eject a memory card or power off while editing a video recorded
on the storage media. Doing so may damage the storage media or data.
You can operate this function in the single view only.
You cannot divide files that display the protect icon (
). Cancel the
protect function first.
¬
page 67
The beginning or end of the divided videos may drift by approx. 2
seconds before or after the division point.
The Divide function is not available under the following conditions:
- If the total recorded time of the video is less than 6 seconds.
- If you trying to divide sections without leaving 3 seconds at the
beginning and the end.
- If the remaining section of the memory space is less than 15MB.
- When the number of files reaches 9999.
This function is available in the video single view only.
You cannot divide videos recorded in the Web/HD resolution.
When you divide a video with My Clip tags, the My Clip tags
disappear.
You cannot divide a video recorded in Art Time Lapse mode.
•
•
•
•
•
•
•
•
•
•
•
•


