HOW DO I REPLACE. . .
UNPLUG MACHINE BEFORE REPLACING PARTS
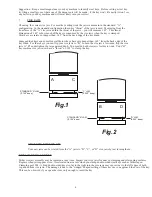
The Stylus
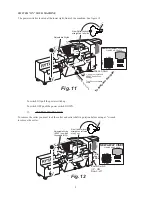
Loosen the two #10-32 socket head cap screws on top of the stylus holder with a 5/32”
Allen hex wrench. Pull out the stylus and reinstall a new one. Be sure to place the
groove near the back end of the stylus on to the right side of the machine. Make sure
you cannot wobble the stylus from side-to-side with your hand.
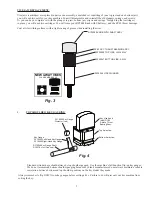
The Cutter Shaft
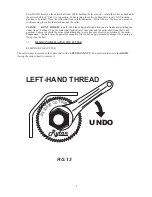
Remove the left-hand nut and cutter wheel. Remove the access plate and wire brush if
installed on your RY200 and loosen the four motor mounting screws to loosen the drive belt.
Loosen the two #10-32 socket head cap screws located on the top front edge of the cutter
head – use your 3/16” Allen hex wrench. Loosen them about 1 full turn each.
Pull out the entire cutter shaft assembly and replace with a new one. Reassemble in the
reverse order from above.
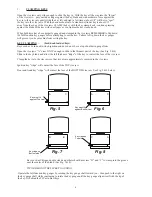
The Carriage Spring
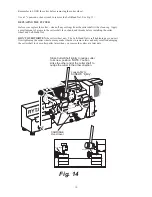
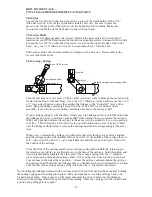
Turn the machine over on a piece of thick carpet (you don’t want to damage the power switch
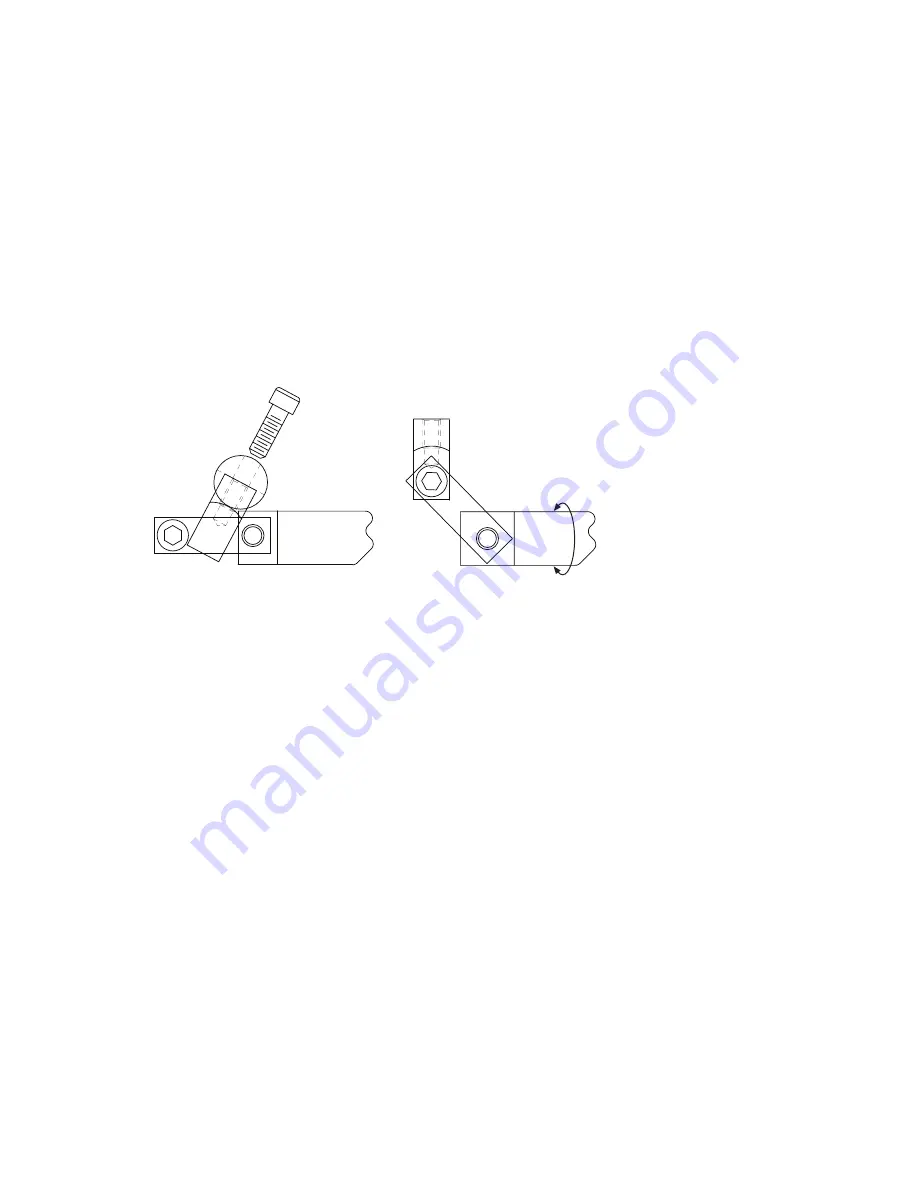
located on the front of the machine). Use your 3/16” Allen hex wrench and remove the ¼-20
x ¾” long socket head cap screw that secures the linkage to the “stick-shift” lever’s drive
shaft. Drop the linkage assembly and pull out the “stick-shift” lever and drive shaft
assembly. Leave the two piece linkage assembly attached to the carriage shaft.
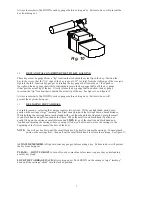
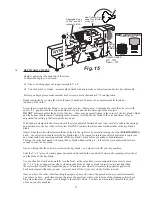
If your carriage spring is still attached – firmly grasp the linkages with your left hand and use
the linkages as a lever to hold the carriage shaft from turning when you release the carriage.
With your right hand release the carriage in the same way you would do if you were going to
cut a key. This will require a bit of muscle in your left hand because you’re trying to hold
onto the linkages while trying to release the carriage against the carriage spring at the same
time.
When you’ve released the carriage you will notice that everything got easy all of a sudden
and the carriage spring will probably fall out by itself. At the bottom of the carriage there is
a1/4” wide slot with a pin in it – use a small hammer and drive the pin to nearly flush with
the bottom of the carriage.
From the front of the carriage install a new carriage spring and reinstall the retaining pin -
the retaining pin will lay in a milled groove on the face of the carriage. Hold the spring and
its pin in place and manipulate the other end of the carriage spring onto the ¼” diameter
grooved pin going through the carriage shaft. If the spring won’t reach to the pin you have
your carriage in the locked back position - release the carriage and manipulate the carriage
and carriage shaft (hold onto the linkages like you did before when you released the carriage)
until the end of the carriage spring can be fitted over the ¼” diameter grooved pin.
Now holding the linkages attached to the carriage shaft with your left hand at the same time holding
the carriage spring and retaining pin in place with your right hand – cock the carriage back to its
locked back position. Once again you will need some muscle power to hold onto the linkages
attached to the carriage shaft to keep the shaft from turning. Once the carriage is in the locked back
position everything gets easy again
19
Remove 1/4-20 screw.
Carriage shaft.
Remove drive shaft.
Drive link.
Shaft link.
Release carriage from carriage shaft.

