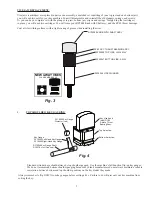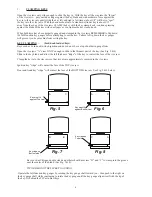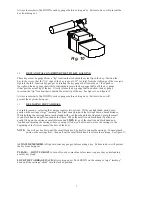
Remember to LOCK the cutter before removing the cutter wheel.
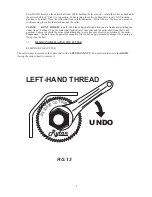
Use a 1” open-end or hex wrench to remove the Left-Hand Nut. See Fig. 13.
REPLACING THE CUTTER
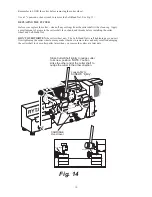
Before your replace the cutter - clean off any cuttings from the cutter shaft with a clean rag. Apply
a small amount of grease to the cutter shaft face, shank, and threads before installing the cutter
wheel and Left-Hand Nut.
DON’T OVERTIGHTEN
the cutter wheel nut - The Left-Hand Nut is self tightening as you use it.
Overtightening the cutter wheel nut may make it harder to remove later and may result in damaging
the cutter shaft lock or cutter pulley later when you remove the cutter at a later date.
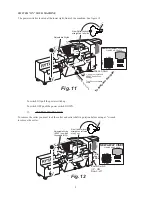
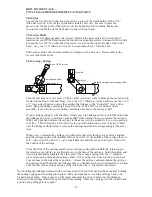
Loosen TWO
SCREWS “lightly”
Strike Cutter Shaft lightly to nudge cutter
to its new position. NOTE: You can
strike the other end of the cutter shaft to
nudge the cutter in the other direction.
CARRIAGE
Over-travel
Key Gauge
Dial
Key Gauge
Fig. 14
10


